

How to Spot and Fix Roof Leaks Before They Get Worse
To spot and fix roof leaks before they worsen, begin by inspecting your loft for dampness, mould, or discolouration. Examine the roof’s exterior for damaged tiles or flashing. Look for signs like dark patches or excessive moss growth. To fix leaks, repair or replace damaged flashing and any curled or missing tiles. Use roof sealant to effectively fill in gaps. Schedule inspections twice a year and keep gutters clear to prevent water pooling. Ignoring these issues can lead to significant damage and higher repair costs. With the right approach, you can maintain your roof and prevent leaks.
Key Takeaways
- Conduct regular checks both inside and outside your home to spot early signs of leaks, such as damp patches, cracked tiles, or damaged flashing.
- Wear protective gear and place buckets under any leaks during your inspections to safeguard your ceilings and interiors from further damage.
- Promptly repair or replace any damaged flashing and roofing materials to stop water from getting in and causing more issues.
- Keep your gutters clean to avoid water pooling, and check the sealants around vents and chimneys for signs of wear.
- If you’re unsure, consider hiring professionals for comprehensive inspections and repairs. This ensures compliance with regulations and often comes with warranties for the work carried out.
Identifying Roof Leaks Inside
Identifying roof leaks inside your home requires a methodical approach to locate the source of moisture. Start your attic inspection directly above the visible leak in the ceiling. Pay special attention to roof trusses and insulation for signs of dampness. It’s essential to understand that early detection can significantly reduce the extent of damage and subsequent repair costs. Regular inspections are crucial for maintaining roof integrity and should be conducted annually to prevent issues from escalating.
Common areas to check include corners, roof joints, skylights, valleys, and chimneys for any water accumulation. Use a torch to spot dark or shiny areas, and switch it off to see if light comes through the roof, indicating gaps.
If you discover moisture, measure the distance from the edge of the roof to the centre of the leak. This information will help roofers carry out repairs effectively. Always prioritise safety by wearing protective gear such as gloves, goggles, and a face mask. Place buckets under leaks on wooden boards to prevent damage to ceilings.
For more advanced moisture detection, consider methods like infrared thermography to identify temperature variations. Dye testing can trace the leak’s path, while moisture meters provide readings of dampness in roofs and walls. Engaging experienced inspectors familiar with local building regulations will also ensure that any repairs meet required standards.
Recognizing Exterior Signs

When inspecting your roof, look for signs that might indicate leaks. Start with a careful shingle check; watch for warped, cracked, or missing shingles. Warped shingles can let water in, while cracks and missing shingles expose your roof to further damage. Regular inspections are crucial, as they can help identify early signs of common roofing issues.
Next, examine the flashing. Look for any damaged, missing, or rusted sections, especially around vents and chimneys. Worn flashing can’t effectively divert water, which can lead to leaks. Regular roof checks are essential to catch these issues early.
Here’s a quick reference table for identifying exterior signs of roof leaks:
| Exterior Signs | Description |
|---|---|
| Distorted or Curled Shingles | May indicate potential water intrusion |
| Mould on Exterior Walls | Suggests water penetration from the roof |
| Damaged or Rusted Flashing | Compromises the flashing’s protective ability |
| Clogged Gutters | Can lead to water accumulation and leaks |
Be aware of excessive moss growth, dark spots, and rotting wood, as these can signal ongoing moisture issues. Spotting these signs early can help you tackle problems before they develop into serious leaks.
Common Causes of Leaks

Many homeowners face roof leaks, often caused by various issues that can jeopardise the integrity of their roofs. Understanding common leak sources is crucial for prevention.
One frequent problem is damaged flashing around chimneys and vents, which can allow water to seep in. Similarly, missing or broken roofing materials, such as tiles or slates, leave the roof vulnerable to water ingress.
Seasonal patterns often highlight weaknesses, particularly during heavy storms or after snow melts, when blocked gutters can prevent proper drainage. Weather-related risks such as continuous exposure to rain, snow, and sun can significantly degrade roofing materials over time. Regular inspections can help identify potential issues before they escalate, ensuring timely repairs.
Older roofs are more prone to leaks due to brittleness and cracks that develop over time. Human error, like poor installation or heavy foot traffic, can also lead to punctures.
Furthermore, improperly sealed roof vents and issues around rooftop equipment, such as air conditioning units, can create entry points for water.
Don’t overlook structural weaknesses, especially around chimneys, skylights, and roof valleys, which can be inadequately sealed.
Regular inspections and maintenance are vital to reduce these risks and tackle potential leak sources before they become significant problems.
Consequences of Ignoring Leaks
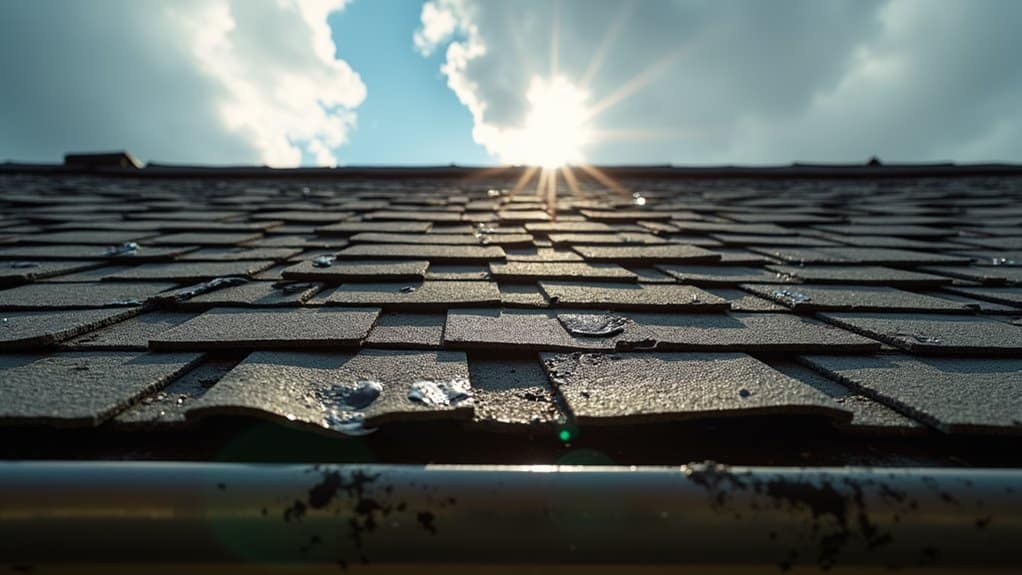
Ignoring roof leaks can lead to serious consequences that go beyond mere inconvenience. When water enters, it creates an ideal breeding ground for mould and mildew. If not addressed promptly, mould can spread throughout your home, affecting walls, ceilings, and even personal belongings. In severe cases, professional mould removal may be required, which can be both expensive and time-consuming. Regular condition report surveys can help identify potential leaks early and prevent further damage.
Additionally, unresolved leaks threaten the structural integrity of your home. They can weaken essential components like timber beams and rafters, resulting in sagging ceilings and walls over time. If left unchecked, this damage could eventually lead to a roof collapse, presenting significant safety hazards and extensive property damage. Prolonged exposure to moisture can also lead to increased repair costs as further damage occurs.
Financially, neglecting a small leak can escalate into substantial costs. You may face higher energy bills due to compromised insulation, the need for major repairs, or even a complete roof replacement if action is delayed. Regular inspections and prompt repairs are crucial for minimising these risks and costs, ensuring your home remains safe, structurally sound, and energy-efficient.
Steps for Fixing Roof Leaks
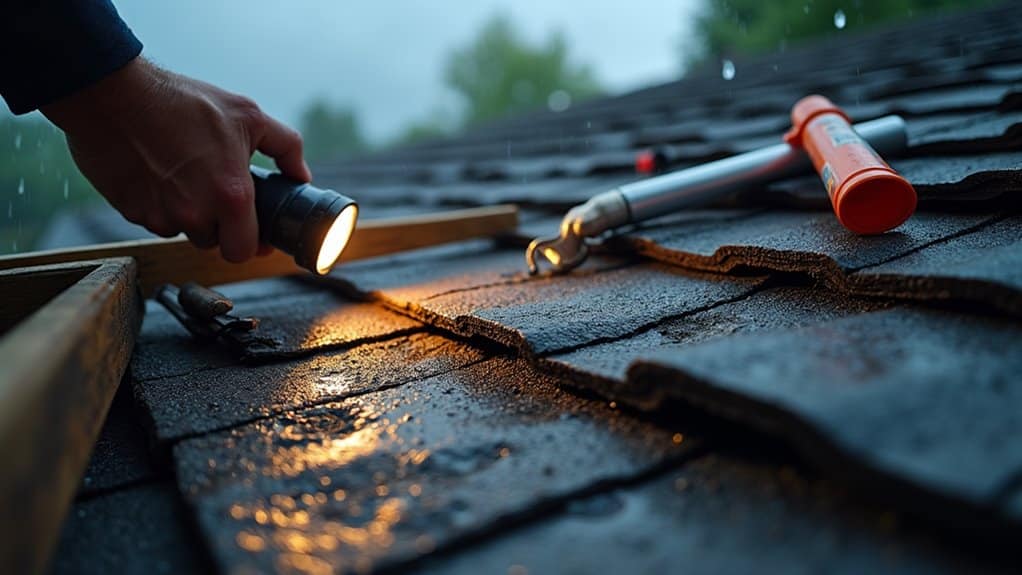
Addressing roof leaks quickly is crucial for maintaining your home’s integrity and preventing further damage.
Start by checking your loft for dampness, discolouration, and mould. Then, inspect the outside of your roof for damaged tiles, missing flashing, and signs of water damage. Pay particular attention to areas around vents and skylights, looking for cracked or worn seals. It’s important to look for missing or damaged shingles as they can indicate potential leaks. Regular inspections can help you identify issues early and prevent costly repairs.
Once you’ve pinpointed the source of the leak, use effective repair methods. Reseal or replace any damaged flashing to stop further leaks. If you discover curled, buckled, or missing tiles, replace them immediately to restore your roof’s barrier.
For leaks around vents and skylights, repair or replace the seals and flashing to ensure a watertight fit. Additionally, tackle any mould or algae growth by cleaning and treating affected areas to prevent it from returning.
After repairs, insulate and dry any damp areas to avoid future issues. Regular inspections and timely repairs are vital for preventing more serious problems in the future.
Taking these proactive steps will help protect your home from water intrusion and its consequences.
Importance of Professional Help
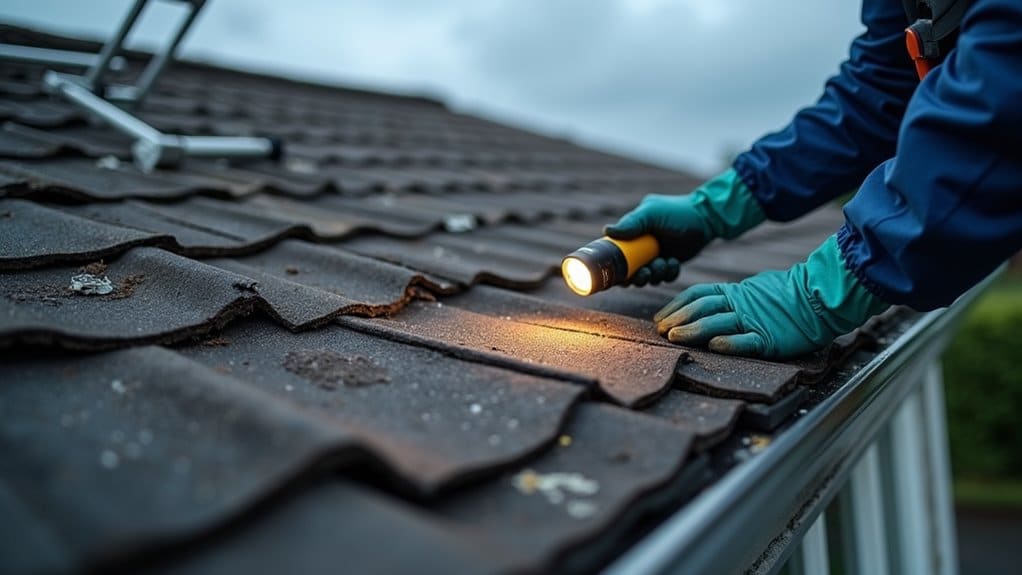
When it comes to identifying and repairing roof leaks, getting professional help is crucial due to their specialised skills in roof maintenance.
They possess the necessary training and equipment to safely examine your roof, helping you avoid potential dangers and ultimately save money over time.
Expertise in Roof Repairs
Roof repairs can be daunting, particularly when faced with serious issues like structural damage or extensive leaks. In such cases, it’s vital to seek professional help.
Experienced roofers have in-depth knowledge of different roofing materials and systems, allowing them to accurately identify the source of leaks and any underlying problems. Their expertise enables them to implement effective solutions that minimise damage and save you time.
By tackling the root causes of leaks, professional roofers can prevent further damage and extend the lifespan of your roof. Their work adheres to local building regulations, giving you confidence that the repairs are both compliant and reliable.
Additionally, hiring a professional often comes with warranties that protect your investment and hold the contractor accountable for any future issues.
If you’ve overlooked regular roof maintenance or are noticing persistent water stains, multiple leaks, or signs of structural damage, it’s time to call in the experts. They can manage complex roofing systems safely, reducing the risk of accidents during repairs.
In the end, hiring a professional is a cost-effective way to protect your home from the rising costs of unresolved roofing problems.
Safety Considerations
Understanding the importance of professional help for roof repairs goes hand in hand with recognising safety considerations. Attempting roof repairs without the proper knowledge and equipment can be hazardous. Taking steps to ensure safety increases your chances of completing the task without incident.
Here are some essential safety tips:
- Check the weather: Avoid working on roofs in bad weather to reduce the risk of slips and falls.
- Wear proper safety gear: Invest in Personal Protective Equipment (PPE) such as helmets and fall protection harnesses.
- Ensure ladder stability: Make sure your ladder is secure and properly anchored to prevent accidents when accessing the roof.
- Clear the roof: Remove dirt and debris before starting work to create a safe working environment.
- Use guardrails: Where possible, install guardrails and cover skylights to prevent falls.
Hiring a professional not only protects you but also ensures that repairs are completed efficiently and safely. Their expertise and equipment significantly reduce the risks associated with DIY repairs.
Long-term Cost Efficiency
While roof repairs may seem simple, hiring a professional often proves more cost-effective in the long run. Experts can conduct a detailed cost analysis, taking into account factors like material choices and the complexity of the repair.
For example, repairing slate or metal roofs can be significantly more expensive than fixing asphalt shingles. Professionals are well-versed in these details and can recommend quality materials that enhance your roof’s longevity, ultimately saving you money.
The complexity of your roof also affects costs. Steeper or larger roofs demand specialised equipment and more labour, which can increase expenses. An experienced contractor can handle these challenges efficiently, helping you avoid costly mistakes and future issues.
Moreover, investing in professional assistance means prioritising preventive maintenance. Regular inspections can identify minor problems before they escalate, minimising the risk of extensive damage and expensive emergency repairs.
Regular Inspection Benefits
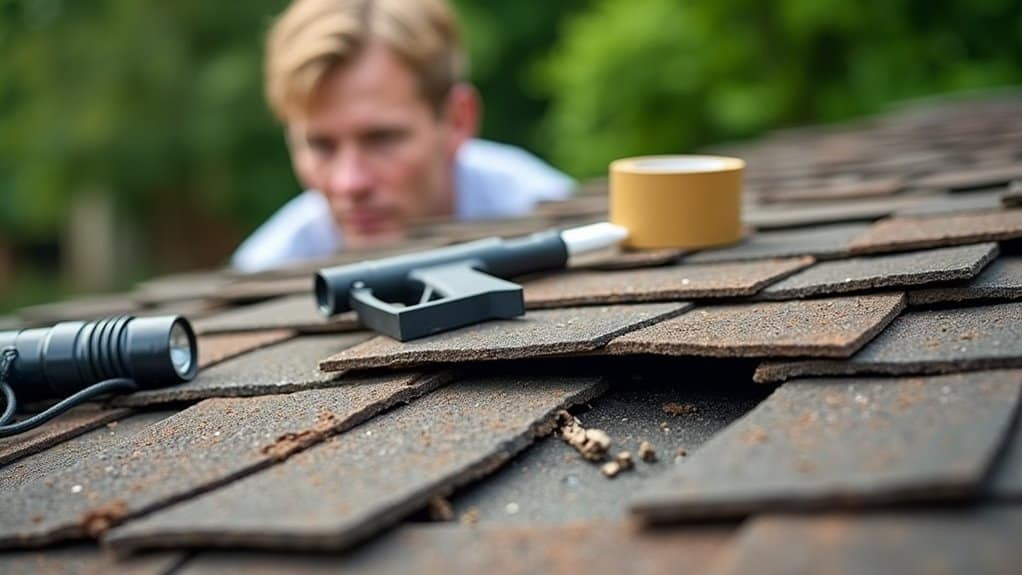
Regular inspections can significantly enhance the lifespan and integrity of your roof. By following a recommended inspection schedule of twice a year, along with evaluations before storms, you can identify minor issues before they escalate into costly repairs.
This proactive strategy not only prolongs your roof’s life but also results in considerable cost savings over time.
Here are some key benefits of routine roof inspections:
- Early Detection: Spot minor issues, such as loose tiles or worn seals, before they turn into serious problems.
- Cost Savings: Avoid expensive repairs by addressing small issues early, ultimately extending your roof’s lifespan.
- Safety: Minimise the risk of accidents and prevent potential roof collapses.
- Increased Property Value: Keep your property’s value intact by ensuring the roof remains in top condition.
- Insurance Claims: Simplify the claims process with thorough inspection reports, which can be invaluable during a claim.
Regular roof inspections are a wise investment in your property’s future.
Repairing Damaged Shingles
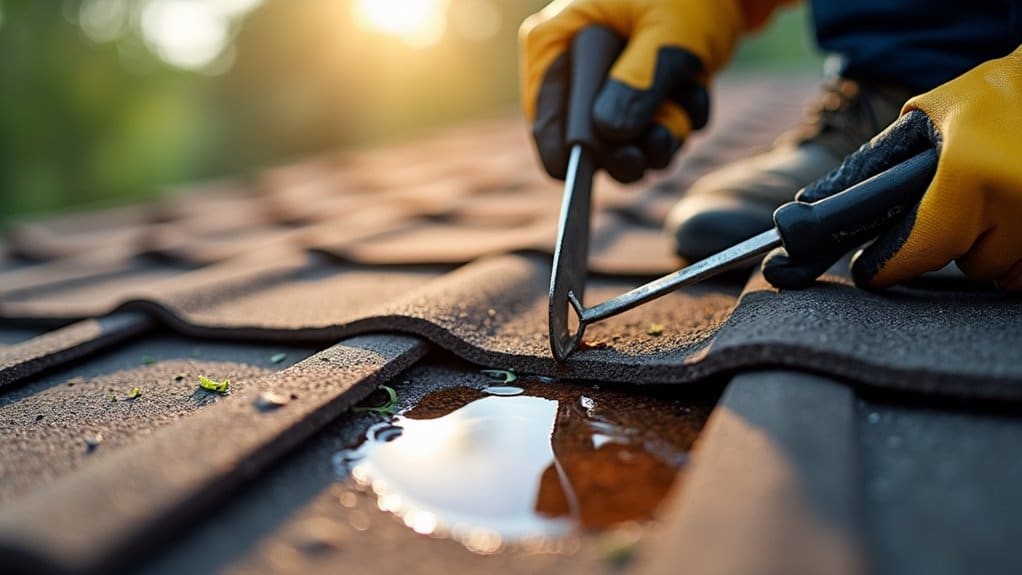
Repairing damaged roof shingles is crucial for maintaining your roof’s integrity and preventing leaks. Start by checking your roof for cracks, holes, or missing shingles, particularly around vents, chimneys, and skylights. Use binoculars for a general look and a torch for detailed inspections.
Once you’ve identified the damaged shingles, gather your tools: a pry bar, roofing nails, roofing adhesive, and a hammer.
Before you start, ensure your safety. Wear gloves and safety goggles to protect yourself. Clear away any debris and old sealant from the damaged area. Carefully lift the damaged shingles without disturbing the neighbouring ones, and check the underlayment for any signs of decay.
When replacing shingles, apply roofing adhesive beneath the new shingle and press it down firmly. Secure it with roofing nails, being careful not to overdrive them. Seal the edges with more adhesive to improve waterproofing.
After finishing the repair, simulate rain or use a hose to check for leaks. Regular inspections and prompt repairs are essential for keeping your roof in good condition, saving you time and money in the long run.
Resealing Flashing Effectively
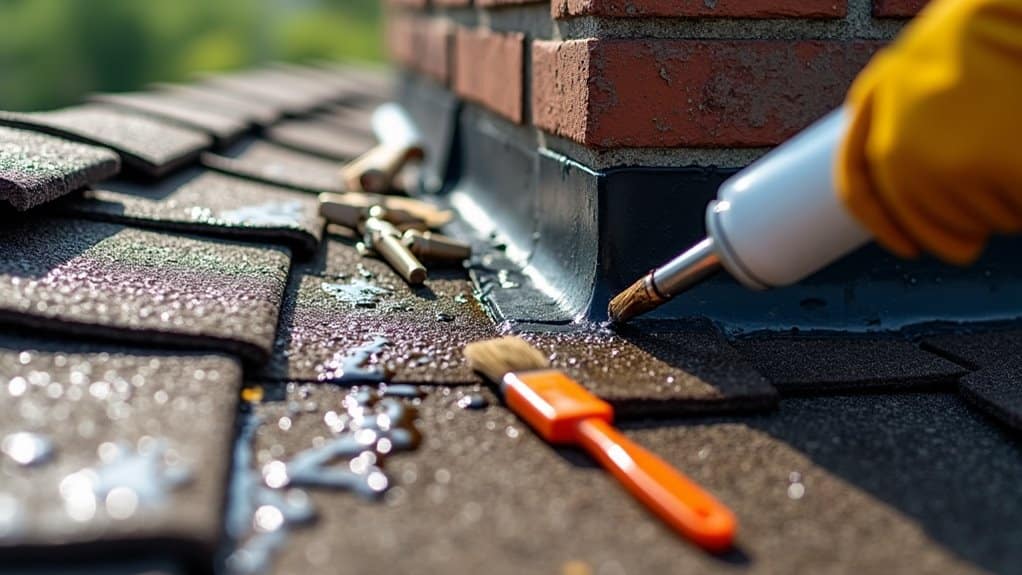
To reseal flashing effectively, first check for any visible issues, such as gaps or cracks that could cause leaks.
Gather your materials, including roof cement and a caulking gun, before you begin.
Follow these straightforward steps to ensure a watertight seal around critical areas of your roof.
Identify Flashing Issues
Identifying flashing issues is crucial for maintaining your roof’s integrity and preventing leaks. Regular maintenance ensures that the materials around chimneys, vents, and skylights remain effective.
Here are key signs of flashing problems to watch for:
- Water stains on ceilings or walls
- Cracks, rust, or breaks around roof features
- Peeling paint or wallpaper near roof edges
- Visible wear or rust on gutters and downpipes
- Drips or unusual noises in the loft during rain
Inspect areas like valleys and joints where roof planes meet, as these are prone to flashing issues. Pay particular attention to step flashing and roof-to-wall flashing, which can deteriorate over time.
For a safe, ground-level inspection, use binoculars to spot any visible damage.
Conduct these inspections at least twice a year, ideally in spring and autumn. If you notice significant wear or feel uncertain about your flashing’s condition, consider hiring a professional roofing contractor. They can provide the expertise needed for proper repairs or replacements, ensuring your roof stays leak-free.
Resealing Materials Needed
When resealing flashing, it’s crucial to choose the right materials to ensure a durable, waterproof seal. For extreme temperatures, silicone sealants are highly recommended. They remain flexible, accommodating your roof’s movement, and are resistant to UV radiation, which means they won’t break down easily, providing long-lasting protection against leaks.
If you’re on a budget, acrylic sealants can be a cost-effective choice. They also resist UV radiation and weathering, making them suitable for various climates. While they may not last as long as silicone, they can still effectively prevent leaks when applied properly.
For a seamless, watertight finish, consider using liquid rubber coatings. These adhere well to different roofing surfaces and can withstand harsh weather. Roofing felt and waterproof membranes can also add extra protection against moisture.
Before applying any sealant, ensure the area is clean for proper adhesion. By selecting the right materials based on your roof type and climate, you’ll be equipped to address any flashing issues and keep your roof secure.
Step-by-Step Resealing Process
Once you have gathered the necessary materials for resealing flashing, follow this straightforward process to tackle any leaks.
Start by locating and accessing the leak areas. Inspect your roof carefully, paying special attention to drip edges, valleys, and around chimneys. Use a sturdy ladder and wear rubber-soled shoes for safety. Gently lift the shingles and clean the area to remove old sealants and debris.
Next, prepare the flashing. Remove any hard, old sealant with a hammer and chisel, ensuring a clean surface for the new application. Check the flashing for any damage, and use a caulk gun to apply new roof cement.
When applying the sealants, remember to:
- Apply a generous amount of roof cement.
- Seal beneath the shingles about six inches in.
- Focus on exposed areas, such as chimneys and vents.
- Smooth out any excess cement to avoid mess.
- Allow sufficient drying time before exposing it to the weather.
Preventing Future Leaks
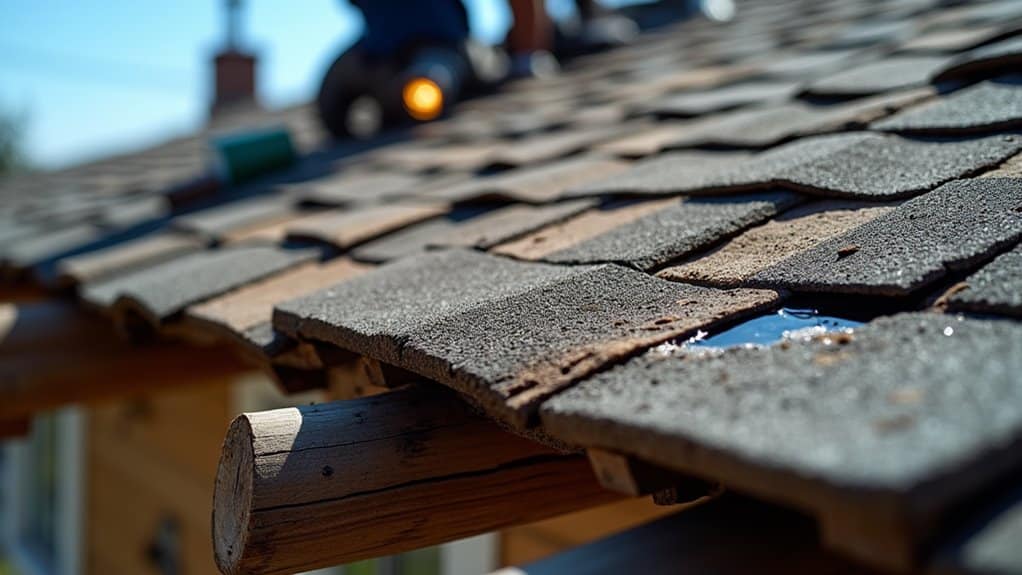
To effectively prevent future roof leaks, prioritising quality during installation is crucial. Start by sourcing high-quality roofing materials from reputable suppliers. Implement waterproof barriers at eaves, vents, chimneys, and other vulnerable areas to block moisture entry. Use pre-manufactured flashing around roof openings, such as skylights, to ensure a strong seal. Additionally, install underlayment to protect shingles from wind-driven rain and ensure a flat installation.
Regular maintenance is vital for leak prevention. Schedule bi-annual inspections in spring and autumn to identify any potential issues early. Clean your gutters regularly to allow for proper water drainage, minimising the risk of overflow. Don’t forget to check and repair sealants around vents and chimneys, and remove any debris that could lead to water pooling on your roof.
Post-storm inspections are also important, as severe weather can reveal hidden vulnerabilities. By following these preventive measures and maintenance tips, you can significantly reduce the likelihood of future roof leaks and extend the lifespan of your roofing system.
Frequently Asked Questions
How Can I Temporarily Patch a Roof Leak Until Repairs Are Made?
To temporarily patch a roof leak, use plastic sheeting or waterproof tarpaulins. Secure them with nails or heavy objects, and seal any gaps with roofing adhesive. These materials will offer immediate protection until you can carry out permanent repairs.
What Tools Do I Need to Inspect My Roof for Leaks?
To inspect your roof for leaks effectively, you’ll need some essential tools. Start with a tape measure, a flashlight, and a moisture meter. You might also consider using leak detection methods like infrared cameras and drones to pinpoint problematic areas with accuracy and ease. These tools will help you ensure your roof remains in good condition.
Can I Repair Roof Leaks Myself, or Should I Hire a Professional?
You may feel tempted to tackle roof repairs yourself, thinking it will save you money. However, without a professional assessment, you risk making the problem worse. For complex issues, it’s usually wiser to hire a qualified roofer. They have the expertise to identify the source of leaks and ensure a proper fix, preventing further damage down the line.
What Time of Year Is Best for Roof Inspections?
Spring is the best time for roof inspections in the UK. The weather is generally milder, making it safer to assess the roof’s condition and schedule any necessary repairs promptly. Additionally, autumn inspections are crucial for preparing your roof for winter, ensuring it can endure harsh weather effectively.
Are There Specific Signs of Leaks in Flat Roofs?
Look out for water stains on ceilings, bubbling membranes, and signs of mould when checking for leaks. Regular maintenance of flat roofs should include inspecting for cracks, damaged flashing, and ensuring proper drainage to avoid serious issues.
Conclusion
By keeping a close eye on your roof and addressing any leaks quickly, you can safeguard your home from ongoing damage. Think of your roof as a protective barrier; if there are gaps or cracks, it won’t withstand harsh weather. Regular inspections and prompt repairs not only prolong your roof’s life but also help you avoid expensive fixes in the future. Remember, taking action now can prevent a host of problems later, ensuring your home stays safe and secure.


