

What to Check Before Installing a New Roof
Before installing a new roof, it’s essential to check the existing decking for any signs of rot, sagging, or water damage. Take a good look at the ventilation and insulation in your loft, as proper performance can help lower energy bills. Ensure you’ve secured the necessary permits and plan the installation for a time with suitable weather conditions. Clear the area of any debris and protect your windows and plants from potential damage. When selecting roofing materials, consider both durability and weight; heavier materials may require additional structural support. Lastly, make sure to implement safety measures for both workers and your property. For a detailed checklist and expert guidance, additional insights on these preparations can be beneficial.
Key Takeaways
- Check the existing roof decking for structural integrity, looking out for sagging, rot, and any signs of damage before installation begins.
- Review insulation and ventilation to ensure maximum energy efficiency and performance in the loft space.
- Select the appropriate roofing material, considering durability, lifespan, and how well it suits your home’s style and local climate.
- Ensure all necessary building permits are secured and inform your neighbours about the installation schedule to avoid any surprises.
- Examine roof components like flashing and gutters for proper sealing and any potential issues before the final inspection.
Examination of Existing Decking
When assessing the overall condition of your roof, examining the existing decking is crucial. This evaluation helps you gauge its structural integrity and spot any potential issues that could affect a new roof installation.
Begin by checking the roof deck for signs of sagging, rot, or water damage. Look for cracks, gaps, or any other indications of wear that may suggest deterioration.
Next, assess the type and condition of the decking material to ensure it meets your roof’s requirements. Make sure the decking is securely fastened to the rafters or trusses, as proper attachment is vital for long-lasting performance.
Also, inspect the underside of the roof deck for any signs of damage, and pay attention to the connection between the roof deck and walls. Regular inspections are essential to identify and address any issues before installing a new roof.
Don’t forget to check the seals around vents and chimneys; they should be intact to prevent leaks.
It’s also important to consider the load capacity of the decking, particularly in areas that experience heavy snowfall or strong winds.
Document your findings, and consult professionals if needed. Regular inspections will help maintain the integrity of your roof decking and prevent costly repairs in the future.
Removal of Existing Materials
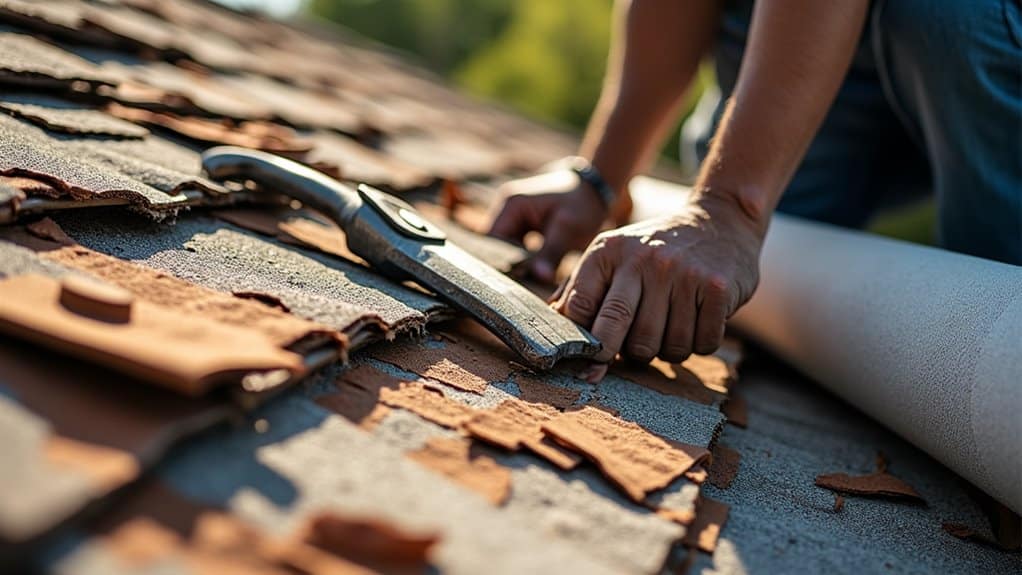
Once you’ve assessed the condition of the existing decking, the next step is to remove the old roofing materials efficiently.
Start at the peak of the roof and use effective techniques to strip off the shingles and other materials. Employ garden forks or notched shovels to lift the shingles, beginning with the ridge caps and top courses. As you work your way down, ensure you toss the debris onto tarps laid out below or directly into a nearby skip for organised disposal.
Before you begin, protect your home and garden by covering windows and doors with plywood or tarpaulin. This helps prevent damage from falling debris. Additionally, safety measures for pets and children are essential during this process. It’s important to ensure that your workspace remains free of hazards to maintain a safe environment throughout the removal.
Additionally, clear the area of outdoor furniture, toys, and any valuable plants or decorations to avoid accidents during the removal process.
Once the old roofing is stripped away, take out any flashing and underlayment.
After removal is complete, conduct a thorough inspection to ensure all debris is cleared away. Use a broom or magnet to collect any stray nails or remnants, ensuring your workspace is safe and ready for the new roof installation.
Permits and Scheduling

Before commencing your roofing project, it’s vital to obtain the necessary permits from your local council. Roofing projects in Massachusetts require a permit to ensure compliance with safety standards. Ensure your installation timeline is well-coordinated; this will help schedule inspections and ensure compliance with local regulations. Properly preparing the work area will speed up the inspection process and keep your project on schedule.
Necessary Permit Acquisition
Navigating the necessary permit acquisition for your new roof is crucial for ensuring compliance with local regulations and avoiding legal complications. Before commencing work, it’s important to understand the types of permits required in your locality, as these can differ significantly across regions.
Here are some key points to consider:
- Building Permit Requirement: A building permit is typically needed for roof replacements that involve structural alterations or when specific size thresholds are exceeded.
- Application Details: Prepare to submit project information, including the materials you plan to use, the dimensions of the roof, and an estimated budget for the work. Additionally, ensure that you are aware of the required permits for any additional features like skylights or roof decks.
- Engagement with Local Authorities: Your application will be assessed by local building authorities, so ensure that you meet all compliance standards before submission.
Installation Timeline Coordination
Coordinating the installation timeline for your new roof involves several key factors that can significantly affect the overall project duration. Understanding these elements can help you manage expectations and enhance contractor efficiency.
| Factor | Impact on Timeline |
|---|---|
| Roof Size and Complexity | Larger roofs take longer to install |
| Material Type | Asphalt shingles are quicker to install than slate or tile |
| Weather Conditions | Adverse weather can delay installation |
| Old Roof Removal | May add 1-3 days to the project |
| Permit and Inspection Scheduling | Delays can occur if permits aren’t obtained promptly |
Begin with an assessment of your roof’s condition and plan accordingly. Choose materials that fit your style and budget, keeping their installation timelines in mind. Additionally, consider the local regulations that may dictate the necessary permits and inspections before proceeding. Regularly checking for potential issues during the initial assessment can help prevent delays later on. Schedule your installation during favorable weather to minimize delays. Maintain clear communication with your contractor to ensure they can manage the project effectively and meet deadlines. By understanding these factors, you can help streamline the process and ensure your new roof is installed smoothly and on time.
Work Area Preparation
Proper work area preparation is crucial for a smooth roofing installation, ensuring both safety and efficiency. Before starting, it’s essential to clear debris and set up safety signage to create a secure environment for you and your team.
Here are key steps to consider:
- Secure the Worksite: Clear away any debris to minimise tripping hazards.
- Check Overhead Hazards: Look out for overhead wires and mark them with appropriate safety signs to avoid accidents.
- Obtain Permits: Ensure you have all necessary building permits before commencing work, as this is vital for compliance and safety.
Additionally, plan your installation around good weather to prevent delays. It is also important to conduct a thorough risk assessment to evaluate potential hazards before commencing work.
Inform your neighbours about the schedule to reduce disruptions and make them aware of potential noise and activity.
By prioritising these aspects, you enhance safety and streamline the installation process.
Clearing and Protection
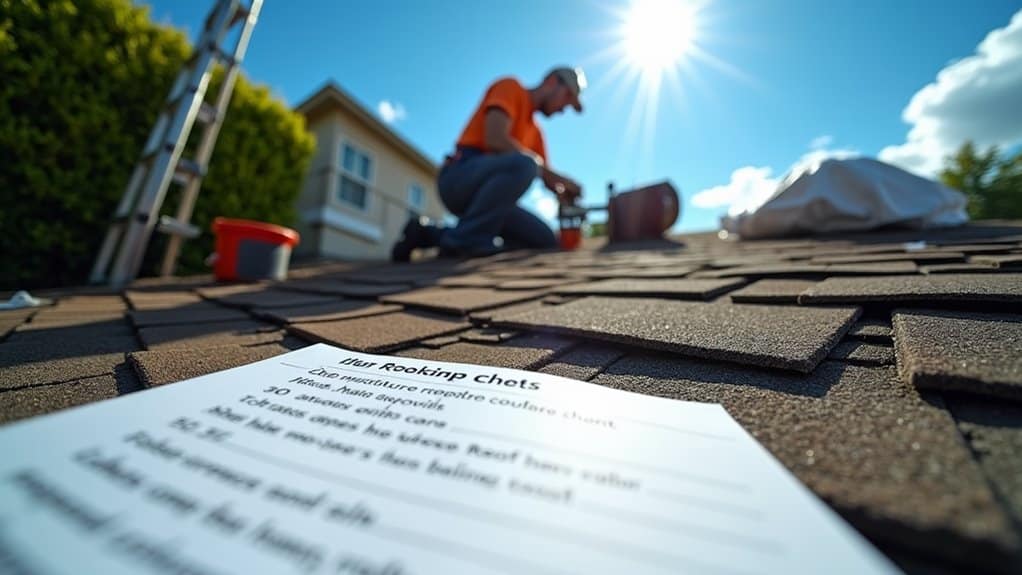
Before installing a new roof, it’s crucial to clear and protect both the exterior and interior of your home to ensure a smooth process.
Start by removing patio furniture, barbecues, and any items that could be damaged by falling debris. Trim back trees and shrubs to provide clear access and reduce risks. A tidy garden will make cleanup easier, so mow the lawn beforehand.
Remember to take down hanging plants and secure delicate items, especially around electrical outlets that need to remain accessible for the crew.
For the interior, cover items in the attic with plastic sheets to protect against dust and debris. Remove fragile decorations from the walls to prevent damage from vibrations.
Consider relocating valuable items in the attic until the work is complete. Ensure clear access paths for the roofing crew and park cars away from the property to avoid any potential damage.
Lastly, inform your neighbours about the roofing project as a courtesy. Regular inspections, including thorough evaluations, can also help identify any underlying issues before starting the installation.
These proactive steps will help protect your property and keep your roofing project on budget, making for a seamless transformation of your home.
Ventilation and Insulation
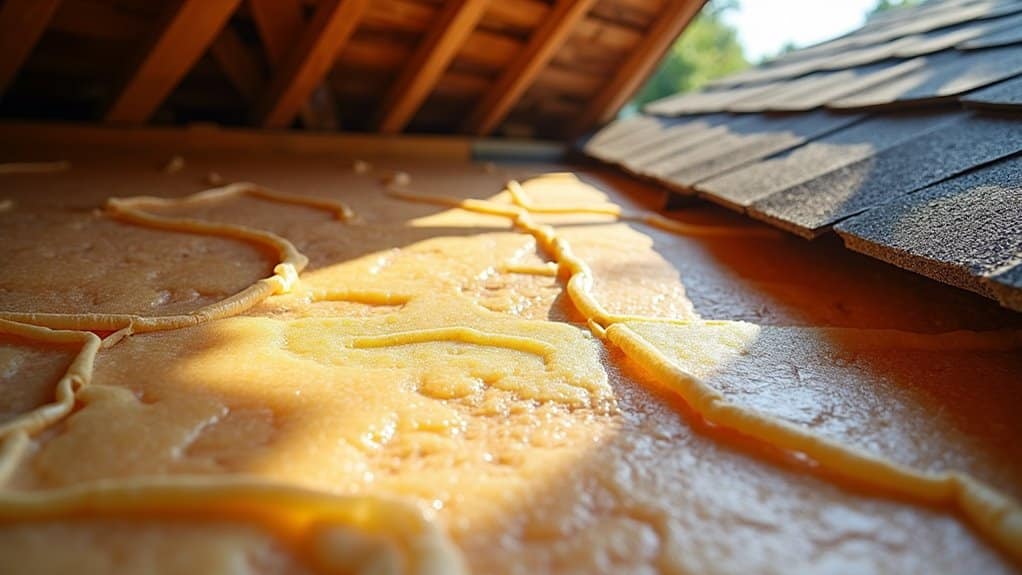
When preparing to install a new roof, it’s important to assess both attic insulation and ventilation systems.
Proper insulation helps retain heat during winter, while effective ventilation prevents moisture build-up throughout the year.
For example, good insulation keeps your home warm and reduces heating bills, while ventilation reduces the risk of mould and structural damage. Implementing ridge ventilation systems can significantly enhance airflow in your roof space.
Optimising these elements can improve energy efficiency and extend the life of your roof.
Adequate Attic Insulation
Adequate attic insulation is crucial for energy efficiency and preventing heat loss in your home. Proper insulation helps you save on energy bills and enhances comfort. Heat rises, and without it, a significant amount escapes through an uninsulated attic.
Here are key factors to consider when assessing your attic insulation:
- R-Value: Know the R-value of your insulation; higher values mean better thermal performance.
- Material Type: Decide between options like fiberglass or cellulose, each offering different R-values per inch.
- Climate Requirements: Ensure your insulation aligns with local climate needs for optimal performance.
With suitable insulation, you could reduce heating and cooling costs by up to 20% each year.
Regularly check your attic to see if more insulation is necessary, and consult local climate zone maps for the recommended R-value in your area.
Upgrading insulation not only leads to energy savings but also prevents issues such as ice dams, making it a wise move before installing a new roof.
Proper Ventilation Systems
Proper ventilation systems are crucial for maintaining the health and efficiency of your roof, especially after ensuring your attic insulation is sufficient. Aim for an airflow balance with a ventilation ratio of 150:1, or 300:1 if a vapour barrier is present.
Start by calculating your attic’s surface area to determine how many vents you’ll need.
It’s important to choose the right type of vent. Static exhaust vents offer flexibility, ridge vents work well for single-peak roofs, soffit vents fit under eaves, and turbine vents harness wind for convection.
Ensure a balance between intake and exhaust to avoid excessive heat and moisture, which can cause structural damage and mould growth.
When installing, prioritise safety by using a harness and wearing suitable footwear. Mark your installation spots clearly, cut openings with care, and secure vents with screws or nails.
Seal the edges with waterproof sealant for added durability. After installation, test the vents to ensure they function correctly, promoting effective airflow throughout your attic.
Moisture Buildup Prevention
Moisture buildup can seriously affect the integrity of your roof, so it’s vital to implement effective prevention strategies. To protect your roofing system from moisture, focus on proper insulation and ventilation. Here are some essential steps:
- Vapour Barriers: Install vapour barriers between your living space and the attic to prevent warm, moist air from reaching the roof.
- Continuous Insulation: Ensure insulation is fitted without gaps to stop warm air from escaping into the roof space.
- Humidity Control: Keep indoor humidity levels low to reduce the risk of condensation.
It’s also important to choose insulation materials that are compatible with your roofing system and climate. Quality insulation should resist moisture and temperature changes.
Make sure ventilation paths are clear to allow airflow through eaves and soffits, which helps manage moisture effectively. Regularly check for signs of condensation and address any issues immediately.
Material and Workmanship Warranties
When installing a new roof, it’s crucial to understand the details of material and workmanship warranties to ensure long-lasting protection and value. A clear comparison of warranties can help you evaluate coverage and make informed choices.
| Warranty Type | Coverage Period | Key Exclusions |
|---|---|---|
| Material Warranty | 20-50 years | Installation errors, maintenance |
| Workmanship Warranty | 5-10 years | Material defects, unrelated issues |
| Transferability | Varies by warranty | Conditions apply |
| Proration | After 5-10 years | Reduces coverage as the roof ages |
| Enhanced Warranty | Varies | May include labour costs |
Material warranties cover defects in the materials, while workmanship warranties deal with problems arising from installation mistakes. Be aware that material warranties typically do not cover labour or disposal costs, which can lead to extra expenses.
To activate material warranties, you may need to register with the manufacturer, and some warranties can be transferred to new homeowners. For maximum protection, choose a reputable contractor who provides solid workmanship warranties to guard against potential installation issues.
Roofer Qualifications

Understanding roofer qualifications is crucial for ensuring a successful roofing project. It’s important to verify that the roofer you hire meets specific standards for quality work.
Key qualifications include:
- Licensing: Many areas require roofers to hold a valid licence, which usually involves passing an exam and demonstrating relevant experience in roofing.
- Insurance and Bonding: Ensure your roofer is insured and bonded to protect yourself from potential liabilities.
- Roofer Certifications: Look for certifications that show specialised training, such as in safety practices or specific roofing systems.
Also, consider the roofer’s education and training. A basic requirement is typically a GCSE or equivalent, while apprenticeships and on-the-job training can enhance their skills.
Safety training is essential for compliance with regulations.
Another vital aspect is the roofer’s physical capabilities and attention to detail, which are necessary for the demanding nature of roofing work.
When assessing potential candidates, prioritise those with substantial experience and relevant certifications, as they’re more likely to deliver the quality workmanship you expect.
Installation Checklists

When installing a new roof, it’s crucial to check all components for integrity and functionality.
Ensure proper sealing around flashing and joints to prevent leaks and water ingress.
Inspecting Roof Components
Inspecting roof components is crucial for a successful installation and the longevity of your new roof.
Begin by checking the integrity of the flashing around chimneys, vents, and skylights. Damaged or poorly installed flashing can result in leaks and water damage, so ensure everything is secure and in good condition.
Next, assess the gutters. Blocked or damaged gutters can lead to improper drainage, causing potential roof and structural problems. Make sure they’re clear of debris and functioning properly.
During your inspection, focus on these key areas:
- Tiles or Shingles: Look for any loose, cracked, or missing tiles that could jeopardise your roof’s integrity.
- Roof Structure: Check for signs of sagging or unevenness, which may indicate deeper issues.
- Ventilation and Penetrations: Ensure roof vents are operating correctly and that all penetrations are properly flashed.
Ensuring Proper Sealing
Proper sealing is essential for ensuring the longevity and effectiveness of your new roof. Begin by checking the flashing installation for any damage, gaps, or wear. Use high-quality sealing materials to fill any gaps around the flashing to prevent leaks.
Don’t overlook caulking around vents and pipes; ensure they’re watertight by re-caulking as needed. Remember to clean these areas before applying sealant, as debris can impair adhesion.
Next, inspect your roof edges. Check that the drip edges are securely attached and look for any signs of damage. Clear gutters and downspouts of debris to maintain proper water flow, and ensure end caps are tightly sealed.
Pay special attention to chimneys and vents as well. Look for cracks or loose mortar around the chimney, and make sure vents are securely sealed.
Check rubber boots for signs of dry rot and replace any that need it.
Final Inspection
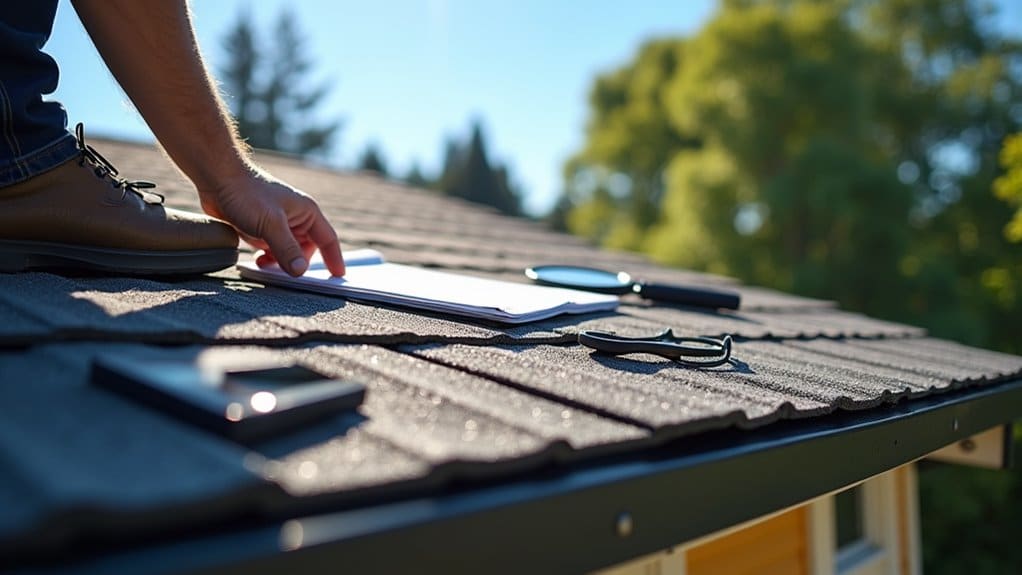
Completing the final inspection is crucial to ensure the new roof meets all safety and structural standards. This important step confirms that the installation aligns with the inspection process and complies with local building regulations.
Before signing off on the job, follow this final checklist:
- Ensure all structural components are securely fastened and comply with regulations.
- Check that ventilation is sufficient to prevent moisture buildup, ensuring there’s at least a 1-inch air gap between insulation and roof sheathing.
- Inspect all penetrations, such as vents, chimneys, and skylights, to ensure they’re properly sealed.
During the inspection, confirm that permits and approved plans are on-site and accessible, as required by R105.7 and R106.3.1.
Proper flashing should cover all exposed sheathing edges, and gutters must be securely attached to direct water away from the foundation.
Cleanup and Maintenance
After installing a new roof, thorough cleanup and ongoing maintenance are essential for its longevity and performance.
Begin by removing any debris from the installation process, such as old roofing materials, nails, and insulation. This ensures a clean surface and prevents potential issues. It’s also crucial to clear gutters and downspouts to avoid water backup, which can cause damage.
Once the initial cleanup is done, set up a maintenance schedule to regularly inspect your roof. Look for missing, curled, or cracked tiles, and clean the roof periodically to prevent algae and moss growth.
Inspect and clear your gutters at least twice a year to avoid clogs and possible water damage.
Don’t overlook trimming overhanging tree branches, as they can drop debris onto your roof and increase the risk of damage.
Keep an eye on flashing around chimneys, vents, and skylights, and address any deterioration quickly.
Type and Material Selection
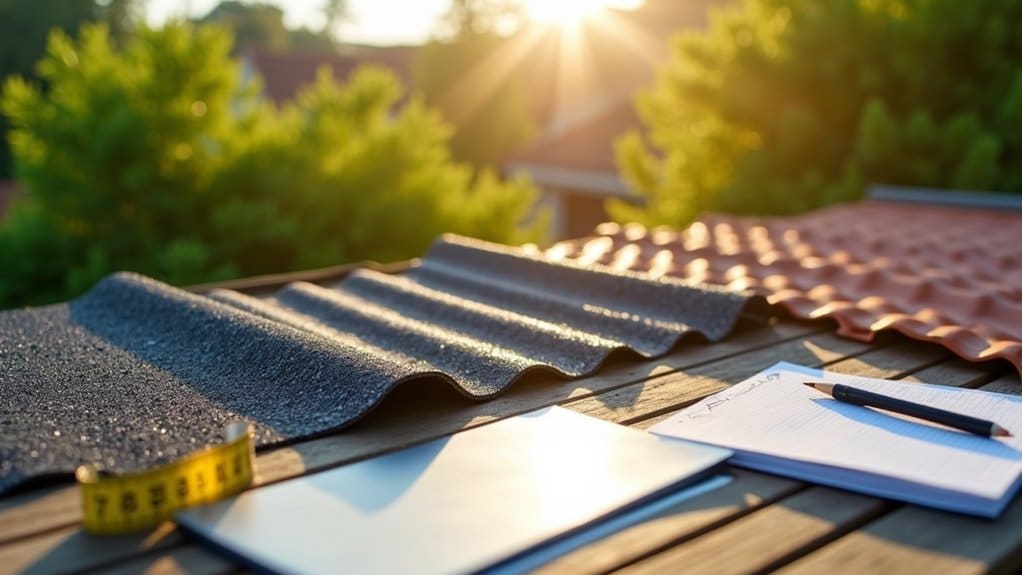
Choosing the right type and material for your new roof is crucial for its performance and longevity. Different materials have unique benefits, so it’s essential to consider both durability and appearance. Here are some key options:
- Asphalt Shingles: Affordable and versatile, they can last between 20 to 50 years and come in various styles.
- Metal Roofing: Lasting up to 70 years, this option is cost-effective and highly resilient to harsh weather conditions.
- Slate Roofing: Renowned for its exceptional durability, slate can last over a century but requires professional installation.
Consider the lifespan of materials; for example, clay tiles can endure for generations, though they’re heavy and may necessitate structural reinforcement.
Aesthetics also matter—selecting a roof that complements your home enhances its appeal. Clay and concrete tiles provide a traditional Mediterranean look, while metal roofing lends a contemporary feel.
In the end, balancing performance, durability, and aesthetics will guide you in making the right choice for your roofing project.
Be sure to evaluate your specific climate and budget before making a decision.
Safety Precautions
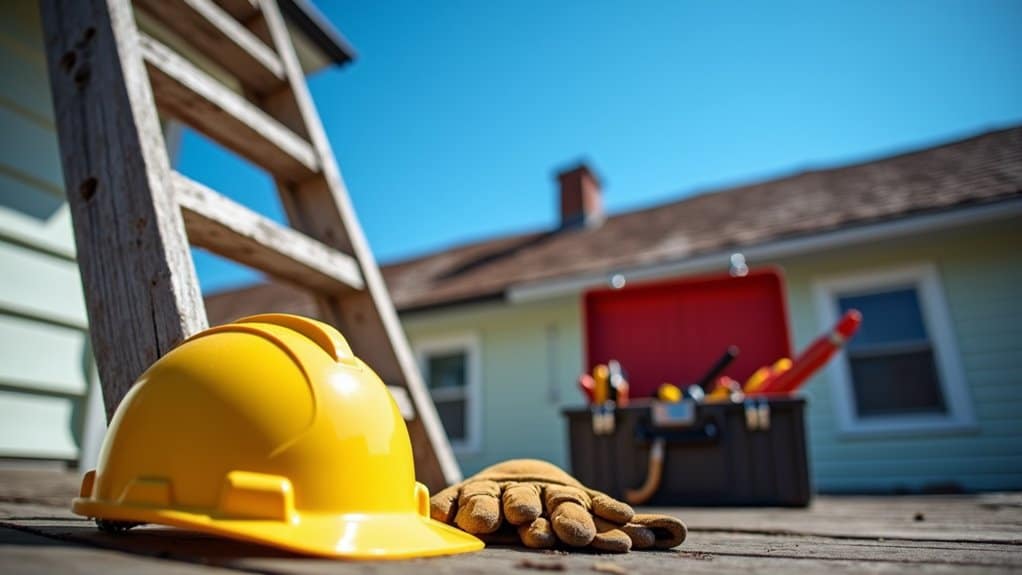
Installing a new roof requires careful attention to safety to ensure a secure and efficient process. Start by assessing the roof’s condition and stability, and check the weather before beginning work. Make sure to obtain any necessary permits and hold pre-start discussions to cover common hazards and safety procedures.
Prepare your site by clearing away debris and setting up guardrails or warning lines at least 6 feet from the edge to reduce fall risks. Ensure you have safe access using ladders and scaffolding, and clearly mark walkways and potential hazards such as skylights and vents.
Personal protective equipment (PPE) is crucial. Always wear hard hats, safety glasses, high-visibility clothing, and steel-toed boots. If working near edges without guardrails, make sure to use fall protection harnesses.
Conduct regular safety inspections and hold toolbox talks to reinforce safety training and ensure everyone understands the protocols.
Additional Considerations
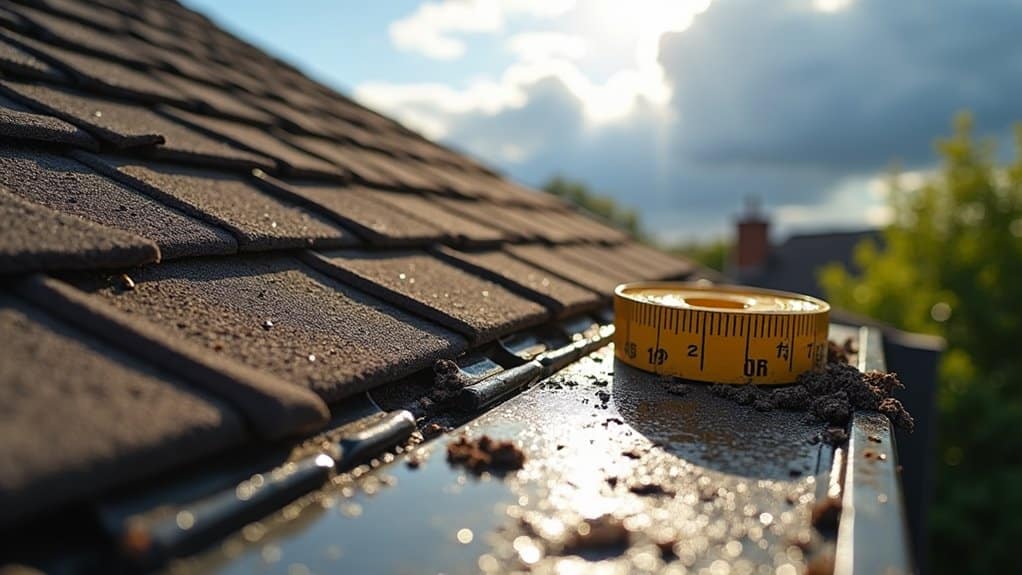
Before starting a roofing project, it’s important to think about a few key factors that can significantly influence both the installation process and the roof’s performance over time.
Addressing these aspects can lead to a smoother experience and better results.
- Budget Considerations: Ensure your budget covers not just materials and labour, but also any unexpected costs, such as structural repairs or necessary upgrades to insulation and ventilation.
- Timeline Expectations: It’s crucial to set realistic timeframes for the project. Weather, availability of materials, and the complexity of your roof can all impact how long the installation takes.
- Documentation and Follow-Up: Maintain detailed records of inspections, repairs, and warranties.
This information will be essential for future maintenance and any insurance claims you may need to make.
Frequently Asked Questions
How Do I Choose the Right Roofing Contractor?
To choose the right roofing contractor, start by checking their qualifications, such as licensing and certifications. Make sure they have experience with the specific roofing materials you want, whether that’s slate, tile, or felt. Look at reviews and warranties to ensure they’re reliable and deliver quality work. For instance, if a contractor has consistently positive feedback about their repairs on slate roofs, that’s a good sign they might be the right fit for your project.
What Financing Options Are Available for Roof Installation?
When exploring financing options for roof installation, it’s essential to assess different loan types in relation to your budget. Personal loans, home equity loans, or specialised roof financing can significantly influence your financial planning and the success of your project.
For instance, a personal loan might be suitable if you prefer a quick and straightforward option, while a home equity loan could offer lower interest rates if you have sufficient equity in your property. Consider your financial situation and choose the option that aligns best with your needs.
How Long Will the Roofing Project Take?
The timeline for your roofing installation usually spans from 2 to 10 days, depending on the size and complexity of the roof. Keep in mind that weather conditions can significantly impact this schedule, potentially leading to delays in completion.
Will the New Roof Increase My Home’s Value?
A new roof isn’t just about looks; it can significantly increase your home’s value. Quality roofing materials enhance curb appeal and attract buyers who prioritise durability and energy efficiency. For instance, a slate roof may appeal to buyers in a period property, while a modern flat roof could attract those looking for a contemporary home. Investing in a new roof can pay off when it comes time to sell.
What Should I Do if It Rains During Installation?
If it rains during installation, prioritise safety by securing materials and equipment. Keep an eye on weather forecasts to adjust your work plan accordingly, ensuring your team is ready for any sudden changes in the weather. For instance, cover tools and supplies with tarps and move to a sheltered area if necessary.
Conclusion
Before you start your roofing project, proper preparation is essential. First, check the condition of your existing decking. Ensure you have the necessary permits, and choose materials that suit your climate and budget. Don’t forget about ventilation and insulation; they play a crucial role in maintaining a durable roof. By following these steps, you’ll not only install a roof but also protect your home effectively, ensuring safety and comfort for years to come.


