

DIY Roof Repair Tips for Small Leaks
To fix small roof leaks, begin by looking for water stains inside your home and checking for damaged tiles outside. Use a ladder safely, ensuring you have three points of contact at all times. Replace any missing tiles or seal small cracks with suitable materials. Regular roof maintenance is essential; clean your gutters and inspect the flashing to prevent future leaks. If you want to ensure your repairs last or require further advice on inspections, there's plenty of helpful information available to keep your roof in top shape.
Key Takeaways
- Check your roof for any damaged tiles, looking out for cracks or missing pieces that may need replacing to stop leaks.
- Clear and prepare the area before sealing small holes or cracks, using a caulk gun for a smooth finish.
- Replace worn rubber boots around vent pipes and ensure that flashing is secure for a watertight seal.
- Regularly check your gutters and remove debris to prevent water build-up, which can cause leaks.
- Inspect your roof at least twice a year to catch any potential problems early and keep it in good condition.
Safety Precautions Before Starting Repairs

Before starting any roof repairs, prioritising safety is crucial. Clear the work area and ensure it's off-limits to pets and children to minimise distractions. Select a ladder location that offers easy access to the roof, making sure it extends at least three feet above the edge. Wear soft-soled shoes for improved grip. Always use a safety harness anchored to the roof frame for added security. Use safety equipment like harnesses, securely fastened to the roof frame, and install safety brackets for added stability. Regular inspections ensure optimal roof performance and can help identify potential hazards before beginning repairs. Keep your tools organised to avoid tripping hazards and secure them to prevent accidental drops. Familiarise yourself with emergency procedures in case of an accident.
Identifying the Source of the Leak
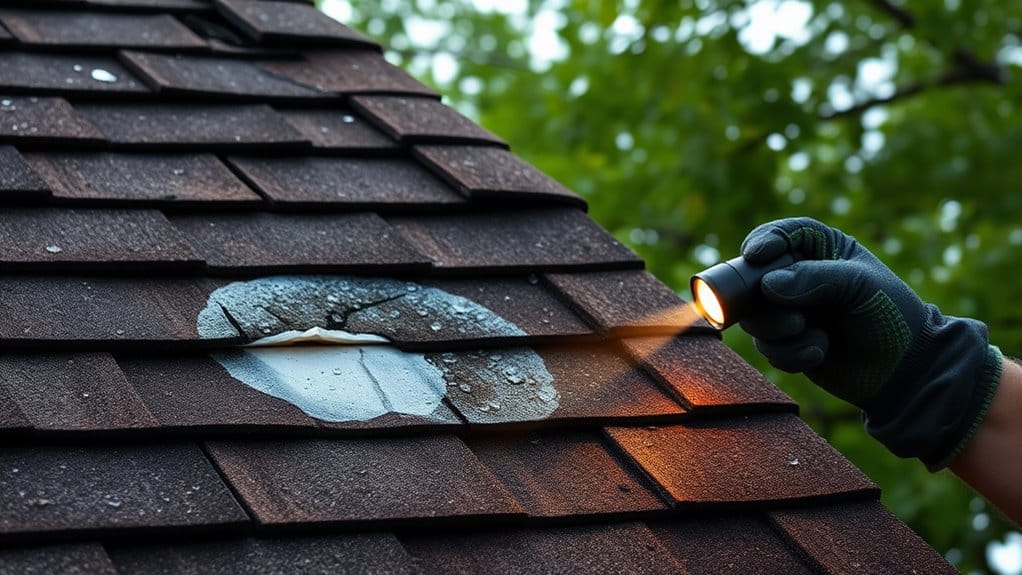
To find the source of a leak, begin by inspecting any water stains on your interior walls and ceilings, as these often indicate where the issue originates. Next, check your attic for signs of dampness or mould, which can suggest moisture intrusion. Additionally, water stains can arise from leaky roofs, defective waterproofing, or leaking pipes. Finally, examine the exterior of your roof for damaged tiles or areas where water may be pooling, as these are common causes of leaks. Additionally, be aware that aging roofs can lead to increased vulnerability to leaks, making regular inspections crucial.
Inspect Interior Water Stains
Water stains on ceilings and walls are often the first indicators of a roof leak in your home. Spotting these stains is crucial to prevent further damage and mould growth. Look for brown, yellow, or copper marks, which suggest unresolved leaks. Circular or irregular patterns may indicate prolonged moisture exposure. Condensation can lead to damp patches on surfaces if not remediated quickly. Regular roof inspections can help in identifying potential issues before they escalate.
| Stain Colour | Possible Cause | Action Needed |
|---|---|---|
| Brown | Roof leak | Inspect the roof and repair it |
| Yellow | Condensation | Improve insulation |
| Copper | Plumbing issue | Check plumbing fixtures |
Conduct a mould assessment in damp areas to ensure safety. Tracing the stains can help you pinpoint the leak's source, enabling timely repairs.
Check Attic Conditions
When checking the attic, look for water stains or discolouration on the ceilings and walls, as these can indicate slow leaks.
Rusty nails or metal components suggest prolonged moisture exposure. If insulation feels damp or has a mouldy smell, it could signal ongoing leaks that need addressing to prevent mould growth.
Dark patches on wooden beams or plywood indicate water damage. Don't forget to inspect areas around roof penetrations, such as vents and chimneys, for moisture signs.
Ensure the attic is well-ventilated to help reduce condensation issues. A moisture meter can be useful for detecting recent leaks, and be vigilant for any light coming through cracks, as this can reveal potential leak paths that require attention. Regular inspections should be conducted at least twice a year to catch early signs of wear and prevent further damage.
Examine Exterior Roof Damage
When inspecting exterior roof damage, pay close attention to areas where leaks are likely to occur. Begin with the roof valleys, vents, and flashing, as these areas often accumulate debris and are more susceptible to weather damage. Check the condition of the shingles, looking for any that are blistered or damaged. Here's a quick reference table to identify potential leak sources:
| Area of Concern | Common Issues | Suggested Actions |
|---|---|---|
| Roof Valleys | Debris build-up | Regularly clear debris |
| Vents and Flashing | Poor sealing | Reseal as necessary |
| Gutters and Downspouts | Blockages | Clean them out regularly |
| Chimneys and Skylights | Flashing damage | Inspect and repair as needed |
Regular inspections are essential for maintaining roof integrity and identifying potential problems before they escalate.
Essential Tools and Materials Needed

Before you climb onto your roof for repairs, it's crucial to gather the right tools and materials to ensure a safe and efficient job.
Start with safety equipment like a harness, non-slip footwear, and gloves to protect yourself. A sturdy ladder is essential for safe access to the roof.
For the repairs, you'll need a utility knife for cutting roofing materials, a hammer for securing nails, and a pry bar for removing damaged shingles.
Roofing cement is important for sealing small leaks, and make sure to have replacement shingles that match your current roof.
Additionally, keep a tarp handy to cover your workspace in case of unexpected rain.
Being well-prepared with the right tools and materials makes a significant difference in effectively maintaining your roof.
Inspecting the Roof for Damage

Once you've gathered your tools and materials, the next step is to inspect your roof for any damage.
Use effective roof inspection techniques to spot issues early and safeguard your home. Start by checking for:
- Missing or damaged tiles.
- Sagging areas that could indicate structural issues.
- Secure and intact flashing around vents and chimneys.
You can inspect from the ground using binoculars or climb a ladder for a closer look.
Don't forget to check your loft as well; look for water stains, damp insulation, or musty smells. Knowing your roof materials will help you determine what repairs may be needed.
Repairing Cracked or Missing Shingles
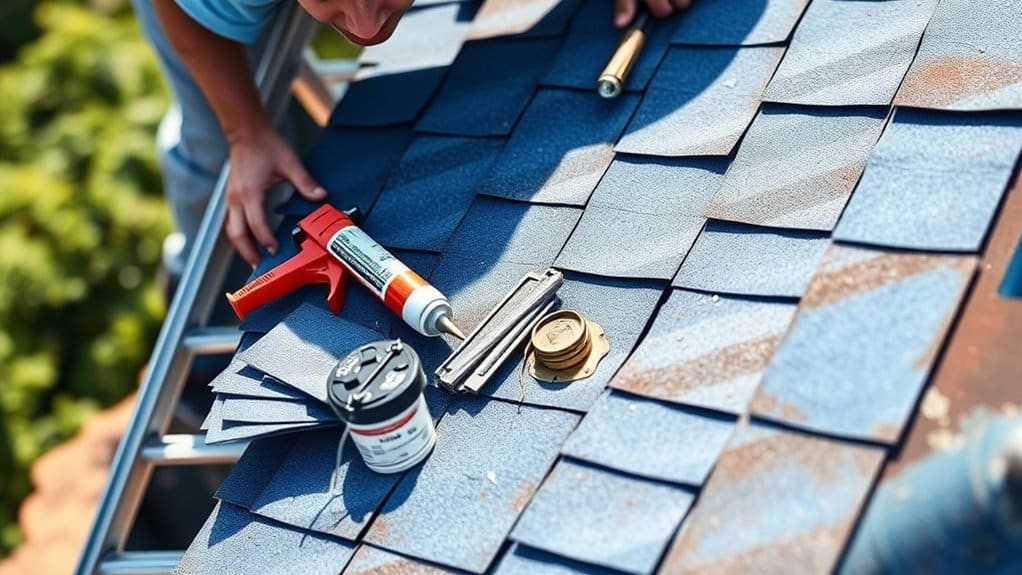
Cracked or missing roof shingles can cause significant water damage if not addressed quickly, so it's important to sort these issues out to maintain your roof's integrity.
Start by identifying any cracks or missing shingles, often due to strong winds.
For replacing shingles, use a flat pry bar to lift the overlapping shingles and remove the damaged ones. Ensure the replacement shingles match your roof's colour for a seamless look. Secure the new shingle with at least four nails, and apply roofing tar for added sealing if necessary.
Next, check the surrounding shingles for any looseness and secure them as needed.
Finally, inspect the area for gaps and make sure all components, like flashing, are watertight to prevent future leaks.
Sealing Small Holes and Cracks

Before sealing small holes and cracks, ensure the area is clean and dry.
Remove any loose debris to prepare the surface.
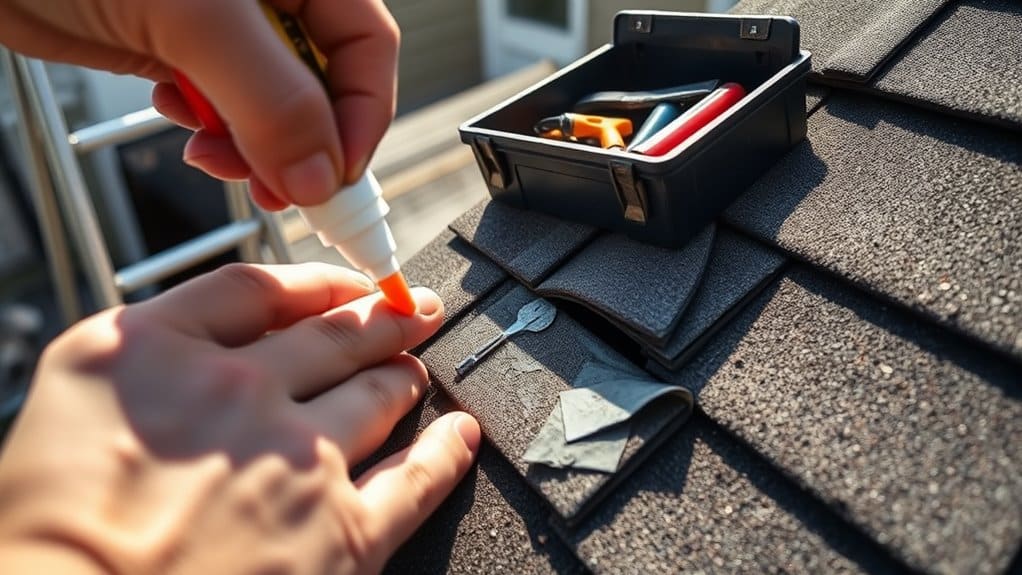
Use a caulk gun to apply the sealant evenly for a smooth, watertight finish.
Allow the sealant to dry thoroughly to ensure a lasting repair that stops future leaks.
Prepare the Area
Inspecting your roof for small holes and cracks is crucial to prevent water damage. Start by identifying these openings and checking for any other damage in the area.
Once you've found the issues, it's important to prepare the area properly. Here are some key steps:
- Clear the area: Remove any debris to ensure a smooth surface.
- Dry the area: Ensure everything is completely dry before carrying out repairs.
- Use safety gear: Protect yourself with gloves and a sturdy ladder.
Taking these steps will help ensure your repairs are effective and safe.
Apply Sealant Evenly
Applying sealant evenly is crucial for effectively sealing small holes and cracks in your roof. Begin by choosing the appropriate sealant based on your roof material and local climate. A caulk gun is ideal for achieving precision; apply the sealant in a continuous, uniform layer. Pay special attention to seams and joints, as these areas are often susceptible to leaks.
| Sealant Type | Best For | Application Technique |
|---|---|---|
| Polyurethane | Flexible repairs | Brush or sprayer |
| Silicone | Metal roofs | Caulk gun |
| Acrylic | Temperature fluctuations | Roller |
After application, inspect the area to ensure complete coverage for optimal protection. Regular maintenance will extend the sealant's effectiveness.
Allow Proper Drying Time
Allowing proper drying time is crucial for the effectiveness of your sealant after sealing small holes and cracks in your roof.
To achieve the best results, keep these drying conditions in mind:
- Temperature: Aim for moderate temperatures between 10-30°C.
- Humidity: Lower humidity levels will help speed up drying.
- Wind: A gentle breeze promotes drying, but strong winds can lead to uneven results.
Refrain from walking on the sealed areas until they're fully dry, which can take anywhere from a few hours to several weeks depending on the sealant used.
It's wise to regularly check the area afterwards to spot any new cracks.
Temporary Roof Solutions for Immediate Protection

When you spot a leak in your roof, acting quickly is crucial to prevent further damage.
One effective temporary solution is to install a tarp. Cover the damaged area with a waterproof tarp that reaches up to the ridgeline to stop water from seeping underneath. Use cap nails around the edges to secure it tightly.
If necessary, weigh it down with heavy items like sandbags or bricks. This method provides a reliable temporary fix until you can arrange for professional repairs.
However, remember that while this patch can protect your home, it's important to schedule a permanent repair soon to ensure long-term safety and integrity.
Working With Flashing Around Vents and Chimneys
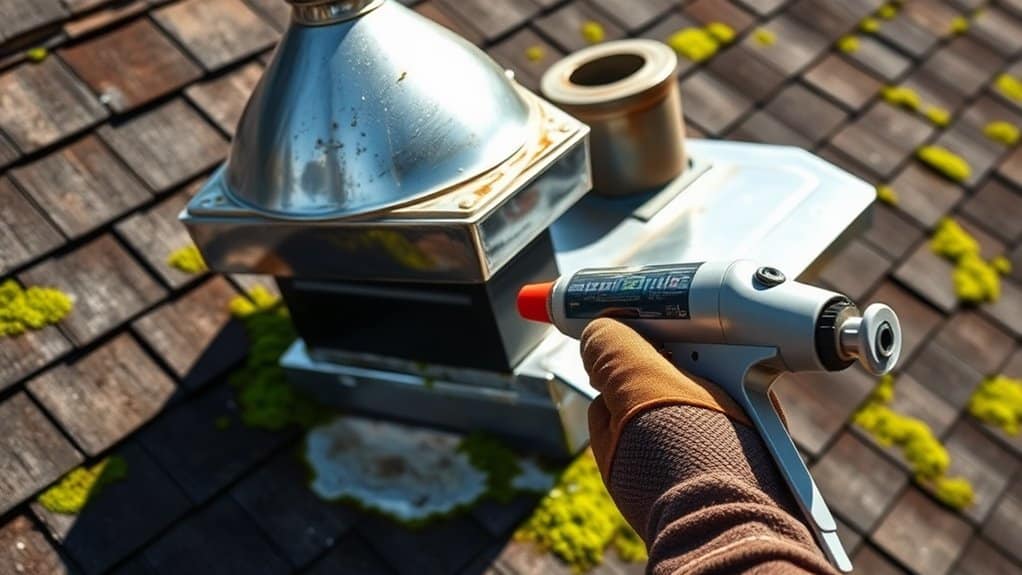
When installing flashing around vents and chimneys, it's crucial to follow proper techniques to prevent leaks.
Issues like gaps, cracks, or rust can weaken your roof's integrity, making regular maintenance vital.
For instance, if you notice water stains on your ceiling, it could indicate a problem with the flashing.
Flashing Installation Techniques
Proper installation of flashing around vents and chimneys is crucial for preventing leaks and extending the life of your roof.
Here's a straightforward guide:
- Inspect and replace any worn rubber boots around vent pipes.
- Use step flashing for chimneys, ensuring each strip overlaps for a watertight seal.
- Add counterflashing over the step flashing for added protection.
Always secure the edges with roofing nails and seal any gaps with roofing cement.
Remember, the type of flashing you choose depends on your specific needs, so select wisely.
Prioritise quality installation, and your roof will last longer, giving you peace of mind.
Regularly inspect for wear to keep leaks at bay.
Common Flashing Problems
Flashing around vents and chimneys is a common source of roofing issues, particularly if not installed properly. Problems often stem from inadequate flashing materials or designs that fail to protect your home effectively.
| Problem | Solution |
|---|---|
| Leaks around vents | Inspect and reseal flashing |
| Damaged chimney flashing | Replace with robust materials |
| Incorrect sizing | Ensure accurate measurements |
| Visible signs of damage | Repair or replace immediately |
Addressing these flashing issues is essential to prevent leaks and water damage. Regular inspections help identify problems early, ensuring your flashing can withstand the elements and maintain your roof's integrity. Always opt for high-quality materials for long-lasting results.
Maintenance Tips for Flashing
Maintaining the flashing around vents and chimneys is crucial for preventing leaks and extending the life of your roof. Regular checks and upkeep will keep your flashing in good condition.
Here are some straightforward tips:
- Inspect for rust or damage on metal flashing.
- Clean the area by removing debris and old sealants.
- Seal any gaps with roofing cement or silicone sealant.
When installing, opt for quality flashing materials to ensure durability. If you notice significant damage, it's best to replace the flashing completely.
Always wear protective gear when working on your roof for safety. For more complicated repairs, especially around chimneys, consider hiring a professional, as strong materials are essential.
Keeping up with maintenance will help you care for your roof effectively!
Maintaining Your Roof to Prevent Future Leaks
A well-maintained roof is vital for protecting your home, but neglecting regular upkeep can lead to expensive leaks later on.
Start by performing routine inspections to identify wear and tear, like damaged or missing tiles. Pay close attention to roof vents, chimneys, and skylights, as these areas are prone to cracks and gaps.
Ensure your gutters are clear to avoid water backup; aim to remove debris at least twice a year.
Additionally, good roof ventilation is crucial; it helps reduce humidity and mould growth, which can weaken roofing materials.
Using high-quality roofing materials and waterproof barriers at vulnerable points will also help prevent leaks and save you money on repairs in the long run.
Regular maintenance is essential for avoiding future issues.
When to Call a Professional Roofer
Even with regular upkeep, there are times when you should call in a professional roofer. Here are some key indicators that suggest you need expert help:
- Significant leaks or noticeable water damage inside your house
- Structural issues such as sagging areas that could pose risks
- Severe wear and tear with large sections needing specialist attention
Hiring a professional roofer comes with several advantages. They can accurately assess damage, help with insurance claims, and provide quick repairs through emergency roofing services.
Quality workmanship ensures your repairs are durable, reducing the likelihood of future problems. If you observe any of these signs, don't delay—reach out to a professional to keep your home safe and secure.
Tips for Safe Ladder Usage

When preparing for roof repairs, using a ladder safely is crucial to avoid accidents. Choose a ladder made from non-conductive materials and ensure it has the correct duty rating for your weight and tools.
Before climbing, check for any damage and make sure it extends at least one metre above the roof edge.
For placement, follow the 4-to-1 rule: position the bottom of the ladder one foot away from the wall for every four feet of height. Secure the ladder at both the top and bottom, and maintain three points of contact while climbing.
Always face the ladder and refrain from carrying tools in your hands. Prioritising ladder safety will help make your repair job both efficient and secure.
Regular Roof Inspections and Maintenance

Regular roof inspections and maintenance are vital for extending the life of your roof and avoiding expensive repairs later.
Aim for at least two inspections a year, preferably in spring and autumn.
Here are the main areas to check during your inspections:
- Tiles: Look for cracks, lifting, or missing tiles.
- Gutters: Clear out debris to prevent blockages and water overflow.
- Interior: Inspect for any ceiling stains or sagging, which may signal leaks.
Frequently Asked Questions
How Can I Tell if My Roof Needs Replacement Instead of Repair?
To assess whether your roof requires replacement rather than repair, check for key indicators such as its age approaching the end of its lifespan, noticeable sagging, or significant damage. If you encounter multiple leaks or extensive moss growth, it's wise to consider a replacement.
What Are the Signs of Roof Damage After a Heavy Storm?
After a storm, it's essential to inspect your roof thoroughly. Check for missing tiles, water stains on your ceilings, or a loss of granules from your roof covering. These signs could indicate damage, potentially leading to leaks and further problems if not addressed promptly.
How Long Can I Expect My Roof Repairs to Last?
You can expect your roof repairs to last anywhere from a few years to several decades. The longevity depends on the quality of the repairs, how often you maintain your roof, and the environmental conditions it faces. For instance, regular inspections and prompt maintenance can significantly extend the life of your repairs.
Can Roof Repairs Be Done During Rainy Weather?
Conducting roof repairs in rainy weather requires careful consideration. Light rain may allow for some minor repairs, but it's essential to assess the weather conditions closely. Prioritise safety and determine the urgency of the repairs before moving forward to avoid accidents and additional damage. For instance, if a storm is on the horizon, it's best to postpone until the weather improves.
What Should I Do if I Find Mold in My Attic?
If you discover mould in your attic, it's essential to act promptly. Start by addressing any sources of moisture, such as leaks or poor insulation. Next, improve ventilation to help keep the area dry. Regularly check your attic to maintain a healthy environment, which will help prevent mould from returning and protect your home and family.
Conclusion
In conclusion, addressing small roof leaks can save you both time and money, but always prioritise safety. Think of your roof as a protective barrier; it shields your home from adverse weather. Regular inspections and maintenance ensure this barrier remains robust against future storms. If you ever feel overwhelmed, don't hesitate to reach out to a professional. A well-maintained roof is essential for keeping your home safe and secure for years to come.


