

Installing Skylights on a Pitched Roof: What to Consider
When installing skylights on a pitched roof, it’s important to consider their placement—position them higher for maximum light and steer clear of roof valleys. Ensure your roof can support the skylights and check for stability beforehand. Follow correct installation procedures, including proper sealing and flashing methods to prevent leaks. Don’t forget about insulation and energy efficiency. Always prioritise safety during installation, and check local building regulations for any necessary permits. You’ll find more essential tips and guidelines in the following sections.
Key Takeaways
- Position skylights higher on pitched roofs to maximise natural light and reduce issues with debris.
- Check that the roof can support skylights; ensure stability and reinforce if needed.
- Employ proper weatherproofing techniques, including flashing and sealing, to prevent leaks.
- Frame the light shaft with 2×4 timber and maintain insulation for energy efficiency.
- Verify local building regulations and secure necessary permits to ensure compliance during installation.
Assessing the Best Location for Skylights

Where should you position your skylights for the best results?
It’s advisable to place them higher on a pitched roof, as this allows more natural light in and reduces obstructions.
Steer clear of roof valleys or eaves, which can collect debris and increase the risk of leaks.
For optimal light distribution, align your skylights with the sun’s path: north-facing skylights offer cooler light, while east-facing ones bring in the warming rays of the morning sun.
South-facing skylights can maximise heat during winter but may need shading in summer.
Ensure your chosen spot allows for proper drainage, ideally on slopes between 15° and 60°.
Check the roof framing to avoid interfering with any underlying structures, ensuring compatibility with skylight flashing to prevent leaks.
Thoughtful placement of skylights can significantly enhance the quality of light and comfort in your home. Additionally, maintaining proper roof ventilation is essential to prevent condensation around skylights, ensuring a healthy indoor environment.
Roof and Structural Preparation
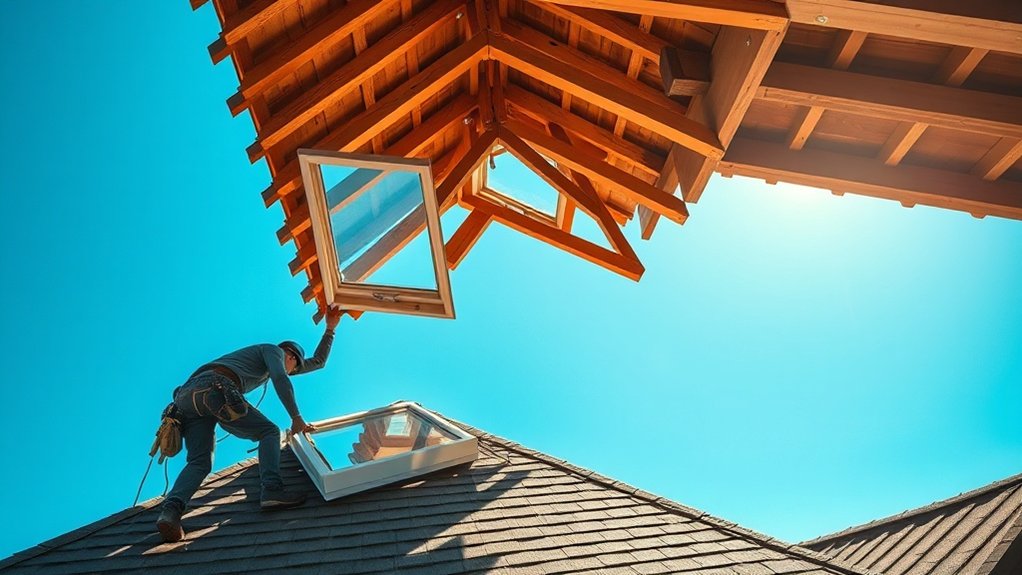
Before fitting skylights, it’s crucial to check the roof and its structural soundness.
Begin by ensuring the roof can support the added weight of the skylights; you may need to reinforce it. If you’re uncertain about its load capacity, seek advice from a structural engineer. Additionally, you should check local codes regarding any structural roof system removal to ensure compliance.
Next, examine the roof decking to ensure it’s stable and free from rot or damage before making any cuts. Regular maintenance practices can help identify hidden problems that may affect the installation process.
Also, confirm that the roof pitch is suitable for your chosen skylight type, as steep roofs handle water runoff differently than flatter ones.
Lastly, be aware of any underlying utilities, like electrical or plumbing lines, to avoid damage during installation.
Proper preparation ensures a safe and effective skylight fitting, improving both functionality and appearance.
Essential Installation Steps
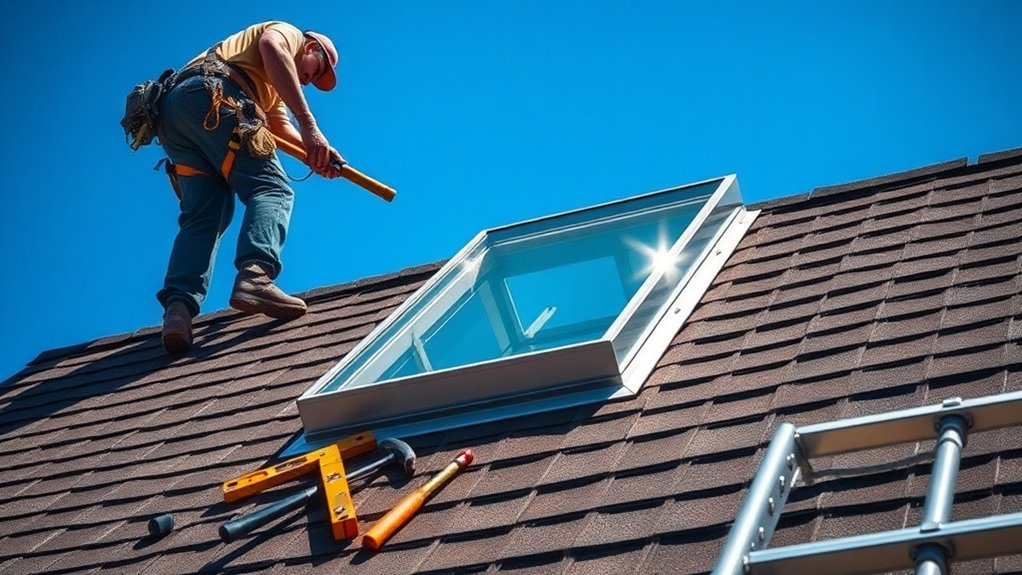
With the roof and structural preparations complete, you can now proceed with the installation of the skylights.
Begin by cutting a precise opening based on the selected skylight type, ensuring it’s at least one inch larger than the frame for flashing. Use your installation tools, such as a circular or reciprocating saw, to prevent any damage. It is crucial to have the right safety equipment on hand to protect yourself during the installation process.
Carefully lower the skylight into position and secure it with roofing screws through the designated holes. For a better seal, apply structural glazing tape.
Next, seal the edges with roofing cement or silicone to prevent leaks. Ensure the flashing integrates smoothly with the roof layers, and check any solar or venting components before finalising.
Finally, complete the interior by installing trim and insulation around the skylight.
Flashing and Weatherproofing Techniques
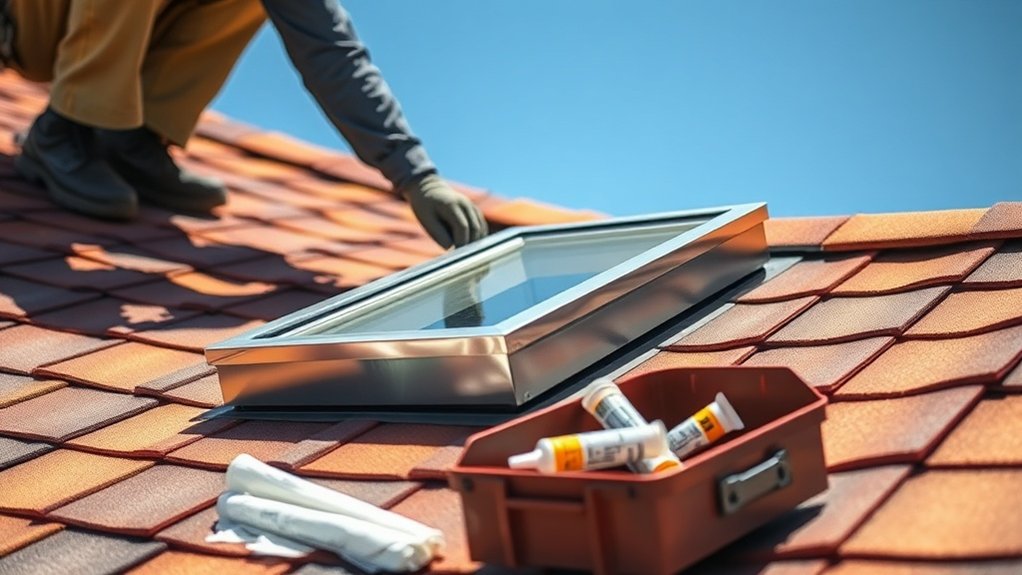
When fitting skylights, it’s crucial to install the flashing properly to ensure effective weatherproofing. Consider the compatibility of flashing materials with your roof structure to secure a leak-proof fit. For instance, if you’re using metal flashing, make sure it matches the roofing material. Additionally, applying sealants correctly at joints and edges will significantly bolster the integrity of your installation. Regular maintenance of chimney flashing is also essential to prevent leaks and protect your home from water damage.
Proper Flashing Installation
Proper installation of flashing is crucial for the long-term performance and weather resistance of skylights on pitched roofs.
Begin with base flashing at the bottom edge to act as a primary barrier against water ingress. Then, install step flashing on the sides, interlocking with roof tiles to direct water away.
Cap flashing should be placed on top, overlapping the side flashings to prevent water from entering from above. Sill flashing extends from the base to effectively divert water.
Use durable materials like lead or metal, or opt for synthetic alternatives for added flexibility. Ensure each layer is secured tightly and overlaps to maintain a seamless flow of water.
It’s important to align your installation with the roof pitch for optimal drainage and to protect against leaks.
Sealant Application Techniques
Effective sealant application is crucial for ensuring the watertight integrity of skylights on pitched roofs. Use suitable sealants like roofing cement and silicone to form a strong waterproof barrier. Generously apply roofing cement around the flashing and skylight edges, ensuring it overlaps slightly beyond the edges. For counterflashing, position it accurately and seal the edges with roofing cement. When using silicone sealant, ensure a continuous application on the upstand to allow for thermal movement. Structural glazing tape can further enhance the seal between the skylight and the frame.
| Sealant Type | Application Method | Key Considerations |
|---|---|---|
| Roofing Cement | Generously along flashing edges | Overlap edges for effective waterproofing |
| Silicone Sealant | Evenly on skylight upstand | Ensure a continuous application |
| Glazing Tape | Firmly press onto batten strips | Clean surfaces for optimal adhesion |
| Counterflashing | Secure with roofing nails | Seal edges with roofing cement |
| Final Inspection | Touch up any gaps with additional sealant | Check alignment and sealing quality |
Material Compatibility Considerations
Choosing the right materials for flashing and weatherproofing is crucial for the longevity and effectiveness of skylights on pitched roofs.
Opt for corrosion-resistant materials like aluminium or galvanised steel for durability. Ensure roofing compatibility by selecting flashing that fits seamlessly with your roofing type—whether it’s tiles, metal, or shingles—to prevent leaks.
Pre-formed flashing kits tailored to your skylight model improve fit and waterproofing. Using flexible materials can help accommodate roof shapes and thermal movement.
Install step flashings for better water drainage, and consider curb mounting for low-pitch roofs. Regularly check your flashing seals to keep them effective.
Interior Finishing and Insulation
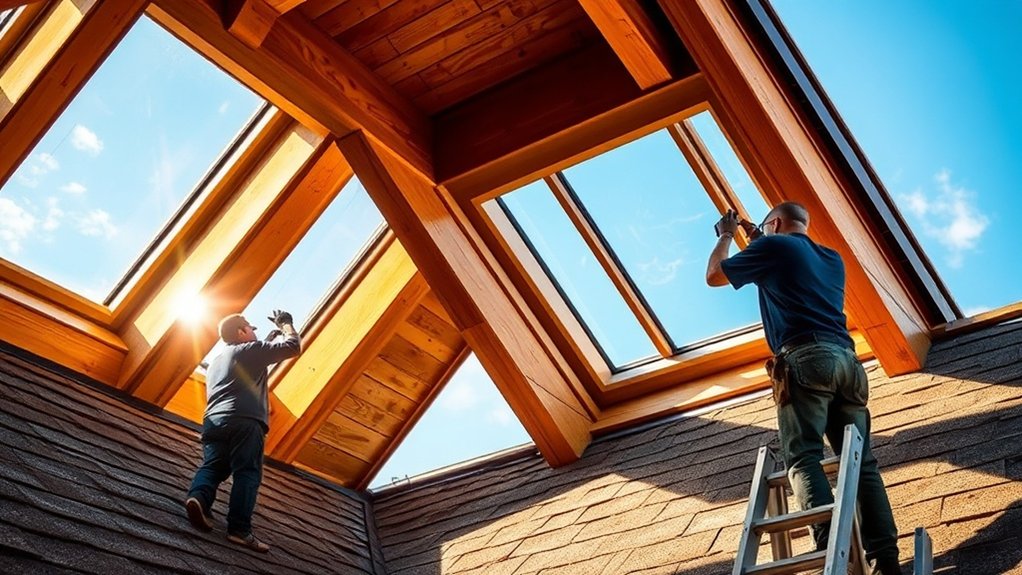
When fitting skylights on a pitched roof, it’s crucial to ensure a neat interior finish and proper insulation for aesthetics and energy efficiency.
Begin by carefully cutting the drywall around the rough opening to reveal the ceiling cavity. Frame the light shaft using vertical 2×4 timber, and finish the drywall edges with “J” moulding for a professional touch.
Once the skylight is in place, replace insulation to maintain the thermal barrier, making sure to position it correctly around the opening. Insulation should also be fitted on the outside of the light shaft studs, with the vapour barrier facing inwards.
Seal all drywall seams thoroughly to reduce air leaks, and apply finishing materials to seamlessly blend the skylight with the surrounding interior for a polished appearance.
Energy Efficiency Considerations
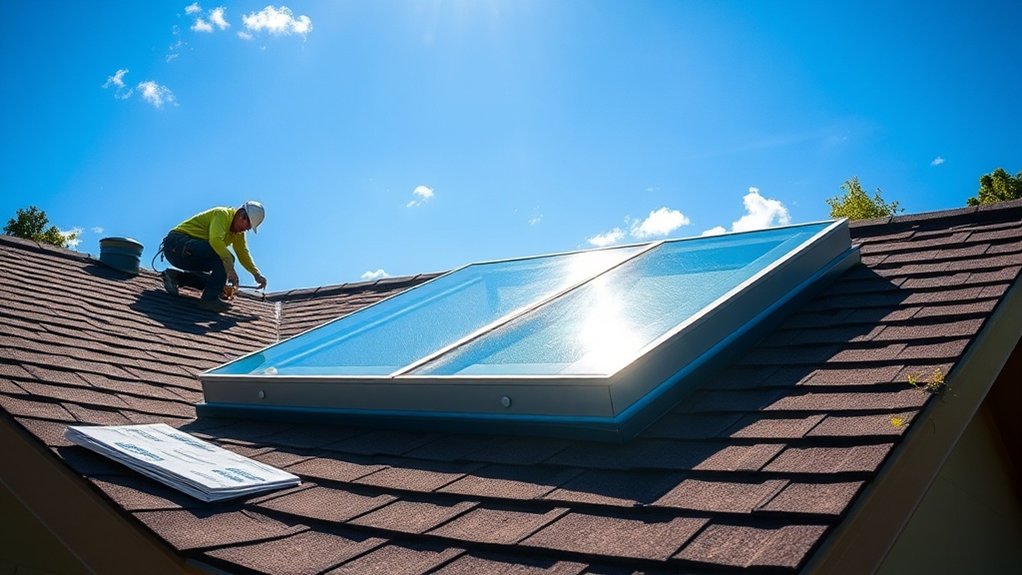
When considering energy efficiency in skylights, focus on energy ratings that reflect their insulation and heat transfer performance.
Good insulation and effective sealing are crucial to prevent air leaks, which can diminish your energy savings.
Skylight Energy Ratings
Understanding skylight energy ratings is crucial for improving your home’s energy efficiency and managing heating and cooling costs.
The U-factor measures heat loss; lower values indicate better insulation. Opting for skylights with a low U-factor can help reduce your heating bills in winter.
On the other hand, the Solar Heat Gain Coefficient (SHGC) indicates how much solar heat enters your home. In warmer regions, a low SHGC can lower cooling expenses, while in colder areas, a higher SHGC can help with passive heating.
Choosing ENERGY STAR-certified skylights ensures they meet stringent U-factor and SHGC standards, ultimately enhancing your home’s energy efficiency and comfort.
Insulation and Sealing Techniques
Effective insulation and sealing methods are crucial for enhancing the energy efficiency of skylights on pitched roofs. Rigid foam insulation panels, such as EPS or XPS, offer excellent resistance to air leaks and can be tailored to fit your skylight’s size.
It’s advisable to extend these panels into the skylight shafts for improved performance.
Sealing techniques, like applying expanding spray foam, caulk, or high-quality tape, help prevent heat loss by addressing air pressure issues. Ensure insulation is wrapped snugly around the edges of the skylight to prevent draughts and maintain a solid seal.
Regularly check and maintain your seals to ensure the insulation remains effective.
Safety Precautions During Installation
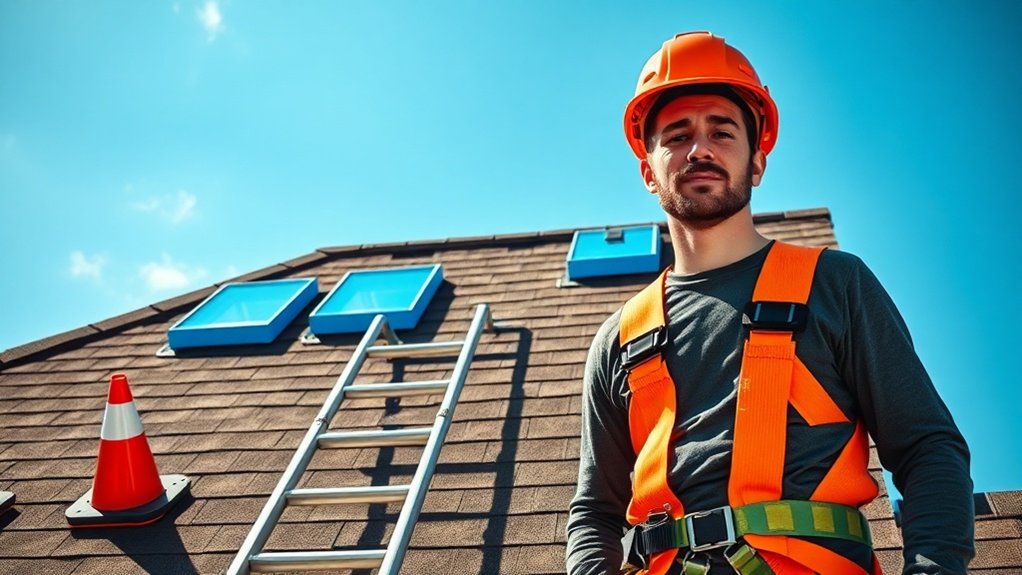
Installing skylights on a pitched roof can brighten up a room and improve ventilation, but safety must come first. Treat skylights as potential fall hazards due to the openings they create. Use guardrails, safety nets, or personal fall arrest systems to prevent falls.
Always wear personal protective equipment (PPE), such as non-slip footwear and gloves, to reduce risks while handling materials. Ensure your fall arrest system is inspected and properly fitted.
When using a ladder, maintain a proper angle, engage all locking mechanisms, and secure your footing. Keep the work area clear of debris, and avoid installation during bad weather to ensure a safe environment.
Following these practices is essential for a secure installation.
Professional Help: When to Seek Assistance
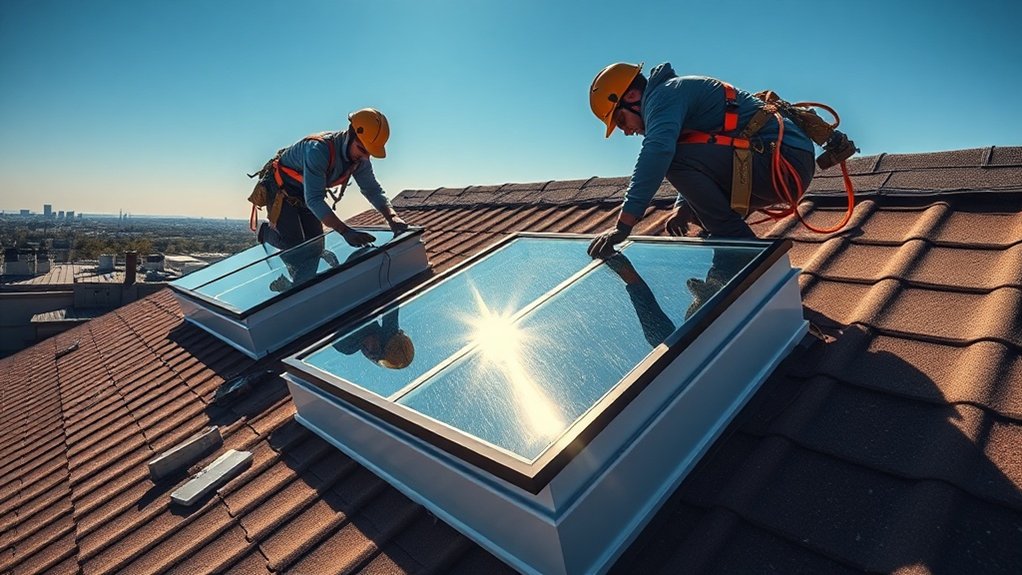
When thinking about installing skylights on a pitched roof, it’s crucial to know when to call in the professionals. If you lack experience with roofing or carpentry, you could encounter challenges that lead to costly errors.
For roofs with complex designs or unusual pitches, expert guidance is often necessary to ensure proper alignment and structural soundness. If your roof requires repairs or reinforcement prior to installation, a professional can evaluate these issues effectively.
Proper sealing and flashing techniques are vital to avoid leaks and water damage, and these are best handled by skilled installers. Hiring professionals not only protects your investment but also ensures compliance with local regulations and building codes.
Local Building Codes and Permits
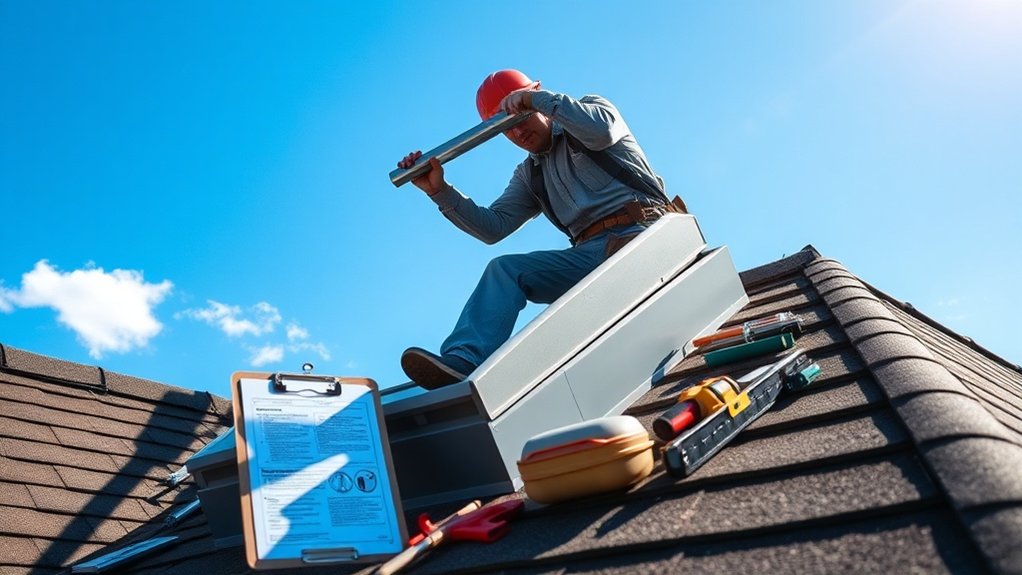
Before starting your skylight installation on a pitched roof, it’s vital to be aware of local building regulations and permit requirements to ensure compliance and safety.
Here are key points regarding the permitting process and code adherence:
- Permits are often necessary for structural alterations, such as cutting into the roof.
- Local regulations ensure safety by outlining required materials and construction techniques.
- Inspections are mandatory to confirm the quality of workmanship and safety.
- Neglecting to secure permits may result in legal consequences and insurance complications.
Always consult your local council for specific requirements.
Understanding these regulations not only keeps your project compliant but also safeguards your investment and ensures a safe, long-lasting installation.
Frequently Asked Questions
How Do I Choose the Right Skylight Type for My Roof?
To choose the right skylight for your roof, first assess the pitch of your roof and select suitable skylight materials. Consider how you want the skylight to function, your insulation requirements, and your aesthetic preferences. This will help you enhance both natural light and energy efficiency in your home. For instance, a flat roof may suit a flush-mounted skylight, while a steeper pitch might benefit from a dome design to allow rain to run off easily.
What Are Common Signs of Roof Damage Before Installation?
Before installation, look out for roof leaks, worn shingles, and signs such as water stains or cracks. These indicators can signal more serious problems, allowing you to tackle potential damage and protect both the roof’s integrity and your investment.
Can I Install Multiple Skylights in One Project?
Yes, you can install multiple skylights in one project. When planning, think about their placement to ensure even light distribution. Also, take into account installation costs, any necessary framing adjustments, and waterproofing to maintain structural integrity and reduce future maintenance.
How Will Skylights Affect My Home’s Resale Value?
Skylights can significantly impact your home’s resale value. They are in line with current buyer preferences, making your property more attractive and potentially increasing its market value. For example, a well-placed skylight can brighten a dark room, creating a more inviting atmosphere. Overall, adding skylights can be a smart investment if you’re considering selling your home.
What Maintenance Is Required After Skylight Installation?
After installing a skylight, it’s essential to carry out regular checks on seals and flashing. Clean the glass and surrounding areas routinely to keep them in good condition. Also, pay attention to any mechanical components. This simple maintenance helps prevent leaks and extends the life of your skylight.
Conclusion
Installing skylights in your pitched roof can significantly enhance your home by bringing in natural light and improving its look. As you embark on this project, careful planning is essential. Consider the placement of the skylights, the installation methods, and their energy efficiency. This isn’t just about adding windows; it’s about creating a brighter, more inviting space. If the process seems daunting, don’t hesitate to seek professional help. With the right approach, your home can enjoy the benefits of natural sunlight.


