

The Importance of Maintaining Chimney Flashing on UK Roofs
Maintaining chimney flashing on roofs in the UK is vital to prevent water leaks that can lead to structural damage and mould growth. Regular inspections can identify cracks and rust that weaken the waterproof seal. Ignoring this maintenance could result in expensive repairs and unsafe living conditions, particularly due to potential gas leaks. By recognising the materials used and signs of wear, you can ensure a safe environment and prolong the life of your chimney system. Discover more about effective maintenance practices.
Key Takeaways
- Regular maintenance of chimney flashing prevents leaks, protecting your home from water damage and structural issues.
- Checking for cracks or rust helps identify potential problems early, which can save you money on repairs.
- Well-maintained flashing provides a watertight seal, keeping moisture and mould at bay.
- Prompt repairs uphold chimney integrity, reducing risks associated with gas exposure, including carbon monoxide.
- Knowing the lifespan of flashing materials helps you make informed choices for your home’s long-term protection.
Understanding Chimney Flashing and Its Role
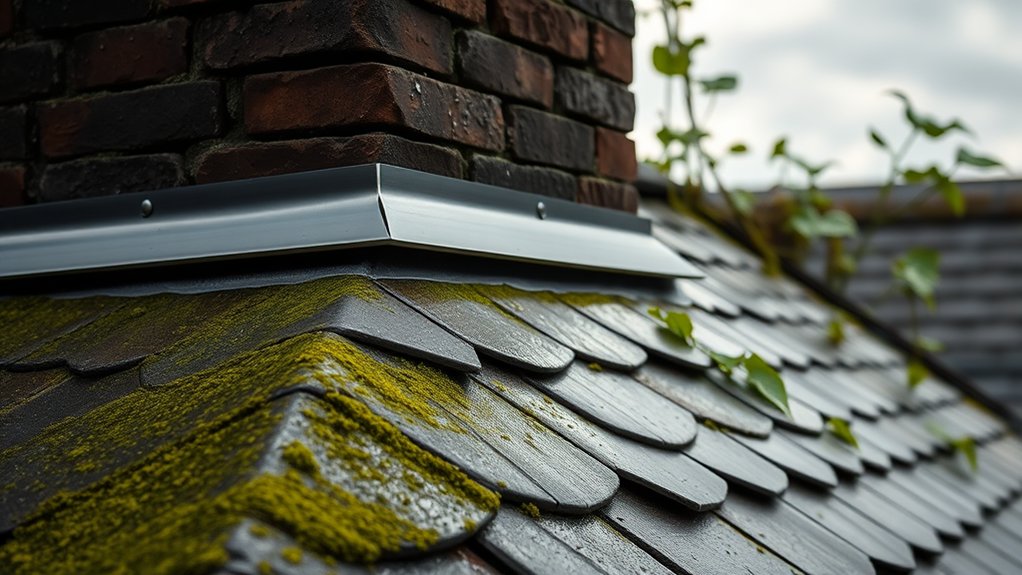
Chimney flashing is a critical component that creates a watertight seal between your chimney and roof. It prevents water from seeping into the gap, protecting your home from damage caused by rain and snow. Proper installation of flashing is vital, as it directs water away from the chimney, helping to avoid issues like wood rot and damage to the structure. Regular maintenance is key—inspect the flashing for any signs of wear or leaks. If you spot any deterioration, it’s important to repair or replace it promptly to maintain the integrity of both the roof and chimney. Additionally, using twin wall insulated flue is essential for safety and efficiency, reducing the risk of heat loss and fire hazards associated with single skin pipes. Regular inspections are essential for maintenance and leak prevention, ensuring that your chimney flashing remains effective over time.
Common Materials Used for Chimney Flashing

When choosing materials for chimney flashing, there are several options, each with its own benefits.
Aluminium is lightweight and resistant to corrosion, making it suitable for damp climates. Regular inspections can help identify any issues with the flashing before they lead to significant water damage.
Copper is durable and develops a pleasing patina over time.
Galvanised steel is budget-friendly but needs regular maintenance to prevent rust.
Stainless steel offers excellent corrosion resistance and longevity, although it can be more expensive.
Lead, while traditional and long-lasting, poses health risks and is often replaced by safer alternatives. Proper overlapping is essential during installation to ensure effective water management and prevent leaks.
To ensure a successful flashing installation, compare materials carefully to balance durability, cost, and environmental impact, ensuring the best fit for your roofing needs and the well-being of your community.
Types of Chimney Flashing in the UK

When it comes to chimney flashing in the UK, it’s essential to know the common materials and their uses for effective waterproofing. Consider the type of flashing that best fits your chimney design and roof layout. For example, lead flashing is often preferred for its durability, while slate or tile flashing may suit certain styles better. Choosing the right material ensures long-lasting protection against water damage to your home. Additionally, metal flashings are sealed with stitching screws or silicone, providing an extra layer of security against leaks.
Common Flashing Materials
Flashing materials are crucial for protecting roofs from water leaks around chimneys. In the UK, popular options include aluminium, copper, steel, lead, and stainless steel.
Aluminium is lightweight and easy to install, making it a convenient choice. Copper, while durable, requires careful soldering to ensure a tight fit. Galvanised steel is favoured for its corrosion resistance, but it does need overlapping sections during installation.
Lead, particularly Code 4, is valued for its flexibility and long lifespan. On the other hand, stainless steel is strong and low-maintenance.
Choosing the right material is essential for effective flashing maintenance, as it directly affects durability and lifespan. Each type has distinct properties that impact both installation methods and long-term performance, ensuring your chimney stays secure and watertight. Regularly checking gutter and downpipe maintenance can also help prevent water damage to chimney flashings.
Choosing the Right Type
Choosing the right type of chimney flashing is crucial for effective water protection around your chimney. Typically, you’ll require a combination of flashings, such as step, apron, and counter flashing, to create a watertight seal.
When selecting materials, take into account the roof pitch, style, and local weather conditions. It’s important to ensure compatibility between the flashing materials and the chimney structure to avoid erosion and leaks.
For example, a chimney damp-proof course (DPC) tray serves as a barrier against moisture, while wall and back gutter flashings help direct water away.
Additionally, make sure your choices comply with local building regulations. The right flashing not only protects your chimney but also prolongs the lifespan of both the chimney and the roof.
Signs That Your Chimney Flashing Needs Attention

If you spot visible cracks or gaps in your chimney flashing, it’s time to act.
Similarly, signs of water damage, such as stains on walls or ceilings, can indicate moisture is getting into your home.
Tackling these problems quickly can help prevent further damage and expensive repairs.
Visible Cracks or Gaps
If you spot visible cracks or gaps in your chimney flashing, it’s crucial to act quickly. Such cracks often form due to exposure to the elements, leading to deterioration and a loss of waterproofing.
Gaps can let water infiltrate your home, raising the risk of interior damage and mould growth. Any physical damage, like tears or holes, further weakens the flashing’s integrity.
It’s essential to repair these issues promptly by reattaching loose sections and replacing damaged materials.
Regular inspections and maintenance can help catch these problems early, ensuring your chimney flashing remains effective and protects your home from water damage and expensive repairs.
Water Damage Indicators
When maintaining your chimney flashing, it’s crucial to identify signs of water damage that require prompt action.
Look for signs of leaks, such as dampness around the chimney or wet patches on walls and ceilings. Rust on the flashing can compromise its waterproofing, and musty smells in the fireplace area may suggest hidden moisture.
During your inspection, check for curled shingles, loose flashing, or pooling water on the roof.
Also, be aware of physical signs like sagging roof decks or debris around the chimney base.
Swift detection of water leaks can prevent serious damage, ensuring your chimney remains structurally sound and effective in protecting your home from the elements.
Consequences of Neglecting Chimney Flashing Maintenance

Neglecting chimney flashing maintenance can lead to serious issues that threaten both your home and the health of those inside.
If flashing deterioration goes unchecked, leaks can occur, allowing water to penetrate your home and cause significant damage. This moisture can harm walls and insulation and create an environment for mould and mildew, which can affect indoor air quality.
Furthermore, a compromised chimney can lead to dangerous gas exposure, raising the risk of carbon monoxide poisoning. As these problems worsen, repair costs can escalate dramatically, turning simple fixes into costly restoration projects.
Regular maintenance not only safeguards your home’s structure but also ensures a healthy living space for you and your family.
How to Inspect Your Chimney Flashing

To inspect your chimney flashing effectively, begin with a detailed visual check from the ground.
Look for signs of damage such as rust, cracks, or loose edges. Pay special attention to any gaps that could let water in, and examine the joints for any damaged sealants.
Keeping a record of your findings will help you monitor the condition of your flashing and address any issues quickly.
Visual Inspection Techniques
Regularly inspecting your chimney flashing is crucial for maintaining your roof’s integrity and avoiding costly repairs. Aim to inspect it at least twice a year, preferably in spring and autumn, or after severe weather.
Start with a visual check from the ground for any loose or missing flashing. If necessary, use a ladder safely to reach higher areas. You can also perform a water test with a garden hose—soak the base of the chimney and have someone inside to check for leaks.
Keep a record of your findings to monitor any issues and plan follow-up inspections. If you spot significant problems or complex repairs, it’s wise to seek professional help to ensure proper flashing installation and maintain your roof’s health.
Signs of Damage
When inspecting your chimney flashing, be on the lookout for key signs of damage that could compromise its effectiveness. Spotting these issues early can help you avoid costly repairs down the line.
- Cracks and Gaps: Look for any visible cracks, as these can let water seep into the chimney structure.
- Rust and Corrosion: Check for signs of rust or corrosion, which indicate that the material is deteriorating and may need replacing.
- Lifting Edges: Ensure the edges of the flashing are flat; lifted edges can break the seal and allow water to enter.
Understanding the different types of flashing and employing the right repair techniques can extend your chimney’s lifespan.
Regular inspections and timely repairs are crucial to maintaining its integrity and effectiveness.
Importance of Prompt Repairs and Resealing
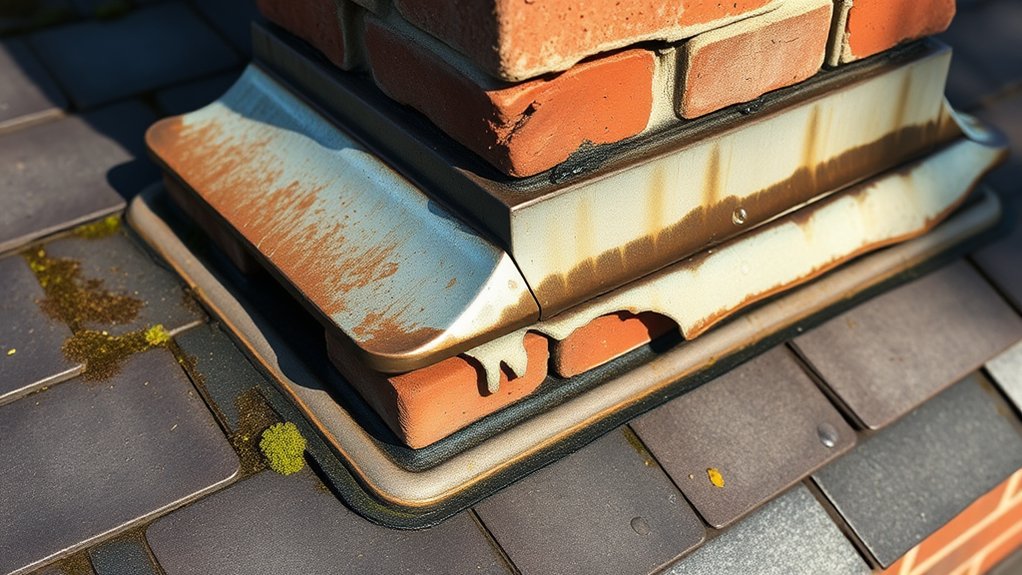
Prompt repairs and resealing of chimney flashing are crucial for protecting your home from expensive water damage. Effective repair techniques and sealing methods prevent leaks at the junction where the chimney meets the roof, a common weak spot.
By quickly addressing minor leaks, you can minimise the risk of dampness in ceilings and lofts, which may lead to severe timber rot. Timely repairs also maintain the structural integrity of your chimney, helping you avoid costly restoration of damaged brickwork.
Additionally, keeping your flashing in good condition ensures your roofing system works efficiently, reducing energy loss. Ultimately, taking prompt action on flashing issues not only saves you money but also helps create a safe and healthy living environment for you and your family.
Cleaning and Maintenance Tips for Chimney Flashing

To ensure your chimney flashing remains effective and to avoid leaks, regular cleaning and maintenance are crucial. By following these straightforward tips, you can prolong the life of your chimney flashing.
- Inspect Regularly: Carry out checks twice a year for signs of rust, cracks, or damage, ensuring proper sealing and caulking.
- Clean Thoroughly: Use a wire brush to clear away debris and old adhesives, making the surface ready for repairs or new flashing.
- Trim Surroundings: Keep nearby trees pruned to prevent branches from damaging your chimney.
The Cost of Chimney Flashing Replacement

Proper maintenance of chimney flashing is crucial, but at some point, replacement may be necessary. Understanding the costs involved is key to making informed decisions.
Replacing chimney flashing typically costs between £450 and £1,200, influenced by factors such as scaffolding requirements and the size of the chimney. For instance, if scaffolding isn’t needed, the average cost is about £525. However, replacing all four sides with scaffolding can push the cost to around £1,000.
Labour costs can vary significantly, ranging from £100 to £300, depending on how easy the access is and local rates.
When considering replacement, also think about potential additional repairs, like repointing or flue repairs, as these can increase your overall expenses.
With careful planning and accurate estimates, you can budget effectively for this essential maintenance.
Longevity of Different Flashing Materials
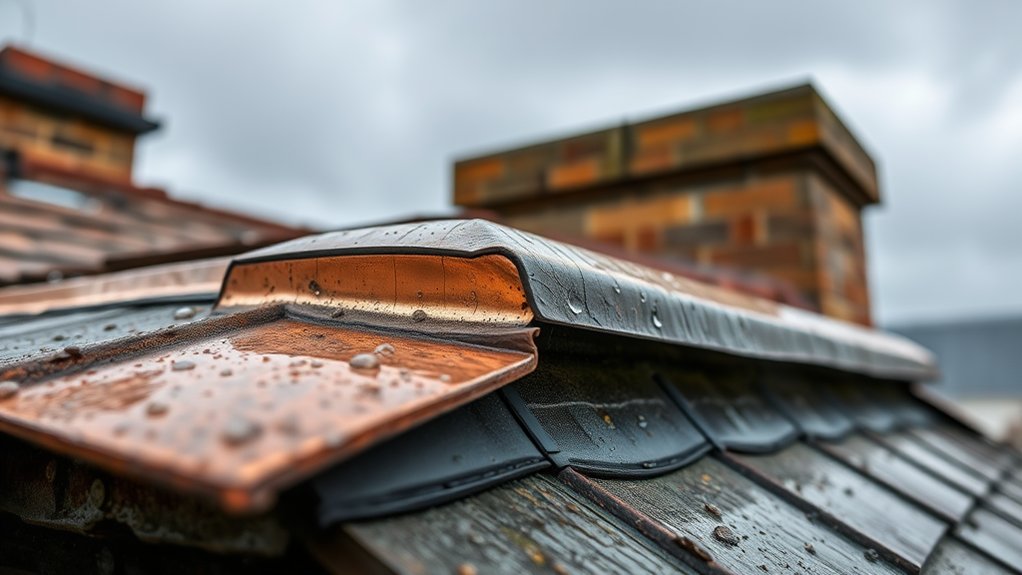
Chimney flashing materials are crucial for maintaining the integrity and longevity of your roof.
Knowing the lifespan of different materials can help you make informed choices. Here’s a comparison:
- Copper Flashing: Lasts 80-100 years, making it the most durable option, though it comes with a higher price tag.
- Lead Flashing: Can last over a hundred years with little maintenance, offering excellent long-term value.
- Aluminium Flashing: More affordable, but has a shorter lifespan of 20-30 years.
Your choice will depend on your budget, aesthetic preferences, and maintenance abilities.
The Impact of Local Climate on Flashing Durability

The local climate significantly affects the durability of roof flashing materials.
In the UK, changing weather patterns and increased variability expose flashing to temperature changes that cause thermal stress. This leads to fatigue cracks, especially in lead flashing, which can compromise waterproofing.
Frequent rain, snow, and ice can cause rust and corrosion, while freeze-thaw cycles worsen deterioration. High winds may dislodge flashing or create gaps, raising the risk of leaks.
Moreover, prolonged exposure to heat can make flashing brittle. Recognising these factors is crucial for maintaining effective chimney flashing and preventing costly structural issues.
Regular inspections are key to managing these climate-related risks.
Integrating Flashing Maintenance Into Roof Care Plans

Integrating flashing maintenance into your roof care plan is crucial for avoiding expensive repairs and ensuring longevity.
Here are some key strategies to consider:
- Schedule Regular Inspections: Carry out annual inspections and additional checks after heavy rainfall to identify any potential issues early on.
- Spot Common Problems: Look out for signs of cracked flashing, rust, or water damage, as these can lead to leaks if not addressed.
- Use Preventative Measures: Apply waterproof sealants and keep surrounding roofing materials in good condition to maintain the integrity of your flashing.
Frequently Asked Questions
How Often Should Chimney Flashing Be Inspected?
Chimney flashing should be inspected at least once a year, ideally twice, depending on the materials used and the local weather conditions. After a storm, it’s crucial to check for any potential damage to ensure your roof remains secure. Regular inspections help prevent costly repairs down the line.
Can I Install Chimney Flashing Myself?
Yes, you can install chimney flashing yourself using appropriate DIY methods. Ensure you choose high-quality materials and adhere to clear instructions. However, be mindful of safety and potential long-term durability concerns. For instance, if you’re unsure about working at height, consider hiring a professional to avoid accidents.
What Tools Do I Need for Chimney Flashing Maintenance?
For maintaining chimney flashing, you’ll need essential tools like a utility knife, hammer, and measuring tape. Additionally, have flashing materials such as sheet metal and roofing tar ready to ensure effective repairs and long-lasting protection.
Is Chimney Flashing Covered by Home Insurance?
Chimney flashing might be covered by your home insurance, but this varies depending on your policy. It’s essential to check the terms of your insurance for coverage on flashing, and be aware of any maintenance requirements that could impact your claims. For instance, if your flashing is damaged due to lack of upkeep, your insurer may refuse to pay out. Always read your policy carefully to understand what is and isn’t included.
What Are the Signs of Poor Chimney Flashing Installation?
If you appreciate water features in your living room, you might want to rethink that approach. Signs of poor chimney flashing installation include damp patches, peeling paint, and rusting flashing. Your home deserves better—don’t let it turn into a waterfall!
Conclusion
In roofing, it’s true that “an ounce of prevention is worth a pound of cure.” Regular maintenance of your chimney flashing is crucial to prevent leaks and avoid expensive repairs. By regularly checking its condition and addressing issues promptly, you can extend its lifespan and protect your home from water damage. Including flashing maintenance in your overall roof care routine can save you time and money, ensuring your roof remains secure and effective.


