

What to Do When Your Roof Leaks in Heavy Rain
When your roof leaks during heavy rain, it’s important to act swiftly. Start by locating the leak—look for water stains or damp patches. Place a waterproof tarp over the affected area, securing it with nails and weights. Inside, soak up any water and protect your furniture with covers. Use fans to help dry out the wet areas, but be cautious of any electrical hazards. Evaluate the extent of the damage and consider calling in a professional for repairs. Additionally, there are steps you can take to prevent future leaks and manage any damage effectively.
Key Takeaways
- Identify the source of the leak by checking ceilings, walls, and roof areas for stains or damage, particularly around chimneys and vents.
- Use towels to soak up any standing water indoors and protect your furniture with waterproof covers to prevent further damage.
- Securely cover the damaged area of the roof with a waterproof tarp, making sure it’s anchored well to withstand heavy rain and wind.
- Take photos of the damage for insurance claims and consider calling in a professional for a thorough inspection and repairs.
- Act swiftly to reduce damage; check for structural concerns and electrical hazards before accessing the roof.
Identifying the Leak
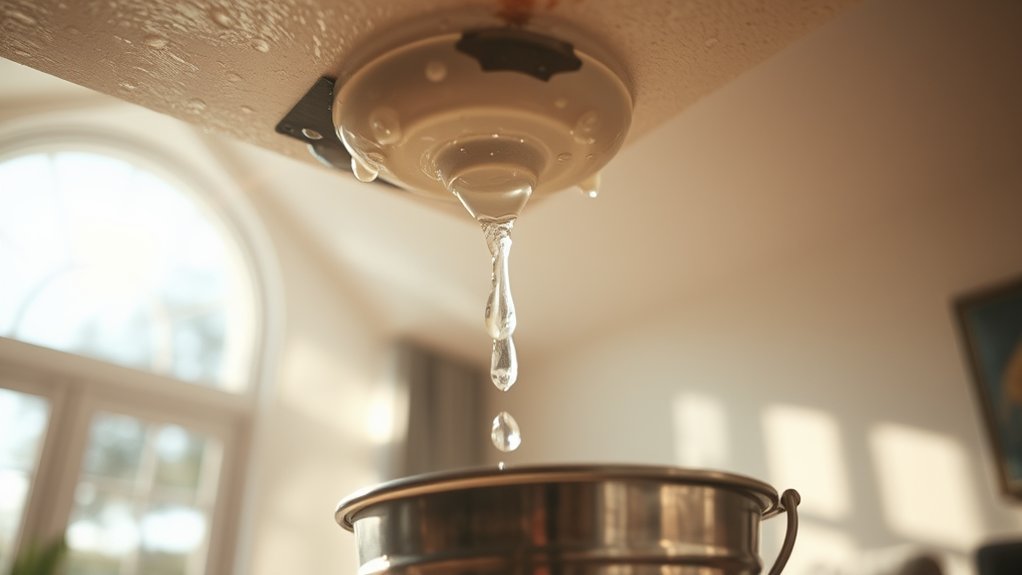
How can you effectively identify the source of a roof leak? Start with a thorough visual inspection of your ceilings and walls for any discolouration or water stains, which often signal moisture issues.
Check your attic for damp insulation or mould, and inspect the roof for damaged tiles or compromised areas around vents and chimneys. Regular visual inspections can help catch early signs of damage before they escalate.
Infrared cameras can be useful for detecting hidden moisture through thermal changes. You might also consider electronic leak detection to locate breaches in roofing membranes. Additionally, flood testing can help identify general locations of weak spots in the roof when other methods fall short.
Lastly, conduct water spray tests to mimic rainfall, systematically testing different sections of the roof to confirm any leaks. Paying close attention to detail is crucial to prevent further damage and extend the life of your roof.
Preparing for Temporary Fixes

Once you’ve pinpointed the source of the leak, it’s time to prepare for temporary fixes to minimize damage and protect your home.
Gather essential materials like waterproof tarps, roofing nails, duct tape, and wooden boards. These tools will help secure your tarps against strong winds and rain. Get some silicone sealant for small cracks and roofing cement with tar paper for larger leaks. Additionally, consider using polyethylene plastic sheets as a reliable option for covering holes on the roof. Regularly inspecting the roof for damaged tiles can help prevent leaks in the future.
Before making any repairs, clear away debris from the leak site and ensure the area is dry for better adhesion.
Check the roof for any other damage and remove any rust from old nails. This preparation lays the groundwork for effective temporary repairs while you plan for more permanent solutions.
Using Tarps and Temporary Patches
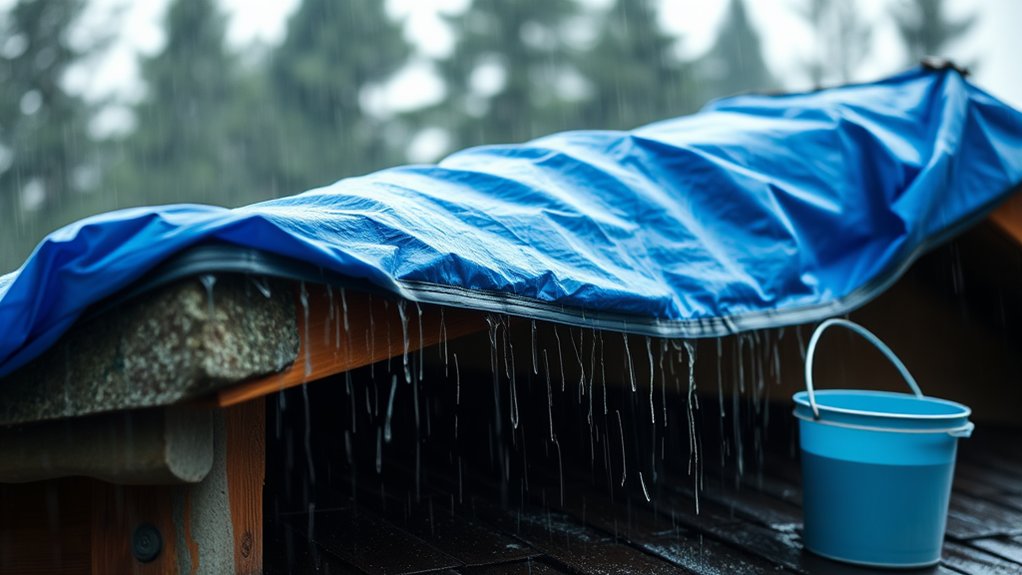
To effectively manage a roof leak, you must securely install a tarp over the damaged area. Start by measuring the space to ensure the tarp overlaps sufficiently to prevent further water ingress. Once the tarp is in position, anchor it with roofing nails and heavy timber to withstand wind and rain. Additionally, using heavy-duty tarps can provide temporary protection for up to 90 days, allowing you time to arrange for permanent repairs. Regular maintenance can help reduce the risk of roof leaks during heavy rainfall, ensuring your home remains secure.
Tarp Installation Techniques
When your roof begins to leak, proper tarp installation can offer crucial temporary protection until you can arrange permanent repairs. Start by choosing waterproof and UV-resistant tarp materials, and select a size that’s larger than the damaged area—ideally extending a few feet beyond the leak.
For pitched roofs, drape the tarp over the ridge so that water can run off either side. If you’re dealing with a flat roof, lay the tarp flat and ensure there are no wrinkles that could trap water. Make sure the tarp fully covers the leak, with edges extending over the roof’s edge.
Finally, use wooden boards or similar weights to secure the tarp, ensuring it stays taut without being overstretched to prevent tearing in windy conditions.
Securing Temporary Patches
Securing temporary patches is vital for reducing water damage until permanent repairs can be completed. Here’s how to do it effectively:
- Select a suitable patching material, like Rubberised Wet Patch or DIY compounds.
- Ensure the roof surface is clean and dry for optimal adhesion.
- For larger areas, use tarpaulins or plastic sheeting to cover and prevent leaks.
- Firmly secure all edges to prevent water from seeping through.
Managing Water Damage Inside

As soon as you spot a leak, it’s vital to act quickly to manage water damage in your home.
First, identify the source of the water; leaks often occur around chimneys, vents, or skylights. Use towels to soak up any standing water to prevent slips and further issues. Protect your furniture by covering it with waterproof materials.
Make sure to document the damage with photos and notes for your insurance claim. To control moisture, use fans to dry out affected areas and reduce the risk of mould.
Clear pathways to ensure safe movement around the area and move valuables away from the flooding. Collect any dripping water in containers to limit damage, and check the insulation to avoid future problems.
Acting swiftly is key to effectively mitigating water damage.
Safety Precautions

When tackling a leaking roof, your safety is paramount.
Only access the roof when conditions are safe, avoiding any electrical hazards.
To prevent slips, keep pathways clear and use non-slip surfaces, such as rubber mats.
Always wear appropriate footwear with good grip and consider using a harness if you’re working at height.
Roof Access Guidelines
How can you ensure your safety while accessing a roof? Follow these crucial guidelines to reduce risks:
- Always wear the right safety gear, such as non-slip footwear and a safety harness.
- Use robust ladders and scaffolding, making sure they’re securely positioned.
- Keep an eye on the weather; delay access if it’s pouring or conditions are poor.
- Maintain three points of contact when moving on the roof for better stability.
Power Safety Measures
Accessing the roof safely is just the start; once you’re up there, it’s vital to take precautions against electrical hazards.
First, ensure all electrical components are kept away from water to avoid electric shocks. Disconnect appliances in the affected area to prevent short circuits, particularly during a power outage.
Use battery-powered lights or torches instead of electric ones for safety. Avoid touching any electrical devices with wet hands, as this heightens the risk of shock.
If you encounter significant electrical damage, don’t attempt repairs yourself; call a qualified electrician.
These steps will help keep you safe while addressing the leak and protect your home from further damage. Always prioritise safety in every action.
Slip Prevention Tips
To prevent slips while navigating your roof, choose suitable footwear with good grip, like rubber-soled boots.
When moving on wet surfaces, consider these slip prevention tips:
- Clear Walkways: Keep paths tidy to reduce tripping risks.
- Secure Ladders: Ensure your ladder is stable and on even ground.
- Grip Surfaces: Use non-slip coatings on areas that often get wet to improve traction.
- Adequate Lighting: Ensure there’s enough light to see surfaces clearly and spot potential hazards.
Assessing the Severity of the Leak

Assessing the severity of a roof leak involves identifying its location and understanding its impact.
Begin with a visual inspection for signs of water damage. Use advanced leak detection techniques such as infrared thermography or moisture meters to find any hidden moisture.
Consider the type of roofing material, as some can worsen leaks. For a thorough assessment, conduct flood testing to replicate heavy rainfall and check the roof’s structural integrity.
Keep in mind the weight of water and the potential for insulation damage. Evaluate how well the drainage system works and identify any weak points in the roofing membrane.
This comprehensive evaluation will help you gauge the leak’s severity and determine whether immediate temporary repairs or professional help is needed.
Cost and Professional Help
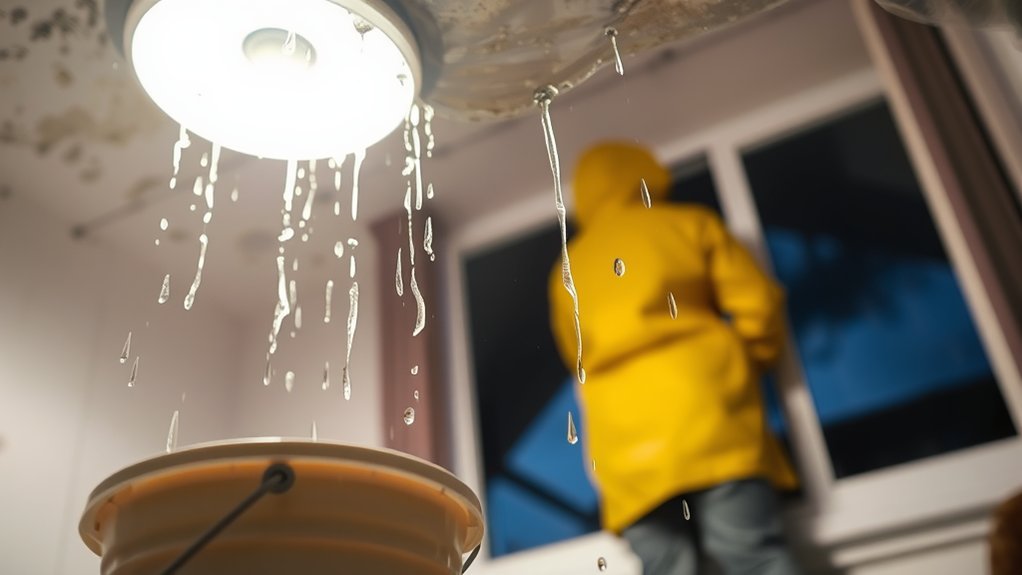
Assessing the severity of a roof leak is crucial, but so is understanding the costs involved and the advantages of hiring a professional.
Roof leak repairs in the UK typically range from £300 to £2,000, influenced by the size of the leak, the type of roof, and any water damage incurred.
Opting for professional services ensures effective repairs and safety. Here are some key benefits to consider:
- Expert Diagnosis: Professionals can accurately identify the leak’s source, leading to effective solutions.
- Safety: They’re trained to handle the risks of working at heights.
- Warranty: Many companies offer warranties, giving you assurance about the work done.
- Time-Saving: Experts can complete repairs quickly, saving you time and hassle.
Investing in professional help can help avoid further damage and additional repair costs down the line.
Preventative Measures for Future Leaks
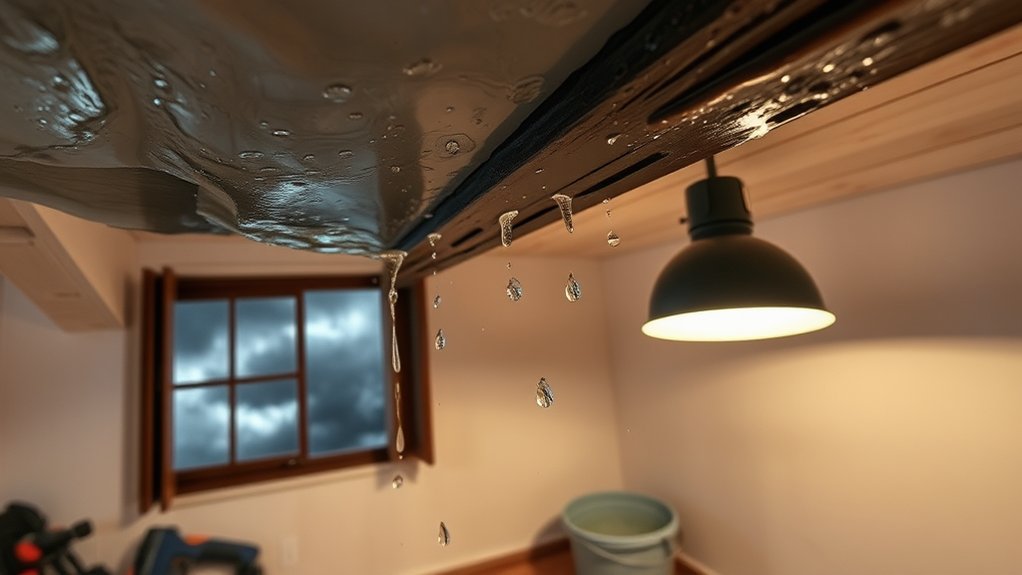
To prevent future roof leaks, it’s essential to carry out regular maintenance and inspections.
Schedule roof checks twice a year, particularly after severe weather, to spot any damage early. Pay close attention to the flashing around chimneys, vents, and skylights, ensuring that the seals are intact.
Clean your gutters regularly to prevent water build-up that can seep under the roofing. Ensure all roofing materials are secure and replace any missing parts promptly.
If your roof is older, increased maintenance is crucial. Consider using advanced leak-resistant materials or roof coatings when making repairs.
When to Seek Emergency Assistance

If you spot signs of a roof leak, it’s vital to act quickly to prevent further damage to your home.
Here are some indicators that you should seek emergency assistance:
- Risks near electrical systems
- Visible structural damage, like sagging
- Significant water ingress
- Forecasted severe weather
In these cases, it’s essential to have a professional roof inspection to evaluate the damage and carry out necessary repairs.
Prompt action not only safeguards your home but also minimises the risk of mould and further structural problems.
Don’t hesitate to call for emergency help if you notice these warning signs; your safety and the integrity of your home are at stake.
Frequently Asked Questions
How Can I Tell if My Roof Needs Replacing?
To find out if your roof needs replacing, consider its age and look for signs of damage such as missing tiles, water stains on ceilings, or sagging. Regular inspections can help you spot these issues early, preventing more costly repairs down the line.
What Are the Long-Term Effects of Roof Leaks?
If left untreated, roof leaks can lead to serious problems like mould growth and damage to insulation, putting your home’s safety at risk. Over time, these issues can worsen, resulting in higher repair bills and potential health hazards. For instance, mould can trigger respiratory issues, especially in vulnerable individuals. Therefore, it’s crucial to address roof leaks promptly to maintain your home’s structural integrity and ensure a safe living environment.
How Often Should I Inspect My Roof?
Did you know that regular roof inspections can extend your roof’s lifespan by 20%? To avoid leaks, it’s advisable to inspect your roof at least twice a year. Look out for common issues like moss growth or damaged tiles before they turn into expensive repairs.
Can I Use a Regular Tarp for Temporary Repairs?
You can use regular tarps for temporary roof repairs. Ensure the tarp is waterproof, covers the entire damaged area, and is secured properly to prevent any gaps that might let water in during heavy rain. For example, if you have a leak over your living room, a well-secured tarp can help protect your furnishings until a permanent fix is made.
What Are Common Roof Materials Prone to Leaks?
Did you know that around 75% of roofs in the UK are covered with asphalt shingles? Alongside metal roofing, these materials are susceptible to leaks, often caused by weather damage, poor installation, or insufficient maintenance. It’s essential to have them inspected regularly to prevent issues.
Conclusion
In conclusion, dealing with a leaky roof during heavy rain can be daunting, but acting quickly can minimise damage. Consider how a prompt temporary fix could save you from expensive repairs down the line. Start by locating the source of the leak, managing any water damage, and ensuring safety. For instance, if water is pooling, placing a bucket underneath can help prevent further issues. Assess the severity of the leak and don’t hesitate to call in professionals if necessary. Staying proactive now can protect your home in future storms.


