

Fixing Chimney Flashing: A Step-by-Step Guide
Fixing chimney flashing involves a few key steps. Begin by inspecting for any damage and thoroughly cleaning the area. Remove any old sealant and apply fresh caulk to ensure a watertight seal. If necessary, reinstall or replace the flashing, making sure it's securely fixed with roofing cement. Conduct leak tests to spot any issues, and establish a regular maintenance schedule to avoid future problems. For a more detailed guide on each step, including safety tips and advice on when to call in a professional, keep reading.
Key Takeaways
Fixing Chimney Flashing: A Step-by-Step Guide
- Start by inspecting the chimney and its surroundings thoroughly to spot any damage or repairs needed before tackling the flashing.
- Remove the old caulk and flashing using the right tools, ensuring the surface is clean and free of debris for a proper seal.
- Measure and cut new flashing materials precisely, applying roofing cement and securing it well to prevent water leaks.
- Conduct a water test around the flashing to check for leaks and look for signs of moisture in nearby areas.
- Set up a regular maintenance schedule to check and clean the chimney flashing, addressing minor repairs swiftly to extend its lifespan.
Preparation Requirements
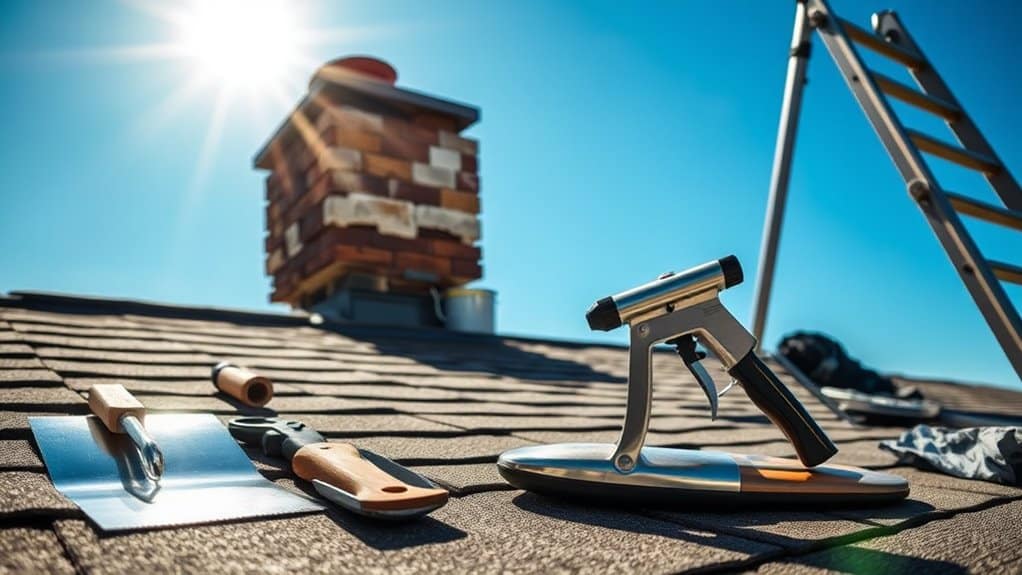
Before you start repairing chimney flashing, it's important to ensure safety and preparation.
Wear appropriate safety gear, such as sturdy footwear, gloves, and a roof harness for stability. Always check that your ladder is secure and in good condition before climbing onto the roof.
Choose a dry, sunny day to work, as this reduces hazards. Gather your tools, including pry bars for removing old flashing and caulk guns for sealing.
Opt for durable materials like aluminium, copper, or galvanised steel for replacement flashing. Clear any debris from the work area and remove old caulk to ensure good adhesion.
Finally, inspect the chimney's mortar joints and the condition of the shingles to provide a solid base for your repairs. Regular preventive maintenance is crucial to address any issues early and prolong the lifespan of your chimney flashing.
Assessing the Damage
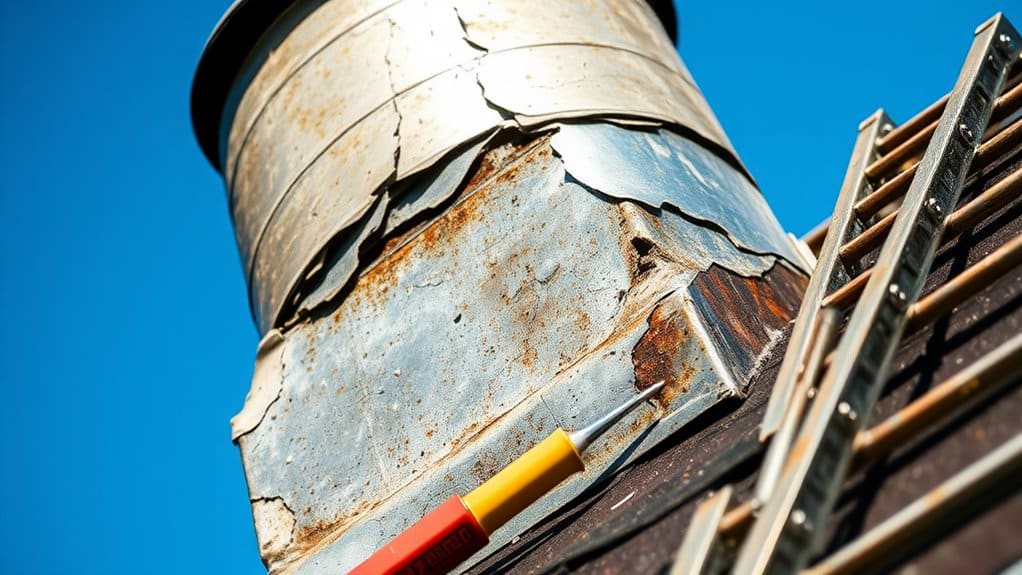
To effectively assess damage to your chimney flashing, begin with a thorough visual inspection. Look for common issues like rust, loose flashing, or water stains, which can indicate moisture problems. Understanding how moisture affects your chimney's integrity will guide you in determining the necessary repairs. Remember that chimney flashing is essential for maintaining structural integrity, as it acts as a watertight seal at the chimney-roof junction.
Visual Inspection Techniques
How can you effectively assess the condition of chimney flashing? Start by using the right inspection tools and safety gear. Look for visible gaps between the flashing and the chimney or roof, check for rust or corrosion, and look out for any dents or bends. Ensure all sections are securely fastened and inspect the sealant for any signs of damage. Regular checks for chimney flashing leaks are essential for maintenance. Additionally, proper flashing maintenance is vital for preventing water ingress and maintaining roof integrity.
| Inspection Area | Key Checks | Tools Needed |
|---|---|---|
| Exterior Checks | Gaps, rust, and bends | Binoculars, Ladder |
| Interior Checks | Water stains, mould, and peeling | Torch |
| Preparation & Safety | Safety gear, lighting, and maintenance records | Safety gloves, Boots |
Make sure to prioritize your safety during the inspection.
Common Damage Types
What common types of damage should you look for when evaluating chimney flashing? Spotting these issues early can help prevent leaks and maintain your home's integrity.
Pay attention to the following signs:
- Water Stains: Look for stains on ceilings and walls near the chimney.
- Visible Rust or Corrosion: Check for any rust on the flashing materials.
- Cracks or Gaps: Examine for cracks that could allow water to get in.
These damages often arise from poor installation, weather exposure, or the age of the flashing materials.
Regular inspections and maintenance can significantly reduce repair costs and prolong the lifespan of your chimney flashing, keeping your home safe and dry.
Moisture Impact Assessment
Identifying common damage types in chimney flashing is essential for assessing moisture impact effectively. It's crucial to evaluate various moisture sources, as they can lead to serious health risks. Look for signs such as dampness, mould, and rust.
| Damage Type | Indicators | Potential Consequences |
|---|---|---|
| Moisture Invasion | Musty odours, damp patches | Structural weakness |
| Mould Growth | Visible mould on walls | Respiratory issues |
| Peeling Paint | Flaking near the chimney | Increased repair costs |
| Water Stains | Stains on ceilings or walls | Compromised chimney integrity |
Regular assessments enable you to identify and address these issues before they escalate, ensuring a safe and healthy environment. Acting promptly can help prevent costly repairs and maintain good air quality. Additionally, regular inspections can catch early signs of wear and tear, further safeguarding your home.
Cleaning Up the Area
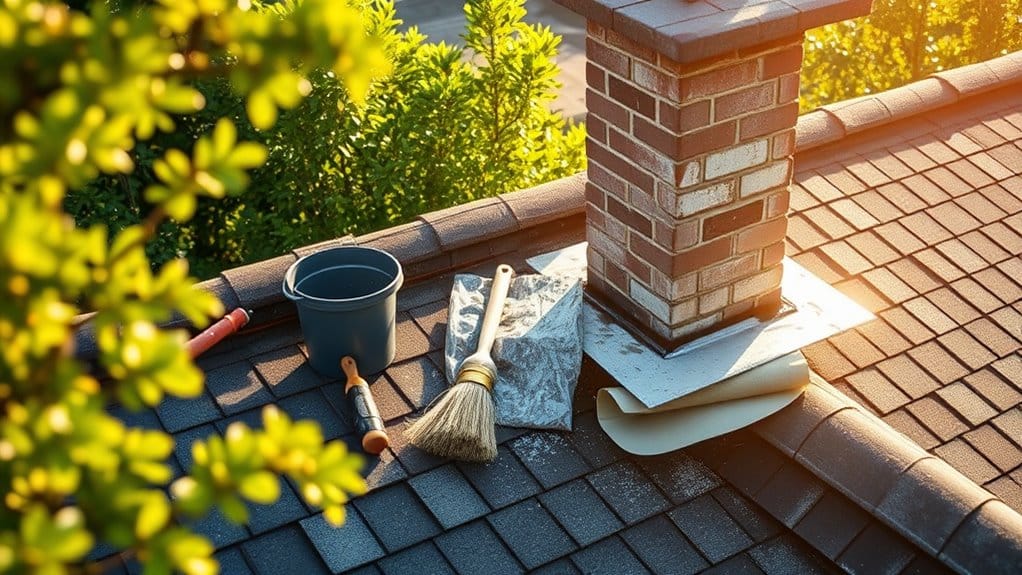
To ensure a successful repair, it's essential to clean the area properly.
Begin by removing all debris and scraping away any old caulk or cement to prepare the surface effectively.
A tidy workspace not only improves adhesion but also extends the life of the new materials you'll be using.
Debris Removal Techniques
When removing debris around the chimney, it's crucial to maintain a tidy working area for effective flashing installation. This helps prevent any disruption to the new flashing and ensures proper adhesion, reducing the risk of future leaks.
Employ suitable debris collection methods and flashing removal tools to make the process more efficient.
- Use pry bars and utility knives to carefully remove old flashing without damaging nearby materials.
- Clear debris from the roof and around the chimney to ensure safety and efficiency.
- Always check for hidden damage or corrosion during the cleaning process. Additionally, regular inspections are essential for optimal roof performance and can help identify potential issues before they escalate.
Old Caulk Clearance
After clearing the area around the chimney, it's essential to remove old caulk for a clean surface before installing new flashing.
First, identify the types of caulk—silicone, mortar, lap sealant, and polyurethane. Use a utility knife for precise cuts on stubborn caulk, then employ a putty knife or scraper to remove it efficiently.
For particularly tough residues, you might need chemical solvents, but always wear gloves and a mask for safety. Once scraped, use a wire brush to eliminate any remaining debris.
Inspect the area closely to ensure no old caulk is left. Dispose of the waste responsibly, as environmental factors can affect caulk deterioration.
A thorough clearance ensures the best adhesion for your new flashing.
Surface Preparation Tips
Surface preparation is crucial for a successful chimney flashing installation. Effective cleaning methods create the best conditions for your work. Here are some essential surface preparation techniques to follow:
- Remove debris: Clear away old roofing cement and dirt to avoid any obstructions.
- Inspect flashing: Look for damaged, corroded, or loose sections that might need repair.
- Wear protective gear: Use gloves, goggles, and non-slip footwear to ensure your safety.
Once you've completed these steps, check that the surface is smooth and free from dust to ensure proper adhesion of the new flashing. Regular inspections should be conducted at least twice a year to catch early signs of wear and ensure the integrity of your flashing.
Thorough surface preparation will lead to a more durable and effective installation.
Applying Sealants and Caulks

Applying sealants and caulks is crucial for achieving a watertight seal around chimney flashing. Start by choosing the appropriate sealant types, such as roofing sealant for edges, roofing cement for angles, or polyurethane caulk for mortar joints.
Use effective application methods: spread sealant evenly with a brush and consider using masking tape for clean lines. For added strength, embed fleece into freshly applied Turbo Poly Seal and apply a topcoat.
Always clean up excess sealant with solvents like lacquer thinner. Remember to wear safety gear and check the weather before starting.
After application, inspect your work thoroughly to ensure there are no gaps, providing long-lasting protection against leaks. Regular maintenance is essential to extend the life of your sealant.
Reinstalling or Replacing Flashing

Reinstalling or replacing chimney flashing is crucial for maintaining a watertight seal and preventing leaks. Begin by inspecting the existing flashing for any damage, debris, or wear. Carefully remove the old flashing, ensuring the area is thoroughly cleaned before moving on.
When preparing new flashing, follow these key steps:
- Measure accurately to ensure the flashing is cut to the right size.
- Choose suitable materials that are appropriate for your local weather conditions.
- Bend the metal correctly so it fits snugly around the chimney.
During installation, apply roofing cement liberally, secure the flashing with nails, and ensure there's a proper overlap of sections. Additionally, it's essential to schedule regular inspections to identify potential issues early and maintain the effectiveness of your flashing.
Finally, seal all edges with high-quality sealant to enhance durability. By following these techniques, you can effectively protect your home from water damage.
Testing for Leaks

After installing or replacing chimney flashing, it's crucial to check for leaks to ensure it's watertight.
Begin with a visual inspection of the chimney's exterior and the loft, looking for any signs of moisture or water damage.
Next, carry out a water test by soaking small sections to identify leaks. If problems persist, consider pressure testing around the flashing area.
Look for indicators like damp patches, discolouration, or moisture near the base, as these could signal issues.
Choosing the right flashing materials, such as copper, can improve durability.
Regular inspections and maintenance are key to ensuring long-term performance and preventing future leaks.
Regular Maintenance and Inspections

Regular maintenance and inspections may seem tedious, but they're vital for the longevity and effectiveness of your chimney flashing.
To keep your chimney in good condition, stick to a regular inspection schedule, ideally during annual roof checks or after severe weather.
Here are some practical maintenance tips:
- Clean gutters regularly to prevent water pooling.
- Apply sealants to minor cracks, but consult a professional for more permanent repairs.
- Remove debris around the chimney to ensure it operates efficiently.
Safety Considerations
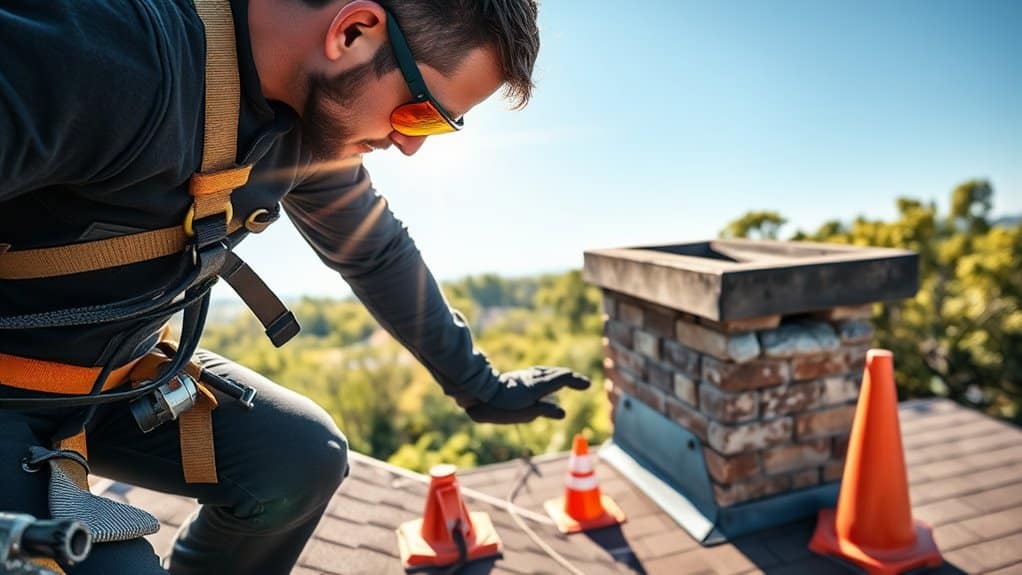
When carrying out chimney flashing repairs, safety must be your top priority to avoid accidents. Ensure you wear essential safety gear such as gloves, goggles, and non-slip footwear. If working at height, it's crucial to use a secure harness. Keep a first aid kit and fire extinguishers on hand at all times.
Before starting, assess any hazards by checking for structural risks, evaluating the roof's condition, and steering clear of adverse weather.
Ensure you have sufficient lighting to prevent slips and trips, and be cautious when using tools. Make sure there's good ventilation in the area.
Always follow local building regulations and industry guidelines to create a safe working environment.
Additionally, ensure everyone involved has received proper safety training to reduce risks and improve communication during the repair process.
When to Hire a Professional
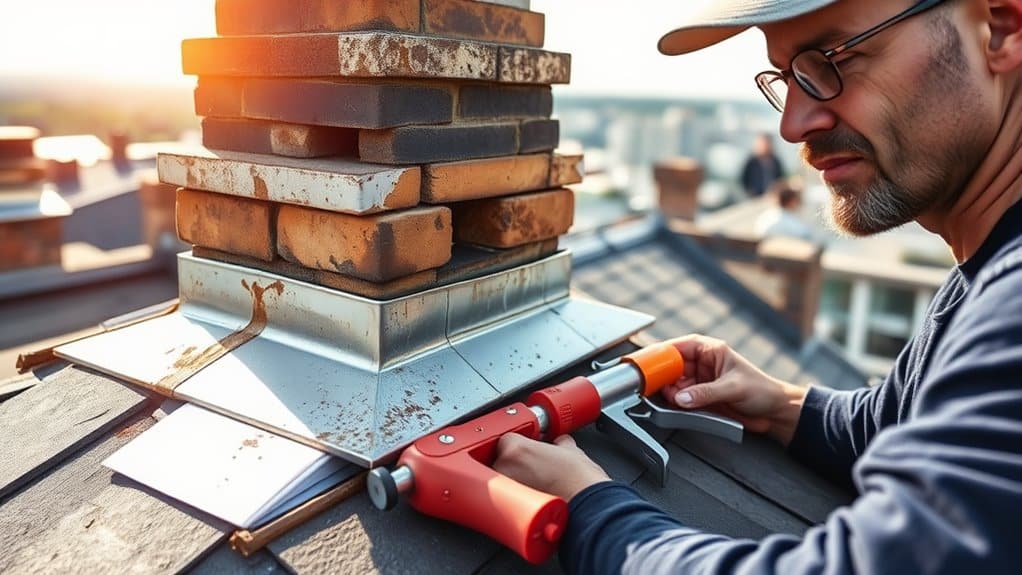
When it comes to chimney flashing repairs, some situations are best handled by professionals.
It's crucial to recognise when it's time to call in an expert. Consider hiring a professional if you encounter any of the following:
- Severe structural damage to both the flashing and chimney.
- Complex repair needs that involve multiple roofing elements or significant wear and tear.
- Requirements for specific materials that need to seamlessly integrate with your existing roofing.
Professionals have the right qualifications, including specialised knowledge, the right tools, and experience with various roof types.
Their thorough evaluations ensure long-lasting solutions, reducing the likelihood of future issues.
Frequently Asked Questions
How Often Should Chimney Flashing Be Inspected?
You should inspect your chimney flashing at least once a year, ideally in spring or autumn. Using durable materials like copper can improve your chimney's longevity and help prevent expensive repairs caused by leaks and damage.
Can I Repair Chimney Flashing in Winter?
Yes, you can repair chimney flashing in winter. Use flashing materials suited for cold weather, ensure proper safety precautions, and consider warming the area to improve bonding for effective repairs.
What Are the Signs I Need New Flashing?
As water stains spread across your ceiling, it may be time to check your flashing. Look for signs such as discoloured bricks around your chimney, gaps in the caulking, or persistent dampness. These are clear indicators that new flashing is needed.
Is Chimney Flashing Covered by Homeowners Insurance?
Chimney flashing is usually covered by homeowners insurance in the UK if the damage is caused by unforeseen events, such as storms or falling trees. It's important to have regular chimney inspections, as these provide proof of maintenance. This documentation can help strengthen your insurance claim if there's a dispute, particularly if the insurer might try to deny a claim due to neglect. For example, if a storm damages your chimney flashing and you have recent inspection records, you're in a better position to claim for repairs.
Can I Install Flashing Myself Without Experience?
Can you really tackle DIY roofing without prior experience? While it's feasible to install flashing yourself, you must grasp the different flashing materials and techniques involved. Be ready for a bit of a learning curve, and prioritise safety throughout the process. For instance, understanding how to properly seal joints can prevent leaks down the line.
Conclusion
In summary, repairing chimney flashing may seem daunting, but with proper preparation and the right tools, you can safeguard your home against expensive water damage. While tackling the job yourself can save you money, remember that skipping regular maintenance could lead to larger problems later on. Assess your skills against the job's complexity—sometimes, calling in a professional is the wisest choice. By staying proactive, you can ensure your chimney remains leak-free for years to come.


