

Chimney Flashing Repairs for UK Properties: Step-by-Step Process
To repair chimney flashing on UK properties, first gather the necessary tools and materials, prioritising safety throughout the process. Begin by inspecting for any damage, then carefully remove the old flashing. Clean the area thoroughly before fitting new step flashing, ensuring secure overlaps and proper sealing with roofing cement. Once completed, inspect your work for any potential issues and keep a log of repairs. Regular maintenance is essential to keep your chimney watertight. There’s plenty more to learn about this process.
Key Takeaways
- Gather the necessary tools and materials, including safety gear, for chimney flashing repairs.
- Carry out a detailed inspection of the existing flashing to check for any signs of damage or wear before commencing repairs.
- Carefully remove the old flashing, ensuring the area is cleaned thoroughly to promote good adhesion for the new flashing.
- Install the new flashing using step flashing techniques, securing it with appropriate fasteners and sealant to ensure it is watertight.
- Conduct regular inspections and maintenance to catch any issues early and ensure compliance with UK building regulations.
Preparing for Chimney Flashing Repairs
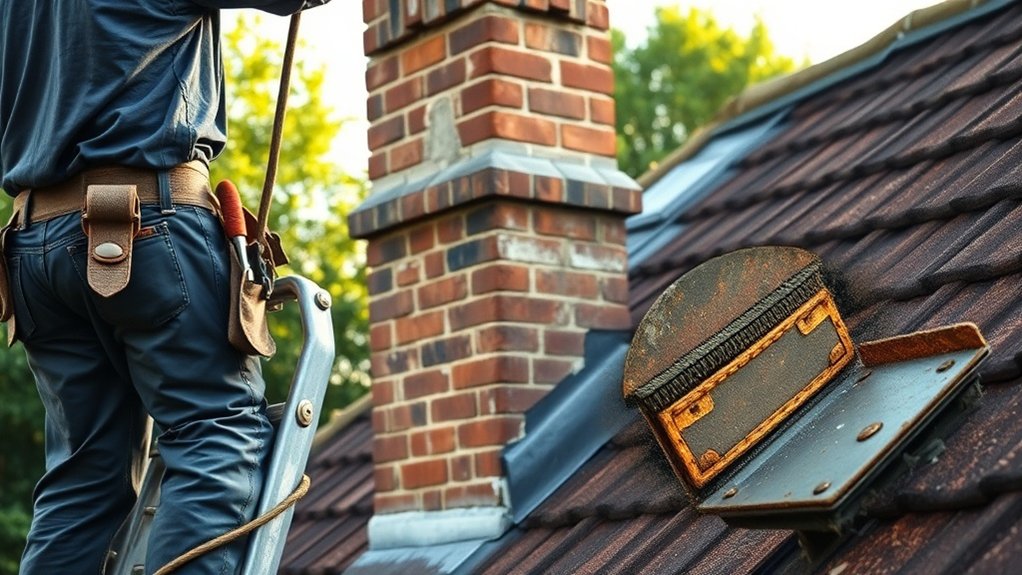
Preparing for chimney flashing repairs requires careful planning and the right tools. Start by selecting your tools, including a utility knife, wire brush, caulk gun, and trowels. Additionally, ensure that you understand the importance of effective flashing installation to prevent costly repairs in the future. Regular maintenance of chimney flashing is essential to uphold the overall integrity of the roof and chimney.
Next, gather your materials, such as lead flashing, roof cement, and high-heat mortar. Safety is crucial, so ensure you have stable ladders and scaffolding if needed, along with personal protective equipment like gloves and goggles. Clear the work area of debris, rust, and old sealant to create a clean surface for adhesion. Always check the weather forecast to avoid working in damp conditions.
Inspecting and Planning

Once you’ve gathered your tools and materials, the next step is to conduct a thorough inspection and careful planning for chimney flashing repairs.
Use effective inspection techniques to identify any signs of damage and ensure a comprehensive overview. Follow this checklist:
- Check for visible gaps or separation in the flashing.
- Inspect the mortar joints around the chimney for cracks.
- Look for corrosion or rust on metal components.
- Examine roof tiles near the chimney for any displacement. Regular inspections and maintenance practices are essential to prevent leaks and extend roof lifespan.
It’s advisable to schedule inspections twice a year, preferably in spring and autumn, as well as after severe weather. Regular inspections can help catch issues early before they escalate into costly repairs.
Address any immediate concerns, such as damp patches or unusual noises, without delay.
Keep a record of all findings to develop a well-informed repair plan, prioritising issues based on their severity and potential impact on your property.
Removing Old Flashing
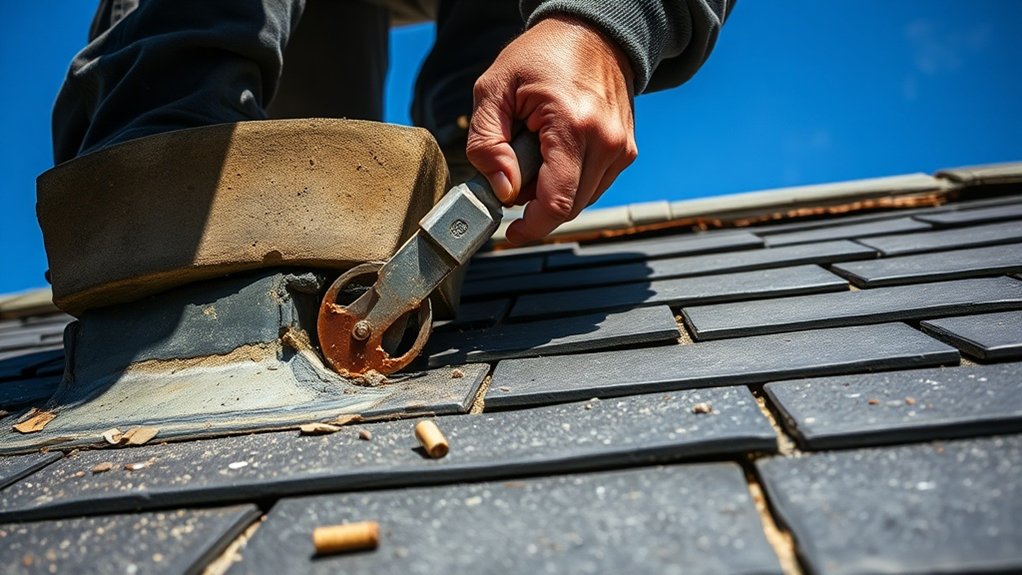
Start by assessing the area around the old flashing to ensure you can remove it safely and effectively.
Wear gloves and safety glasses, and use a stable ladder.
Using a hammer or pry bar, gently take out any visible nails or screws that are holding the flashing in place.
Pry up the edges and use a utility knife to cut through any old sealants. Regular inspections are essential for leak prevention and maintaining the integrity of your chimney.
If you encounter damaged or rusted pieces, use pliers to handle them, and consider cutting larger panels into smaller sections for easier removal.
Make sure to clear away any remnants embedded in the roofing felt.
Finally, dispose of the old flashing according to local regulations, so you’re ready for the new flashing to be installed. Regular maintenance is crucial to prevent water infiltration and ensure the longevity of your chimney flashing.
Cleaning and Preparing the Area
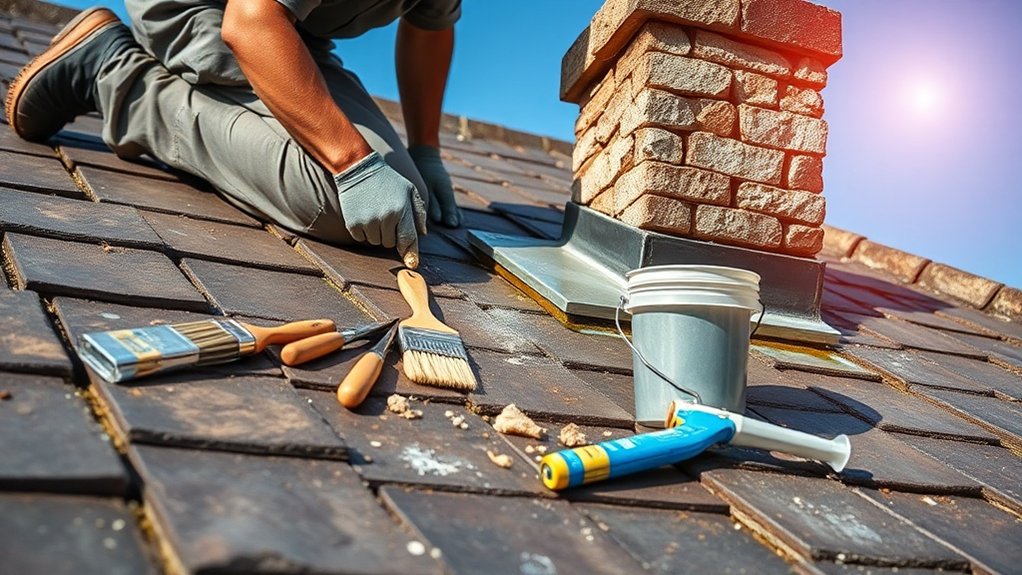
Cleaning and preparing the area around the chimney flashing is crucial for a successful repair. Properly removing debris and preparing the surface lays a solid foundation for the new flashing. Here’s how to do it:
- Use a stiff wire brush to remove loose debris, dirt, and any vegetation.
- Clear away old mortar or crumbling material from adjacent mortar joints with a chisel and hammer.
- Either low-pressure wash or wipe down surfaces to remove dust and stone particles.
- Clean metal flashing using suitable brushes or rust removers to ensure a clean surface.
Once you’ve completed these steps, inspect the area for any remaining loose materials. This attention to detail will enhance adhesion when you install the new flashing.
Installing New Flashing
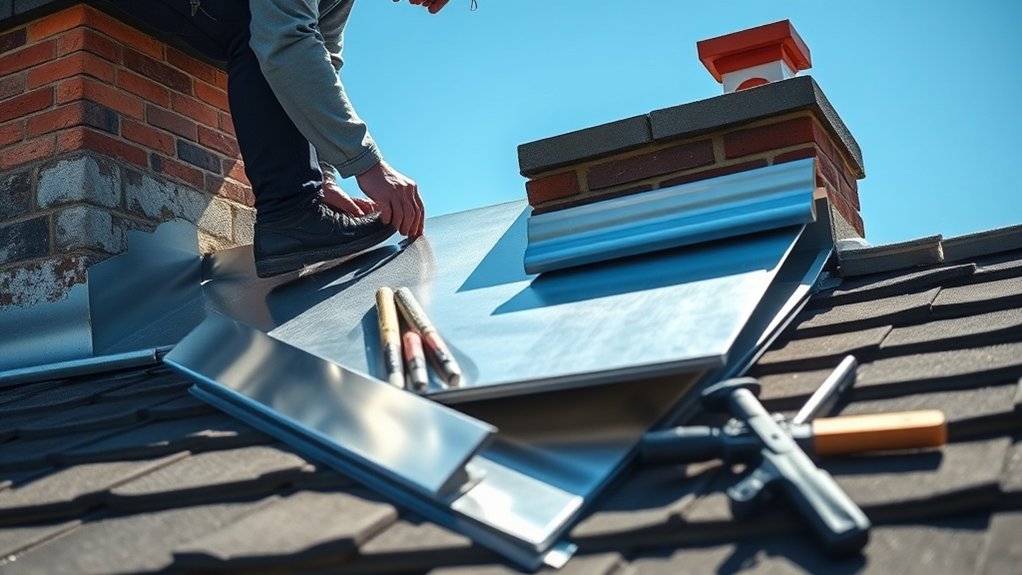
When installing new flashing, concentrate on step flashing techniques to ensure proper water drainage and prevent leaks.
Applying counter flashing is crucial for achieving a weather-tight seal where the chimney meets the roof.
Lastly, secure your flashing with suitable fasteners to keep it in place and maintain its integrity against the weather.
Step Flashing Installation Techniques
Installing new step flashing around a chimney is crucial for ensuring a watertight seal and protecting your home from water damage.
Here are some effective techniques for installation:
- Choose Flashing Materials: Opt for either flexible aluminium or robust copper for your step flashing.
- Measure the Chimney Stack: Take accurate measurements to ensure you cut the flashing to the correct lengths.
- Overlap Each Flashing: Install each piece with an overlap to create a continuous watertight barrier.
- Secure with Fasteners: Use appropriate fasteners to attach the flashings to the wall or chimney securely.
Counter Flashing Application Tips
To ensure a proper seal around your chimney, counter flashing must be placed accurately above or opposite the base flashing.
Start by raking out at least 50mm of mortar to create a reglet or chase. Measure carefully to ensure the counter flashing overlaps the base flashing by 75 to 100mm, effectively directing water away.
Make sure all surfaces are clean and dry before installation to aid adhesion. Insert the counter flashing into the prepared reglet, using compatible materials such as copper or lead.
Secure it using lead wedges, mortar, or sealant to achieve a watertight seal. Finally, apply a high-quality neutral-cure sealant at the joints to allow for thermal movement and enhance durability with proper counter flashing techniques.
Securing Flashing With Fasteners
Securing flashing with fasteners is crucial for achieving a watertight seal and ensuring the installation lasts.
Follow these straightforward steps to secure your flashing effectively:
- Prepare the Area: Rake out the mortar courses to create a secure groove for the flashing.
- Select Fastener Types: Use small folded lead tacks, wedges, or hall clips designed specifically for retaining lead.
- Install with Care: Gently hammer the fasteners into the mortar or timber, allowing slight movement for thermal expansion.
- Seal Edges: Apply sealant or lead mastic behind and over the fastened edges to improve waterproofing while allowing for ventilation.
Finalizing and Inspecting Repairs
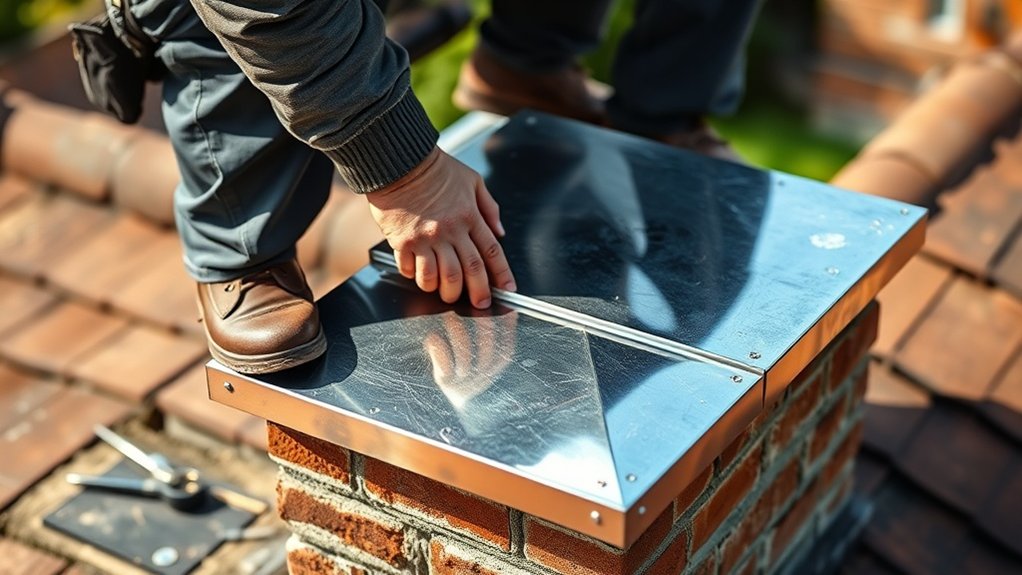
Once you’ve installed the new flashing, ensure all joints are properly sealed to prevent leaks.
Conduct a thorough final inspection to confirm the repairs are sound and to spot any potential issues.
It’s also wise to set up a regular maintenance schedule to keep an eye on the flashing’s condition and tackle any necessary repairs quickly.
Sealing Flashing Joints
Sealing flashing joints is essential for keeping your chimney and roof junction secure.
To ensure a proper seal, follow these steps:
- Select Sealant: Opt for silicone-based sealants, roofing cement, or polyurethane caulk for long-lasting results.
- Prepare the Surface: Thoroughly clean the edges of the flashing to remove any old sealants and debris.
- Apply Sealants: Use a steady hand to apply a thin, continuous bead along the joint edges to prevent water ingress.
- Secure Flashing: Check that the flashing is properly secured with roofing nails, being careful not to create excess holes that could cause leaks.
Thorough Final Inspection
A thorough final inspection is crucial to ensure the integrity and functionality of your chimney flashing repairs.
Start by visually checking the condition of the flashing materials for any signs of rust, corrosion, or discolouration. Look for cracks or loose sections that might compromise waterproofing.
Examine attachment points for security and check for any moss or mould that could indicate moisture problems. Identify any water stains or damp patches nearby to confirm there’s no standing water.
Inspect all mechanical components to ensure they operate properly and comply with UK building regulations.
Document your findings carefully and address any necessary repairs promptly to maintain a reliable and safe chimney system.
Regular Maintenance Schedule
Effective chimney flashing repairs don’t stop at a final inspection; a regular maintenance schedule is crucial for long-lasting performance.
To ensure your chimney flashing withstands the elements, adhere to this schedule:
- Annual Inspections: Check the flashing after winter or following heavy storms to identify any early signs of weather damage.
- Biannual Checks: Conduct inspections in spring and autumn to address any wear before severe weather arrives.
- Document Findings: Maintain a log of inspection dates, observations, and repairs to monitor the lifespan of the flashing.
- Professional Alignment: Arrange for flashing inspections alongside chimney sweeps for thorough and efficient assessments.
Maintenance and Monitoring
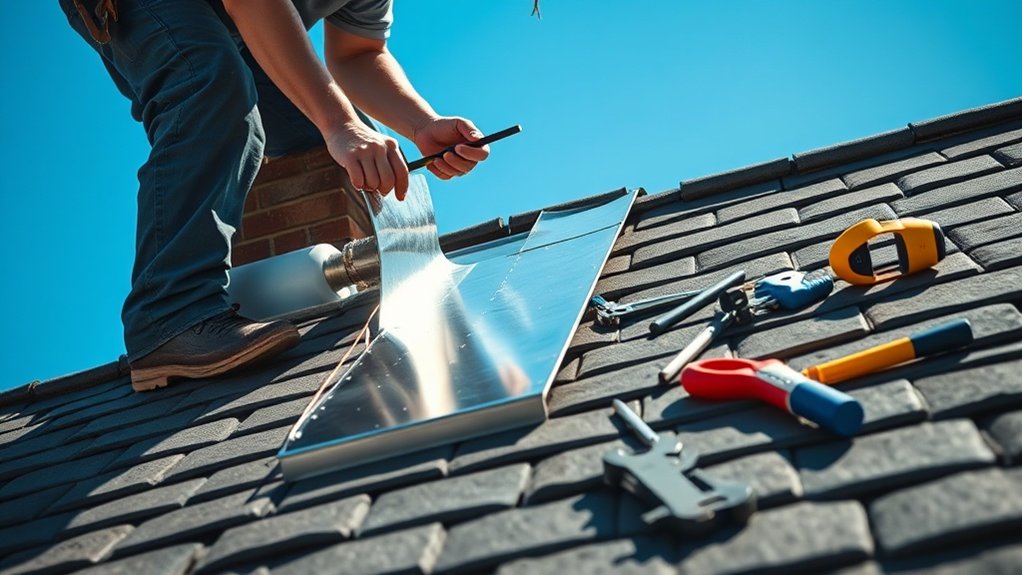
Regular maintenance and monitoring of chimney flashing may seem minor, but it’s crucial for preventing water damage and ensuring your property remains sound.
Inspect your flashing twice a year, ideally in spring and autumn, and after any severe weather. Use binoculars to closely check hard-to-reach areas. Look for cracks, holes, or signs of corrosion, ensuring they’re properly sealed.
Clear away debris to minimise moisture retention and replace any degraded caulking to prevent leaks. Take photos during inspections to document any deterioration.
Frequently Asked Questions
How Often Should Chimney Flashing Be Inspected for Damage?
You should inspect your chimney flashing at least once a year, preferably in spring or autumn. For proper maintenance, consider installation methods that ensure durability, especially if you live in areas with harsh weather or use your chimney frequently. Regular checks can help prevent costly repairs down the line.
What Are the Signs of a Leaking Chimney Flashing?
Did you know that 80% of water damage is caused by flashing leaks? Look out for signs such as water stains, rust marks, or damp, musty odours around the chimney. It’s crucial to act quickly to avoid significant damage and expensive repairs.
Can I Paint Over New Flashing Materials?
Yes, you can paint over new flashing materials, but it’s important to check that the paint is compatible with the material. For the best results, ensure you clean and prime the flashing beforehand. This helps with adhesion and prevents problems like peeling or oxidation, which could weaken the flashing over time.
What Are the Best Materials for Chimney Flashing in the UK?
For chimney flashing in the UK, lead flashing is a top choice due to its durability and flexibility. It’s essential to use a high-quality chimney sealant alongside it to ensure weather resistance and longevity. This combination effectively protects your home from leaks and water damage.
Are There Warranties Available for Chimney Flashing Repairs?
Yes, there are warranty options available for chimney flashing repairs, usually covering defects in materials and workmanship. These warranties can significantly influence repair costs, so it’s important to understand their terms. This will help safeguard your investment and ensure quality workmanship. For example, if a repair fails due to poor materials, a warranty can save you from additional costs.
Conclusion
In summary, chimney flashing repairs are essential for maintaining your home’s integrity. By preparing thoroughly and following each step, you can prevent leaks and create a sturdy barrier against the weather. A neglected chimney can lead to serious issues, while a well-maintained one safeguards your property. Keep up with regular maintenance, and your chimney will protect your home for many years to come.


