

The Role of Tarping in Emergency Roof Repairs
Tarping your roof after storm damage is crucial for preventing further problems. It acts as a temporary barrier against rain, debris, and pests, reducing the risk of water ingress that can cause mould and structural issues. Use heavy-duty, waterproof tarps and secure them properly to shield your home until permanent repairs can be undertaken. Acting swiftly with tarping can save you time and money in the long run. Discover effective techniques and maintenance tips to enhance your tarp’s performance.
Key Takeaways
- Tarping offers immediate protection from the weather, preventing further damage to your roof and interior after a storm.
- It serves as a temporary barrier, limiting water entry and safeguarding insulation and plasterboard from moisture.
- By keeping moisture at bay, tarping helps reduce the risk of mould growth and structural damage.
- It gives homeowners the necessary time to evaluate the damage and plan for permanent repairs without feeling rushed.
- When installed correctly, tarping can save you both time and money by preventing further issues down the line.
Importance of Tarping in Emergency Roof Repairs
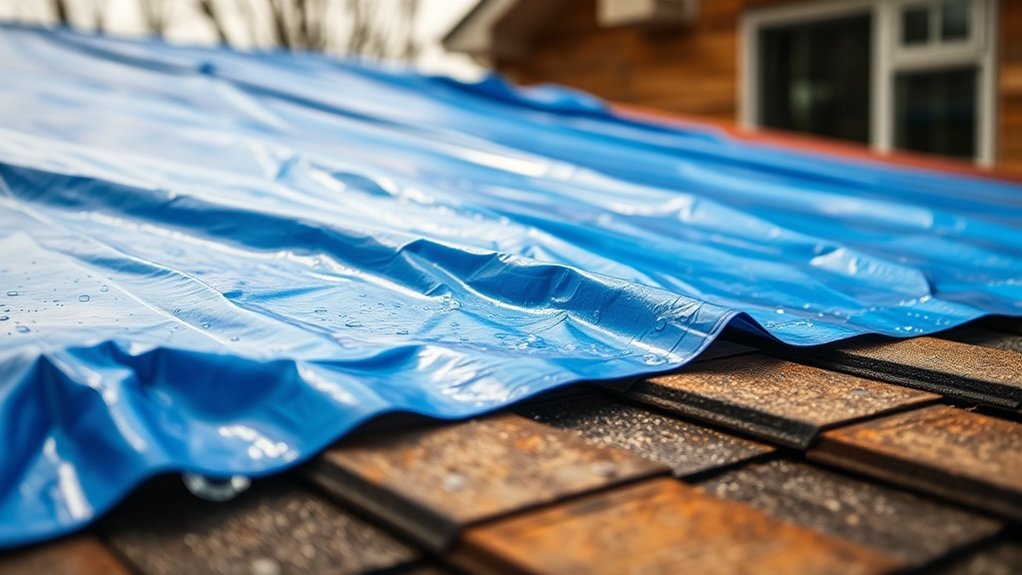
When your roof is damaged, whether due to a storm or another unexpected incident, it’s crucial to cover it with a tarp quickly to prevent further problems.
Tarping acts as a temporary shield, keeping out rain, debris, and pests. This quick action helps limit water entry, protecting your insulation and plasterboard, and reduces the risk of mould growth and structural damage. Additionally, emergency tarping provides time for assessment and planning of permanent repairs. Regular maintenance can help minimize the risk of roof leaks, making swift tarping even more essential.
By sealing up openings promptly, you lessen the chances of more extensive damage and help maintain your roof’s integrity until permanent repairs can be carried out.
Moreover, effective tarping demonstrates your proactive approach, which can speed up insurance claims and support your efforts to mitigate damage.
Taking swift action not only protects your home but also offers peace of mind during a challenging time.
Materials and Tools Required for Effective Roof Tarping
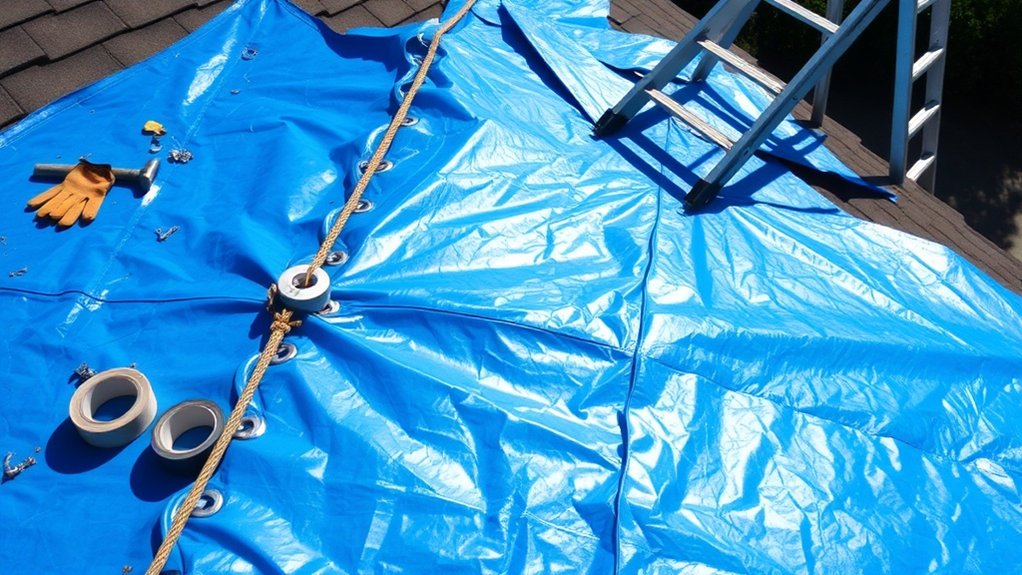
To effectively tarp a damaged roof, you’ll need specific materials and tools to ensure proper coverage and stability.
Start with heavy-duty polyethylene tarps, ideally 250 to 400 microns thick, with reinforced hems for added durability. Blue or silver tarps are preferred for visibility.
For securing the tarp, use strong ropes, bungee cords, or straps that are long enough to anchor it from the ridge of the roof to the ground. Roofing nails or screws can attach the edges, but be careful not to damage the roof. Durable fasteners are crucial for keeping the tarp secure against wind and rain. Additionally, it is important to schedule regular inspections to identify potential issues before they escalate.
Wooden battens can help secure the tarp, while sandbags or weighted boards can serve as additional anchors.
Essential tools include a utility knife for cutting, a measuring tape for sizing, and a hammer for securing everything in place. This will ensure a safe and effective tarping process.
Step-by-Step Emergency Tarp Installation Process
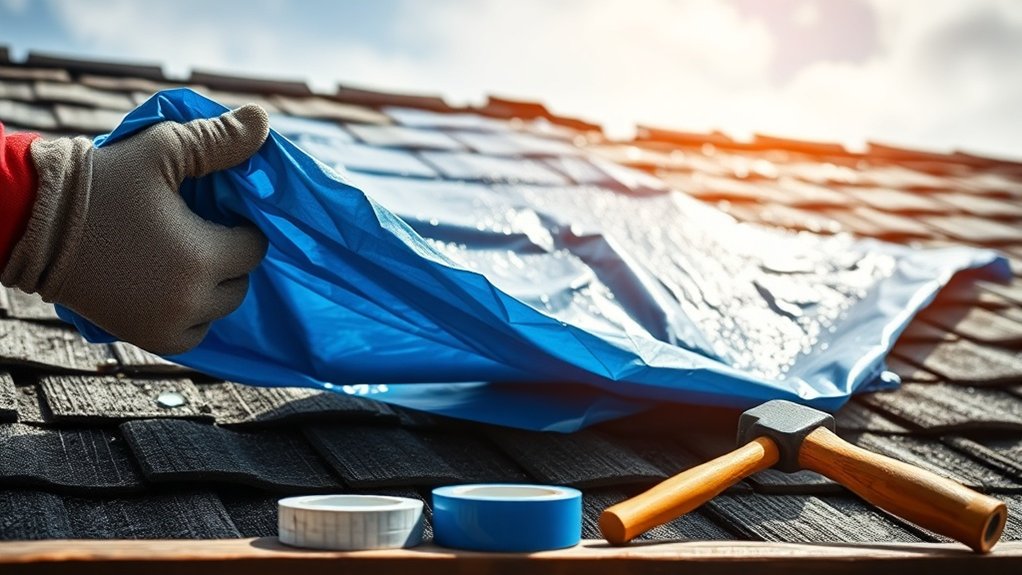
Emergency tarp installation is a straightforward process that ensures effective protection for a damaged roof.
Start by assessing the damage from the ground to avoid any unnecessary risks. Choose a suitable tarp, ensuring it overlaps the damaged area by at least 4 feet. It’s crucial to remember that emergency repair costs can vary significantly based on the extent of the damage.
Carefully position the tarp, tucking it under the shingles wherever possible to create a water-resistant barrier. Secure the tarp using wooden strips and nails, making sure to penetrate both the tarp and the strips into the roof structure.
Seal the edges tightly by wrapping them around boards to prevent wind uplift. This temporary substitute helps safeguard your home while waiting for permanent repairs.
It’s important to regularly check the tarp for signs of wear and to keep extra materials on hand for any necessary adjustments. Regular inspections can help identify potential issues before they become emergencies, ensuring better protection.
Finally, document the installation process for future reference, ensuring that permanent repairs are carried out promptly.
Benefits and Limitations of Roof Tarping
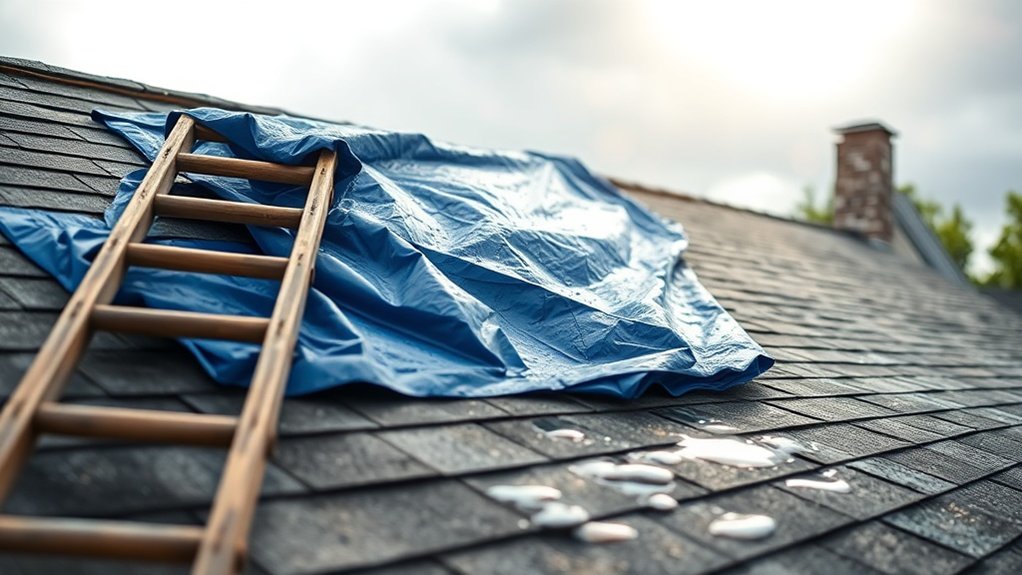
After securing your roof with a tarp, it’s essential to understand the benefits and limitations of this temporary measure for effective damage management.
Tarping provides immediate protection while you organise permanent repairs. However, it’s important to consider both the pros and cons:
- Immediate Protection: Stops water damage and helps maintain the integrity of your home’s interior.
- Time-Buying Solution: Gives you breathing space to schedule comprehensive repairs without feeling rushed.
- Cost-Effective: A cheaper option compared to the potential expenses of untreated damage.
- Versatile Deployment: Can be adapted to suit different roof types and conditions.
Remember, tarps aren’t a long-term fix, and if installed incorrectly, they can cause further problems.
Proper emergency preparedness includes timely repairs in conjunction with tarping to ensure your home stays safe and secure.
Safety Considerations During Emergency Roof Tarping
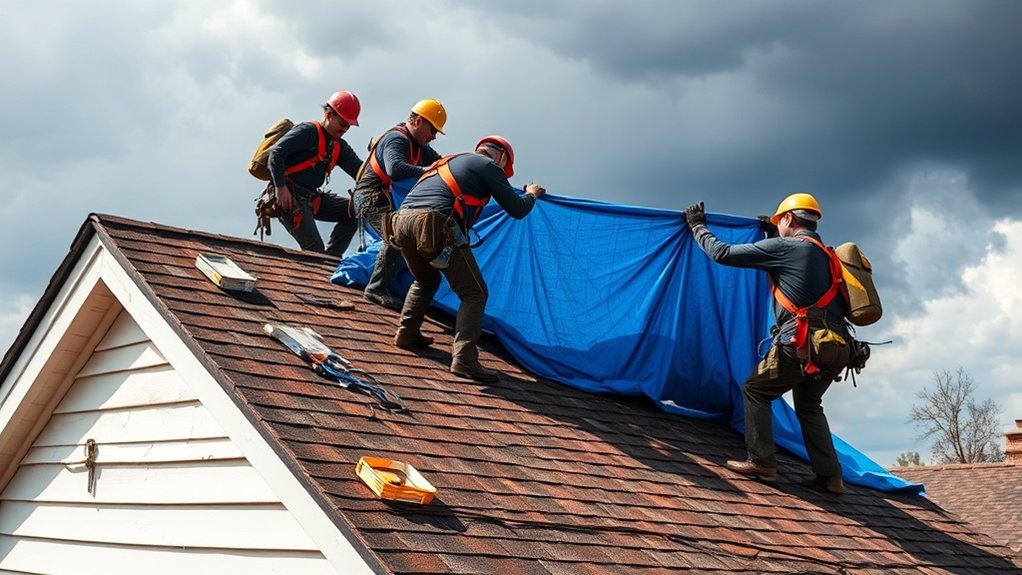
When tackling roof tarping, safety must come first to avoid accidents. Begin with a thorough check of your equipment. Wear non-slip footwear, gloves, and safety goggles to protect against debris. If you’re on a steep roof, a safety harness is crucial for fall protection.
Before climbing, assess the roof from the ground for hazards like overhead wires. It’s best to wait for settled weather and daylight to reduce risks during installation. Start securing the tarp from the peak, ensuring it extends beyond the damaged area. Keep the tarps taut, using weights to prevent them from lifting in the wind.
When using a ladder, ensure it’s on level ground and maintain three points of contact for stability. Having someone to supervise can greatly enhance safety.
Impact of Timely Tarping on Repair Outcomes and Costs
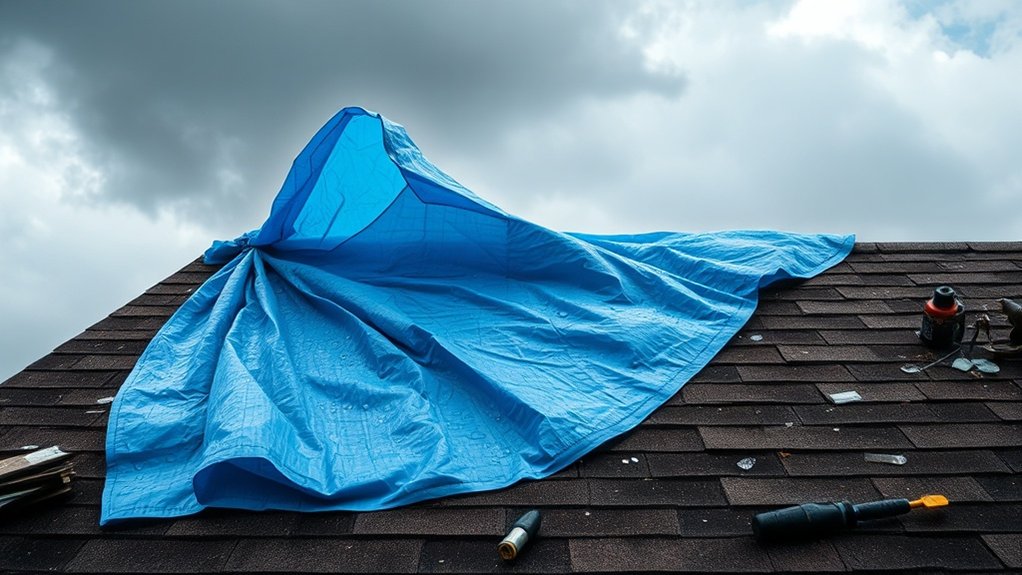
Timely tarping significantly cuts repair costs by preventing further damage that can quickly escalate.
Acting promptly protects underlying structures from moisture, which helps avoid expensive repairs later on. This proactive approach not only secures your investment but also makes the repair process smoother and more efficient.
For example, covering a roof leak immediately can prevent water from damaging ceilings and walls, saving you both time and money in the long run.
Reduced Repair Costs
Prompt emergency tarping can significantly lower repair costs by preventing further damage to your roof and home. Acting quickly can lead to substantial savings on repairs and insurance claims.
Here are some key benefits:
- Cost-effective solutions: Emergency tarping usually costs between £600 and £1,200, which is much cheaper than extensive repairs.
- Insurance protection: Proper tarping helps maintain your insurance coverage, reducing the risk of claim denials that could lead to expensive out-of-pocket costs.
- Reduced complexity: Quick tarping limits the extent of the damage, making insurance claims simpler and more cost-effective.
- Long-term savings: Addressing issues early can lessen the financial impact of weather-related damage to your property.
Prevention of Secondary Damage
Effective emergency tarping not only shields your roof from immediate exposure but also plays a crucial role in preventing secondary damage that can complicate repairs and increase costs.
By serving as a waterproof barrier, tarping stops water intrusion, which can lead to moisture build-up in insulation and plasterboard, ultimately averting water damage. This prompt action is essential for mould prevention, as spores can activate within 24 to 48 hours in damp conditions.
Timely tarping also stabilises the environment, reducing the risk of structural weakening or expensive mould remediation. Additionally, it helps maintain the integrity of electrical systems, ensuring safety and preserving your home’s value until permanent repairs are made.
Prioritising tarping can save you significant time and money in the long run.
Best Practices for Maintaining Tarp Integrity Until Repairs Are Made
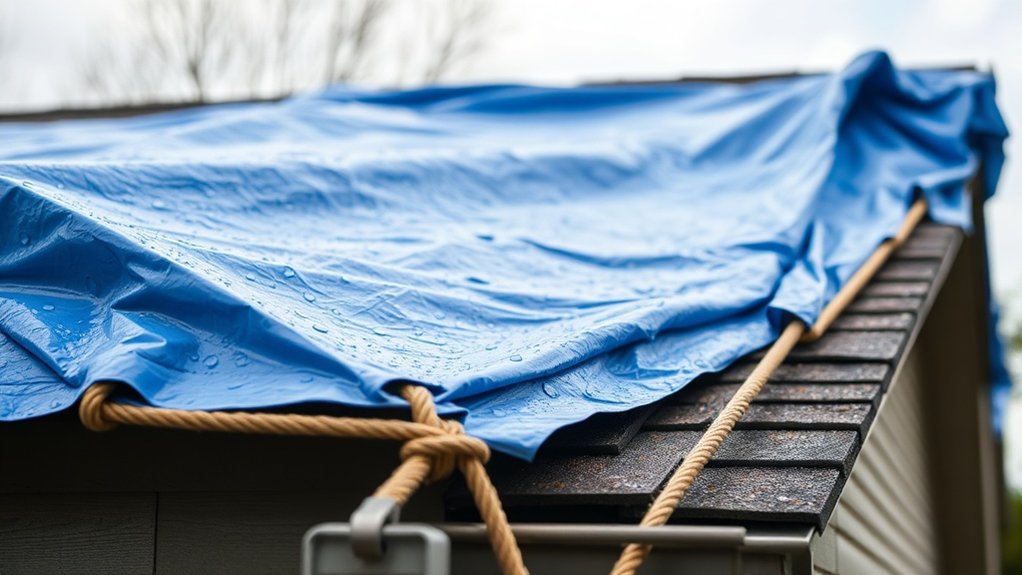
To maintain the integrity of a tarp until permanent roof repairs are completed, it’s important to follow some straightforward best practices to ensure effective protection against the weather.
Prioritising tarp durability and moisture management will help prevent further damage.
- Use heavy-duty, waterproof, UV-resistant tarps that are at least 6 mils thick.
- Secure the edges with wooden boards and fasteners to reduce the risk of wind uplift.
- Regularly inspect for loose edges or damage, especially after storms.
- Clear debris from the tarp to avoid punctures and moisture accumulation.
Frequently Asked Questions
How Long Can a Tarp Remain on a Roof Before Needing Replacement?
A tarp’s lifespan depends on the weather conditions. In mild weather, it can last between 30 to 60 days, but during severe storms, it may only last 7 to 21 days. Regular maintenance is crucial to ensure it lasts as long as possible.
Can I Use a Regular Tarp Instead of a Roofing-Specific Tarp?
Yes, you can use a regular tarp, but be prepared for the possibility of leaks. Roofing tarps are specifically designed for durability and weather resistance, providing better protection for your roof and home. For instance, if a heavy rain hits, a roofing tarp will keep your home safe, while a standard tarp might not hold up as well. It’s best to choose roofing tarps for reliable coverage.
What Should I Do if the Tarp Gets Damaged?
If your tarp gets damaged, inspect it right away and use waterproof tape to fix any small tears. It’s essential to maintain your tarp regularly and be prepared for emergencies by checking for damage and replacing any worn tarps. This helps prevent further water damage.
Is It Necessary to Remove the Tarp Before Professional Repairs?
Leaving the tarp on may seem convenient, but it’s crucial to remove it before any professional repairs. This allows roofers to accurately assess the damage, preventing further issues and ensuring a proper, long-lasting solution for your roof. For example, if they can’t see the full extent of the damage due to the tarp, they might miss underlying problems that could lead to more costly repairs later on.
How Do I File an Insurance Claim for Tarp-Related Damage?
To file your insurance claim for tarp-related damage, start by documenting the damage thoroughly. Take clear photos and keep any receipts related to repairs or replacements. It’s important to begin the claims process without delay. Provide a detailed assessment of the damage and include any necessary repair estimates to support your claim. For example, if your tarp has ripped during a storm, make sure to include pictures of the damage and any costs for a new tarp or repairs in your submission.
Conclusion
In emergency roof repairs, quick tarping is your first line of defence against further damage. By acting promptly and using the right materials, you can protect your property and potentially save on expensive repairs later. It’s better to put in a bit of effort now than to deal with a larger issue down the line. Remember, keeping your tarp secure until professional repairs are carried out is crucial for effective protection.