

Emergency Roof Leak Repairs in Canvey Island What to Do
If you have a roof leak in Canvey Island, it’s crucial to act quickly to prevent further damage. Start by placing buckets under any drips and moving valuable items out of the way. Check your attic and the exterior of your roof for any visible damage. For quick fixes, use roofing tape or a tarp to cover leaks temporarily. Be sure to take photos of the damage for your insurance claim. Common issues that lead to leaks include cracked flashing and blocked gutters. Look for emergency repair services in your area to assist you. Follow these steps to manage the situation effectively.
Key Takeaways
- Place buckets beneath leaks to catch water and minimise damage while you assess the situation.
- Check the roof and loft for signs of moisture, missing tiles, and damaged flashing.
- Use tarps or roofing tape for temporary fixes until you can get professional help.
- Take photos of all damage for insurance claims and future reference.
- Look for local emergency roof repair services that operate 24/7 in Canvey Island.
Immediate Actions for Roof Leaks
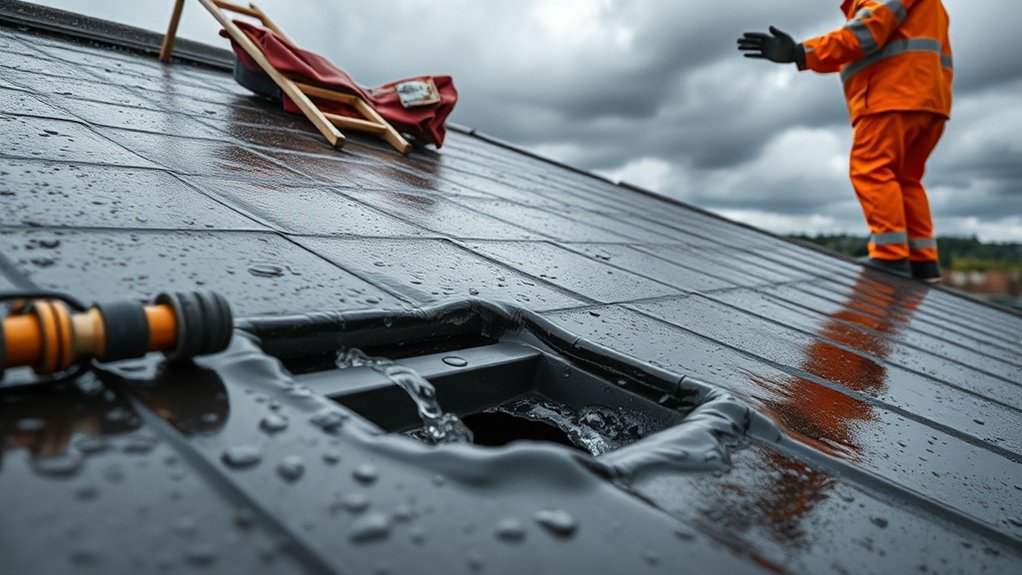
When you notice a roof leak, it’s vital to act quickly to minimise damage. Start by placing buckets under any drips to catch water and prevent it from pooling. Use absorbent towels to soak up any standing water, protecting your floors. Move valuable items away from the area to lower the risk of water damage, and cover any furniture with plastic sheeting for extra protection.
Next, secure the damaged area from the outside with a heavy-duty waterproof tarp, ensuring it extends at least four feet beyond the leak. Use roofing nails, ropes, or sandbags to keep it in place. Immediate action is critical to prevent further damage to your roof. Additionally, be sure to document all damage with photographs and detailed descriptions to support future repairs and insurance claims.
You can also apply temporary patches, such as roofing cement, to seal smaller leaks. Taking these immediate steps not only helps manage the situation but also prepares you for professional repairs.
Locating the Source of the Leak

To effectively locate the source of a roof leak, begin by examining the attic for any signs of moisture, stains, or mould. Then, inspect the exterior of the roof for missing or damaged tiles and any issues with flashing. This straightforward method helps you quickly identify potential leak sources. Additionally, consider conducting a visual inspection of areas around chimneys, vents, and skylights for potential leaks. Pay attention to common leak areas such as roof joints and valleys, as these are often the most susceptible to water intrusion.
Inspect Attic Conditions
Inspecting attic conditions is crucial for pinpointing the source of a roof leak. Start by checking for signs of water damage, and ensure your attic ventilation and insulation are in good condition.
Follow these steps:
- Ensure attic access is clear and safe.
- Use a torch to light up dark areas.
- Wear protective gear to guard against mould.
- Document your findings with a notebook or camera.
- Avoid stepping on insulation or joists to prevent damage.
Look for water stains, damp insulation, or mould growth, as these are signs of ongoing issues. Early leak detection minimizes repair costs and prevents structural damage, making it essential to investigate any signs of moisture promptly. Regular inspections can help identify issues early, allowing for timely repairs before they escalate into larger problems.
Check Roof Exterior
A thorough inspection of your roof’s exterior is crucial for identifying the source of any leaks.
Begin by checking for missing, cracked, or curled tiles, particularly in the valleys and at the edges. Look for signs of dampness, such as discolouration or moss growth.
Examine all roof penetrations, including vents and chimneys, for cracks and ensure the flashing is secure. Pay special attention to areas prone to leaks, like eaves, fascia boards, and where the roof meets the walls.
Use binoculars for hard-to-reach spots. Document your findings in a maintenance checklist to address any issues quickly.
If needed, consider advanced leak detection methods or simulated rain tests to pinpoint the leak’s location and prevent further damage.
Temporary Repair Methods

When dealing with a roof leak, it’s essential to use effective temporary repair methods to minimise damage.
For small gaps, roofing tape can be applied easily.
For larger areas, a tarp should be installed securely to prevent further water ingress.
Liquid repair solutions offer quick fixes for leaks as well.
Each method has its own requirements and advantages, ensuring your home remains protected until permanent repairs can be carried out.
Roofing Tape Application
Roofing tape application is a practical solution for emergency leaks, providing a quick method to prevent further water damage.
To ensure effective application, follow these steps:
- Choose the right tape: Opt for butyl rubber or bitumen tape for superior adhesion.
- Prepare the surface: Clean the area around the leak, removing any debris and moisture.
- Measure and cut: Cut the tape to cover the leak, ensuring several inches overlap.
- Apply the tape: Peel off the backing and press down firmly, smoothing out air bubbles for a secure seal.
- Inspect regularly: Check the taped area often, as this is a temporary fix until professional repairs can be arranged.
Using roofing tape can effectively seal minor leaks and safeguard your home until a permanent solution is found.
Tarp Installation Techniques
After applying roofing tape for immediate leak protection, securing a tarp is a practical temporary solution for larger or more complex damages.
Opt for heavy-duty polyethylene tarps with a thickness of at least 150 microns, ensuring they extend 1–1.2 metres beyond the damaged area. Clear away any debris first and mark the coverage area.
Lay the tarp across the damage, ensuring it overhangs the roof ridge by 0.6–1.2 metres. Use 50x25mm battens to reinforce the tarp edges, securing them with staples and anchoring to the roof decking using galvanised nails or screws.
Fasten these every 30–40cm, adding extra battens for added wind resistance. For non-metal roofs, avoid creating new holes by using non-penetrating securing methods.
Always prioritise safety during installation.
Liquid Repair Solutions
Unexpected roof leaks can be a real bother, but liquid repair solutions provide a quick and effective way to seal those gaps temporarily. These products form a waterproof barrier and work well on various roof types.
Here are the main benefits:
- Quick application ensures immediate leak protection.
- Flexible membranes are durable and allow for roof movement.
- UV resistance prevents damage from sunlight.
- Most applications require minimal tools.
- Effective on numerous surfaces and materials.
To use liquid sealants, start by cleaning the area thoroughly. Apply the product generously and spread it evenly.
Keep in mind, while these solutions offer a temporary fix, they’re not permanent; it’s best to seek professional repairs for lasting protection.
Documenting Damage for Insurance
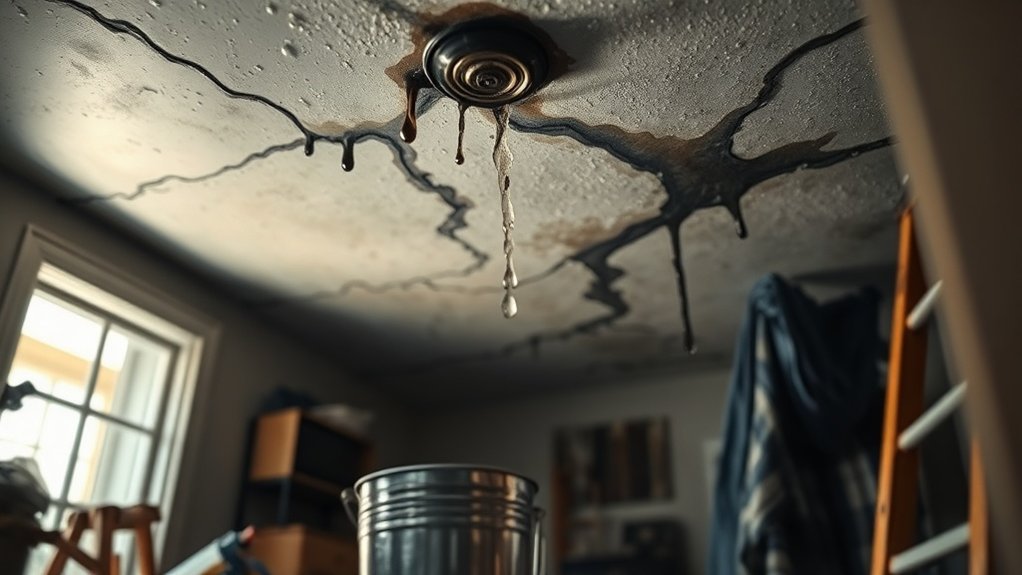
Documenting damage for insurance is crucial for a smooth claims process. Begin by collecting detailed evidence, including photographs and videos of the damaged areas, roofing materials, and any sources of leaks.
Take clear images from various angles and ensure they’re well-lit. It’s helpful to include timestamps and note the weather conditions at the time.
Keep a record of repairs, detailing the materials used and the actions taken. Professional inspection reports from qualified roofers can further support your claim.
Submit all documentation promptly to your insurance company and keep copies for your own records. Remember to track submission dates and follow up for confirmation, as thorough documentation can reduce the risk of claim denials and delays, ensuring you get the support needed for repairs.
Common Causes of Roof Leaks

Roof leaks can arise from several common issues, each presenting its own set of challenges for homeowners.
Recognising these causes is crucial for maintaining your roof’s integrity and preventing water damage. Here are some typical offenders:
- Cracked flashing can disrupt the water-resistant barrier.
- Broken or missing tiles permit direct water entry.
- Blocked gutters hinder proper drainage, leading to overflow.
- Ice dams can develop from ineffective gutters, causing water to pool.
- Worn roofing materials deteriorate after extended exposure to the elements.
Finding Emergency Roof Repair Services in Canvey Island
If you encounter a sudden roof leak, here’s how to quickly find reliable emergency repair services in Canvey Island.
Start by searching online for “emergency roof repair near me” to find local roofers available 24/7. Ensure they’ve valid licenses and insurance for peace of mind.
Look for companies that promise a rapid response, ideally within 24 hours, to reduce further damage. Check customer reviews on sites like Checkatrade and Google to gauge their reliability.
Many reputable roofers also provide references and can help with insurance claims, making the process smoother for you.
Frequently Asked Questions
How Can I Prevent Roof Leaks in the Future?
To prevent roof leaks in the future, make regular inspections and maintenance a priority. Check your roof at least twice a year, clear gutters of leaves and debris, and promptly repair any damaged sealant or tiles. This will help maintain your roof’s integrity and performance. For example, if you notice cracked tiles or worn sealant, address these issues quickly to avoid more extensive repairs down the line.
What Should I Do if I Can’t Find the Leak Source?
If you can’t locate the source of the leak, carry out a detailed moisture assessment using infrared cameras and moisture meters. Make sure to document your findings, mapping out the routes of any water. If the problem persists, it may be worth considering a professional leak detection service for precise identification and resolution.
How Long Will Temporary Repairs Last?
The duration of temporary repairs can vary. Effective patches typically last from a few days to several weeks, while tarpaulins can last anywhere from three months to two years. However, it’s important to remember that these are only stopgap measures. For the best results in leak repair, plan to complete a permanent fix as soon as possible.
Are DIY Roof Repairs Safe for Inexperienced Homeowners?
DIY roof repairs are not safe for inexperienced homeowners. With falls accounting for over a third of construction fatalities, the risks of injury and costly errors are considerable. It’s best to hire a professional to ensure safety and effective repairs. For instance, if you’re unsure about handling tools or assessing damage, calling in an expert could save you time and money in the long run.
What Should I Expect During a Professional Roof Inspection?
During a professional roof inspection, you can expect a thorough assessment of your roof’s condition. Inspectors will use a checklist to evaluate materials, drainage systems, and any signs of damage inside your property. For instance, they might check for damp patches or mould to highlight any potential issues. This inspection will provide you with a comprehensive report and recommendations for any necessary repairs.
Conclusion
When you discover a roof leak, it’s essential to act quickly to avoid further damage and expenses. Tackling the issue promptly is crucial. Start by identifying the source of the leak, applying temporary fixes, and documenting any damage for your records. This preparation will help when making an insurance claim. Don’t hesitate to contact emergency repair services in Canvey Island to ensure your home remains secure and dry. Remember, addressing the problem early can save you a lot in the long run.