

Repairing Lead Flashing on UK Heritage Properties
When repairing lead flashing on heritage properties in the UK, you’re not just fixing a roof; you’re protecting its structural integrity and historical significance. Begin by checking for common issues such as cracks and corrosion. Adhere to the BS EN 12588 standard for materials to ensure quality and the right thickness. Always opt for “like for like” repairs to preserve the building’s authenticity. It’s crucial to hire skilled professionals who understand traditional methods. Regular inspections and maintenance are vital for spotting potential problems early. Follow these best practices to ensure your property remains both secure and true to its character.
Key Takeaways
- Ensure repairs to lead flashing meet BS EN 12588 standards to guarantee quality and longevity.
- Carry out regular visual checks for common issues, such as cracks, corrosion, and water stains that may suggest leaks.
- Use “like for like” materials and traditional methods to maintain the character of heritage properties during repairs.
- Always obtain Listed Building Consent before starting any work on registered heritage properties to adhere to regulations.
- Consult with conservation bodies for expert advice and training on proper lead flashing repair techniques.
Understanding Lead Flashing and Its Importance in Heritage Buildings

Understanding lead flashing is crucial for the preservation of heritage buildings, as it plays a vital role in preventing water infiltration. Its use dates back to Roman times, showcasing its long history of effectiveness in waterproofing. Lead flashing’s durability ensures that it can last for centuries without deterioration, making it an ideal choice for protecting historic structures. Regular inspections and maintenance are necessary to ensure the integrity of flashing and to prevent leaks that could damage the building’s interior.
Lead flashing is typically installed around roof joints, directing water away from vulnerable areas such as chimneys and dormers. The material’s malleability allows it to be shaped precisely around intricate architectural details, ensuring a reliable barrier against moisture.
Standards for Lead Flashing Materials in the UK

When using lead flashing, it’s important to follow the BS EN 12588 standard, which outlines the quality and composition of milled lead sheets. This ensures your lead flashing has consistent thickness and dimensions, vital for heritage buildings. For example, adhering to the recommended Code 4 thickness of around 2.8mm enhances durability and provides effective weather resistance in your installations. Additionally, using milled lead sheet manufactured to this standard ensures uniformity along the entire length of the roll, contributing to the longevity of your work.
Milled Lead Sheet Standards
Milled lead sheet standards are crucial for ensuring the quality of lead flashing used in construction, especially for heritage buildings. Governed by BS EN 12588, these standards require lead to have a purity of at least 99.81%, which helps prevent corrosion and preserves historical significance. The manufacturing process involves rolling solid lead slabs to achieve a uniform thickness, with a tolerance of +/- 5%. This consistency is vital for maintaining the structural integrity of heritage sites. Additionally, these standards were withdrawn and superseded in 1999, highlighting the importance of using updated materials. Rigorous quality checks, including tests for defects and purity, ensure that the lead flashing performs reliably over time. Following these standards is essential for the durability and dependability of lead flashing in heritage structures, ultimately benefiting conservation professionals and the communities they serve.
Code Thickness Guidelines
In the UK, lead flashing materials are classified by code thickness, which is crucial for their intended use. The thickness affects lead weight and durability; for example, Code 3, with an approximate thickness of 1.32 mm, weighs around 15 kg/m², making it suitable for flexible applications like soakers.
On the other hand, Code 8, the thickest at about 3.5 mm, weighs over 40 kg/m² and is designed for high-exposure areas. Each code is tailored to specific applications, ensuring you choose the right thickness for the job.
Following BS EN 12588 standards helps prevent rapid deterioration and keeps your lead flashing waterproof, especially on heritage properties.
Common Defects Found in Lead Flashing
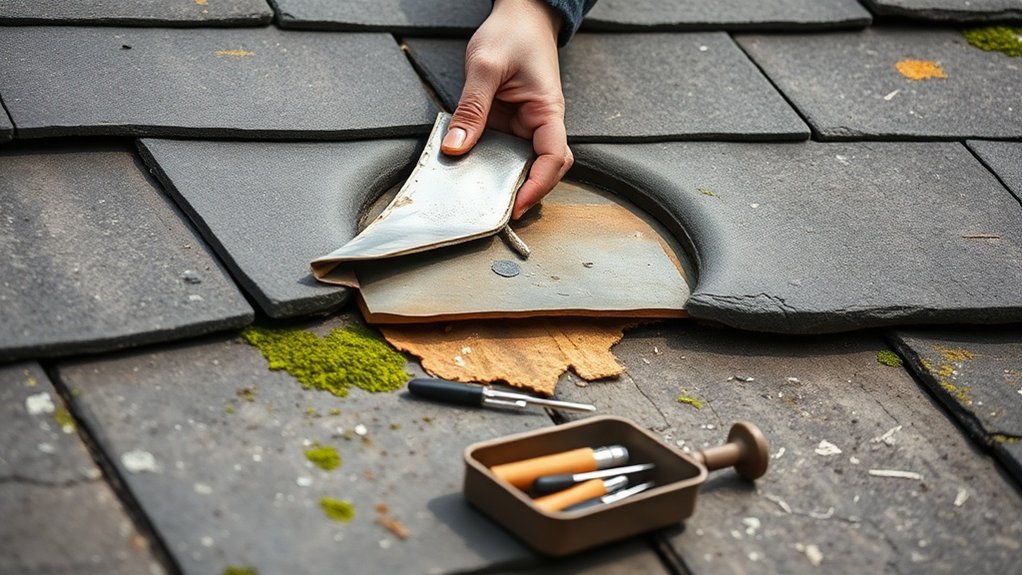
When inspecting lead flashing, you’re likely to come across common issues that could lead to failure.
Look for water stains on walls or noticeable gaps around vulnerable areas, as these often signal compromised seals.
Regular visual checks can help you identify these problems early and prevent more serious damage later on. Additionally, being alert to signs of roof leaks can help avoid expensive repairs and maintain the integrity of your property.
Typical Lead Flashing Issues
Lead flashing is generally durable, but several common issues can impact its performance and lead to serious problems.
Physical damage, such as punctures from falling debris or cracks at the joints, can cause leaks and compromise structural integrity. Corrosion from environmental pollutants and poor installation practices can significantly shorten the lifespan of lead flashing.
While discolouration and surface staining may not affect functionality, they can make a property look less appealing. Additionally, inadequate support and improper overlapping of lead sheets can result in water ingress and pooling, which accelerates deterioration.
Recognising these issues is crucial for protecting both the structural and aesthetic qualities of heritage properties, helping to ensure they’re preserved for future generations.
Visual Inspection Techniques
How can you ensure the integrity of lead flashing during a visual inspection?
Start by identifying common defects that could compromise its effectiveness.
Focus on:
- Surface Condition: Look for visible cracks, signs of lead corrosion such as white residue, and any dark discolourations.
- Joint Integrity: Examine soldered joints for cracks or separations, and check that there’s no corrosion on fixings.
- Moisture Effects: Keep an eye out for water stains or damp patches indoors, as these indicate potential leaks and secondary damage. Regular inspections are crucial for preserving leadwork integrity.
Inspection Points for Assessing Lead Flashing Condition
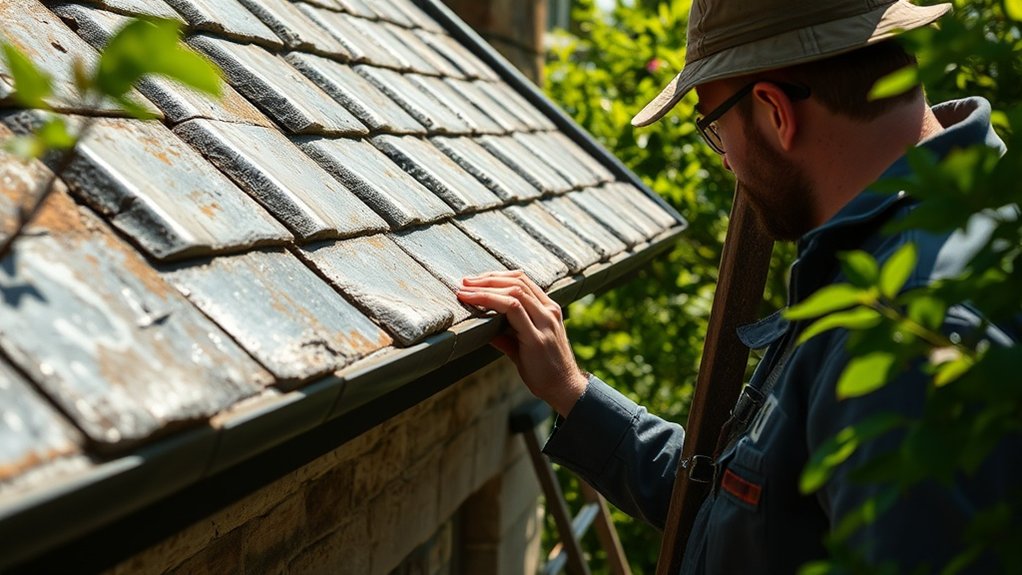
When inspecting lead flashing, consider the following key factors:
- Physical Damage: Look for visible signs of wear, such as splits, pinholes, and rucks. These indications often point to deterioration that could lead to leaks.
- Installation Details: Ensure overlaps and folds are properly executed. Mechanical fixings should be intact, as these are crucial for maintaining a watertight seal.
- Material Condition: Check the thickness of the lead and ensure it complies with heritage specifications, particularly in listed buildings or conservation areas.
- Surrounding Elements: Assess the condition of the mortar and damp proof courses. Their integrity is vital for the overall effectiveness of the flashing.
- Functional Indicators: Keep an eye out for signs of water penetration such as stains or damp patches, as these can signal issues with the flashing.
| Inspection Point | Key Signs to Look For | Importance |
|---|---|---|
| Physical Damage | Cracks, pinholes, rucks | Indicates deterioration |
| Installation Details | Overlaps, mechanical fixings | Ensures watertightness |
| Material Condition | Lead thickness, compatibility | Meets heritage standards |
| Surrounding Elements | Mortar, DPC condition | Affects overall effectiveness |
Best Practices for Repairing Lead Flashing
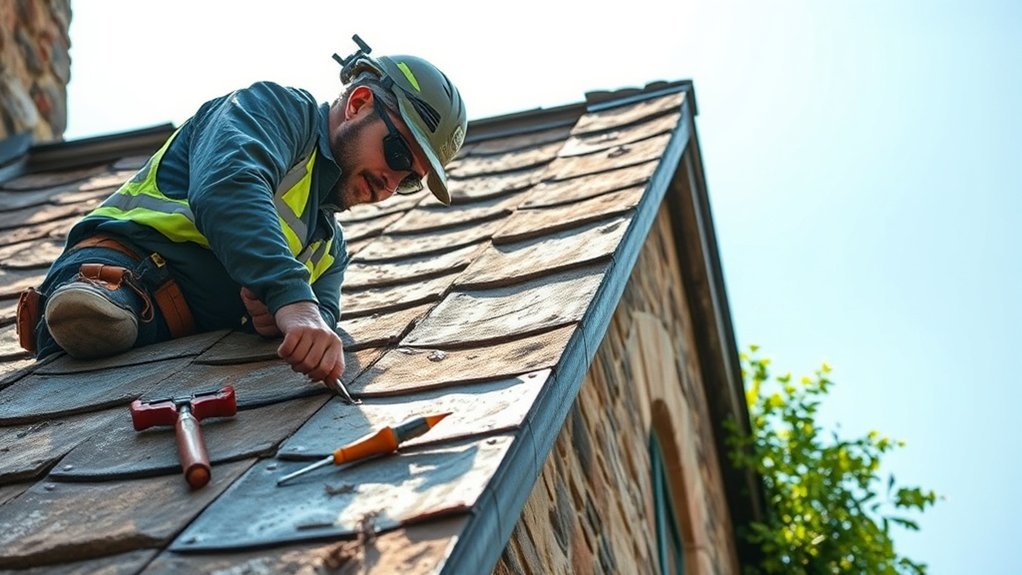
When repairing lead flashing, it’s crucial to use “like for like” materials to preserve the building’s character.
Ensure that the flashing is properly secured and supported to prevent movement and water leaks. Following these best practices not only safeguards the building’s heritage but also extends the life of the repairs.
For example, if you’re replacing a section of lead, match its thickness and style to the original to maintain visual consistency.
Like for Like” Repairs
While lead flashing repairs might appear simple, it’s crucial to follow “like for like” practices to maintain the integrity and historical significance of the building.
Using authentic materials and techniques pays homage to the craftsmanship of the original era. Here are three key practices to consider:
- Material Sourcing: Choose lead of a similar grade and purity, ideally around 3mm thick. Recycled lead can be a great option, aligning with historical methods.
- Traditional Techniques: Use sand casting and bossing to shape the lead by hand, ensuring it matches the original profiles and details.
- Compliance: Adhere to conservation guidelines and secure any necessary approvals. Keep records of your materials and methods to aid future preservation efforts.
Proper Fixing Techniques
Proper fixing techniques for lead flashing are crucial for its effectiveness and durability. Start by thoroughly cleaning and preparing surfaces to ensure good adhesion. Use lead-compatible sealants for any small gaps, and measure your lead sheets accurately to fit existing profiles.
For fastening, stick with traditional lead clips and nails instead of modern alternatives to maintain the integrity of heritage buildings. Make sure to allow for thermal movement by overlapping lead sheets correctly and securing the edges well.
When patching, use reliable welding methods to create strong, weatherproof joints. Lastly, document all repairs for future reference.
Techniques for Patching and Restoring Lead Flashing
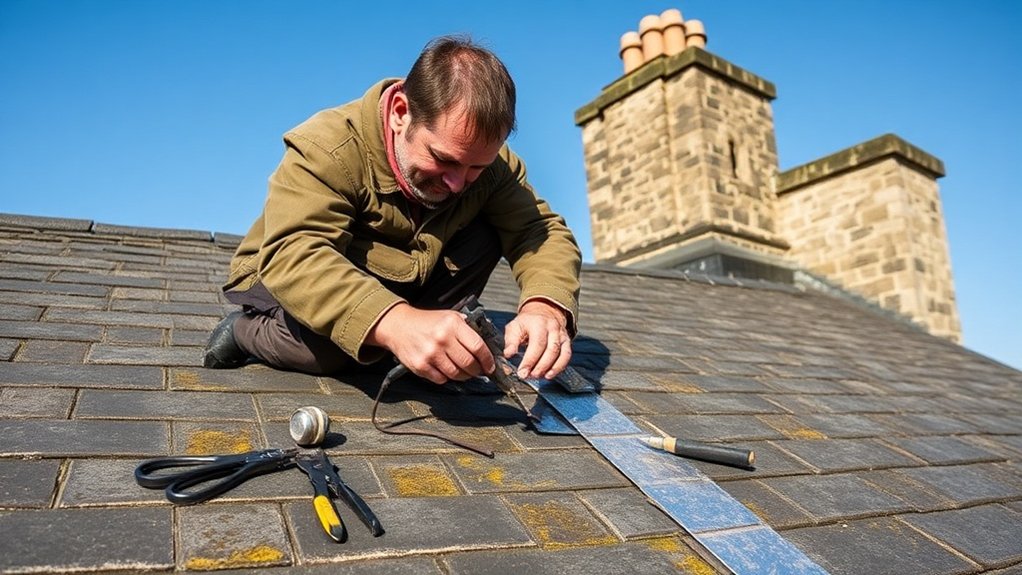
Patching and restoring lead flashing requires specific techniques to effectively tackle various types of damage while ensuring durability.
Here are three practical methods:
- Seal Small Cracks: For quick, temporary solutions, apply specialised lead sealants or flashing tapes.
- Refix Displaced Flashing: Reposition the flashing and secure it with lead clips and suitable fixings to maintain its integrity.
- Weld Patches: In structurally sound areas, weld new lead pieces onto the damaged sections using lap joints to reinforce strength.
Regulatory Considerations for Lead Flashing Repairs

When repairing lead flashing, it’s crucial to be aware of the regulatory considerations involved. Firstly, ensure compliance with standards such as BS EN 12588, which specify the correct lead codes based on the type of roof.
If you’re working on a listed building, you’ll likely need Listed Building Consent, as failing to do so could violate the Planning (Listed Buildings and Conservation Areas) Act 1990.
Health and safety regulations concerning lead handling and disposal are equally important to protect both workers and the environment.
Always strive to retain original materials where possible and follow conservation guidelines to preserve the property’s character.
Adhering to these regulations not only respects heritage preservation but also ensures the quality and safety of your work.
The Role of Conservation Bodies in Lead Flashing Work
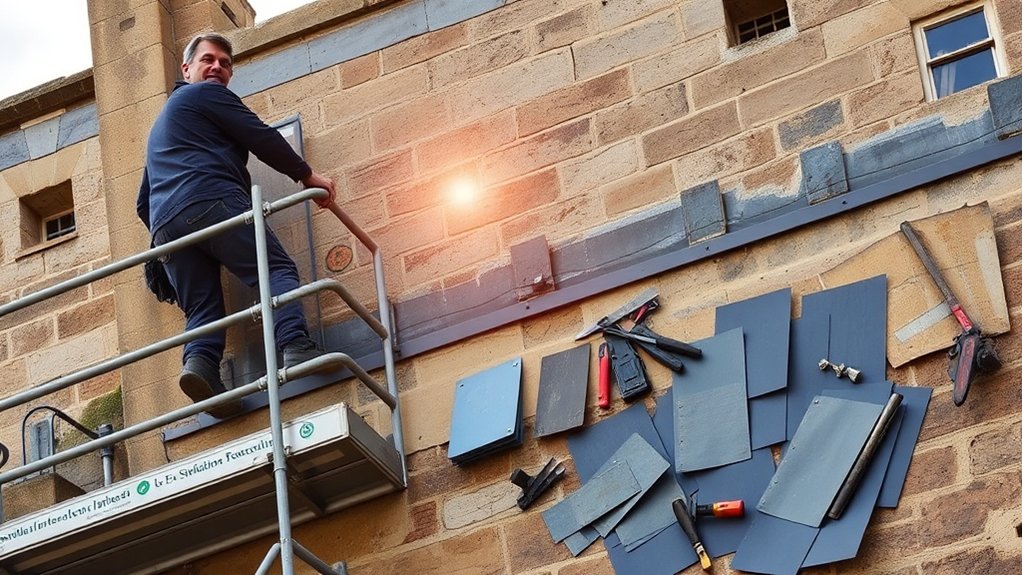
When dealing with lead flashing repairs, it’s important to recognise the vital role of conservation bodies. These organisations offer essential guidance to ensure your repair methods uphold the historical integrity of your property.
Here are three key ways they contribute:
- Expert Advice: They advise on retaining original leadwork wherever feasible and recommend appropriate lead codes to enhance durability.
- Approval Process: Conservation bodies oversee projects through consultations, ensuring all work complies with conservation policies before it starts.
- Research and Training: They facilitate research into lead deterioration and provide training for contractors, ensuring that repairs are carried out skillfully and authentically.
Selecting Qualified Contractors for Lead Flashing Repairs

How can you ensure your lead flashing repairs are done right? Start by choosing contractors with proven experience in working with heritage properties.
Look for those skilled in traditional leadwork techniques, and check if they’ve a portfolio of projects on listed buildings. It’s important they conduct thorough site assessments to create tailored repair plans.
Ensure they provide clear quotations that reflect the specific challenges of heritage work. Don’t forget to check for relevant certifications and insurance to safeguard your interests during the project.
Lastly, opt for contractors who prioritise sustainability, such as using recycled lead, and are knowledgeable about conservation guidelines.
This careful selection process will help maintain the authenticity and structural integrity of your repairs.
Essential Skills for Heritage Leadwork Specialists

A skilled heritage leadwork specialist combines technical expertise with conservation knowledge essential for preserving historic properties.
To thrive in this field, you should develop the following key skills:
- Proficiency in Heritage Techniques: Mastering traditional leadwork methods and materials is vital for maintaining the original character of buildings.
- Technical Aptitude: You need advanced skills in installing lead sheets, managing complex roof joints, and detailing dormer windows effectively.
- Knowledge of Conservation Ethics: Following preservation principles during repairs helps to protect historic features and demonstrates your dedication to heritage conservation.
Maintenance Tips for Prolonging the Life of Lead Flashing
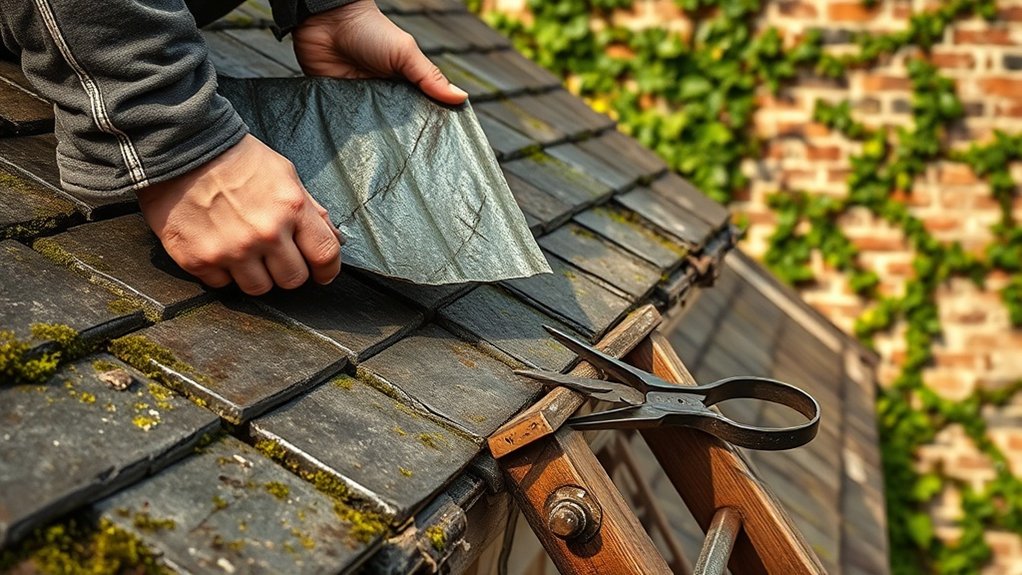
Maintaining lead flashing is crucial for preserving historic buildings. Conducting annual inspections helps identify issues before they worsen.
Regularly remove debris, moss, and leaves from the flashing to prevent water build-up and damage. Set up a maintenance schedule to check roof valleys and gutters for blockages, ensuring they’re accessible for cleaning.
Consider installing moisture-sensitive alarms in hidden valleys to catch leaks early. When repairs are needed, hire qualified specialists who follow proper standards, steering clear of temporary fixes like mastics.
Recognizing Signs of Lead Flashing Failure Early
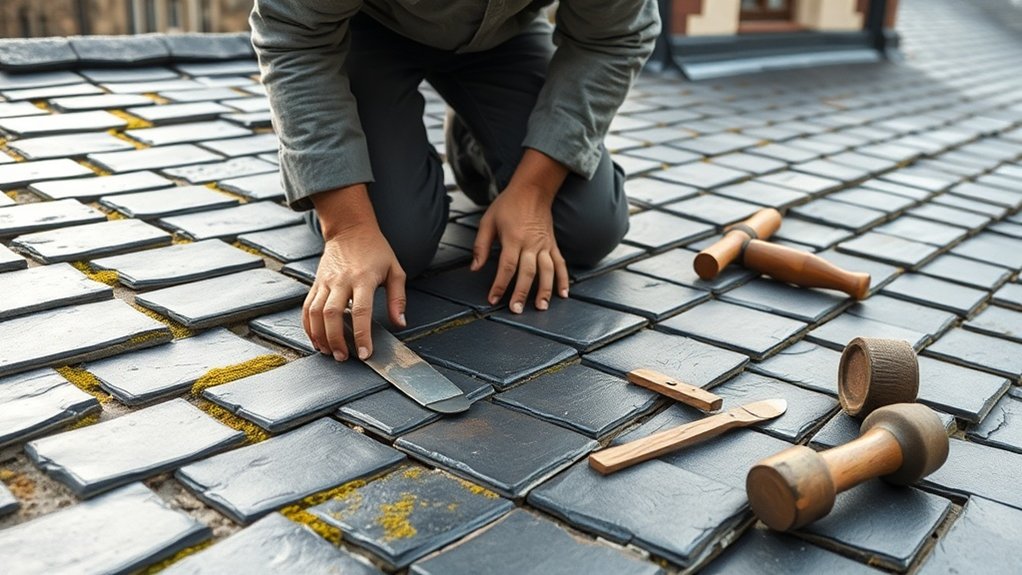
What signs should you look for to catch lead flashing failure early? Being proactive can save you time and money. Here are some key indicators to keep an eye on:
- Visible Damage: Check for cracks, splits, or dents in the lead flashing, particularly at junctions such as chimneys or vents.
- Moisture Issues: Look for water stains or damp patches on internal walls, which may suggest leaks.
- Surface Changes: Be alert to any discolouration, dullness, or powdery residue on the flashing, indicating potential weathering.
Keeping an eye on these signs can help you address issues before they escalate.
Frequently Asked Questions
How Can I Identify Authentic Lead Flashing on My Property?
To identify authentic lead flashing, start by checking the lead itself and its age. Look for a dull grey patina and ensure the thickness meets British standards. Signs of weathering and irregularities can indicate traditional craftsmanship or historical repairs. For instance, if you see variations in thickness or surface texture, it could suggest older, genuine lead flashing rather than a modern substitute.
What Are the Environmental Impacts of Using Lead Flashing?
Using lead flashing carries risks of lead toxicity, affecting soil and water quality. Although environmental regulations are in place to minimise these risks, improper maintenance or damage can lead to increased contamination. This highlights the need for careful consideration of sustainability and safety when using lead flashing. For example, if lead flashing is damaged on a roof, it can leach into rainwater, potentially harming nearby gardens or waterways. Therefore, it’s essential to weigh the benefits against the environmental impact before choosing lead as a building material.
Can I Replace Lead Flashing With Alternative Materials?
You can replace lead flashing with alternatives such as Klober’s Wakaflex or rust-resistant aluminium. Just make sure these materials are durable and meet aesthetic standards, as some regulations may limit their use in specific situations.
How Often Should Lead Flashing Be Inspected?
Inspect lead flashing at least twice a year, ideally in spring and autumn. Regular checks help catch potential issues early, saving you from expensive repairs and maintaining the structural integrity of your property. For instance, look out for cracks or lifting edges after harsh weather.
What Is the Cost Range for Lead Flashing Repairs?
Have you ever thought about why lead flashing repair costs can vary? The main factors include the size of the chimney, how accessible it is, and the repair methods used. Generally, you can expect to pay between £360 and £920 for these repairs, depending on your specific situation. For example, a tall chimney in a hard-to-reach location may cost more than a smaller, easily accessible one.
Conclusion
Maintaining lead flashing is crucial for the preservation of heritage properties. It acts like a knight’s armour, shielding your building from the elements. By recognising common issues and following best repair practices, you ensure both longevity and authenticity. Choose qualified contractors and skilled specialists to carry out the work; their expertise is invaluable. Regular inspections and maintenance allow you to spot problems early, helping to protect your property for future generations.


