

Why Is My Roof Leaking Around the Chimney in Westcliff
If your roof is leaking around the chimney in Westcliff, the flashing is likely the culprit. Poorly installed or damaged flashing fails to form a watertight seal, allowing water to seep in. Common issues include insufficient overlap with the shingles, the use of substandard materials, and wear from the elements. Signs of a leak can include water stains on walls or ceilings and damp, musty smells indoors. It’s crucial to tackle these problems quickly to prevent further damage. Read on for maintenance tips and solutions.
Key Takeaways
- Poorly installed flashing might not overlap the roof tiles properly, allowing water to seep in around the chimney.
- Worn or rusty flashing can develop gaps that let water in during rain.
- Damaged or absent chimney caps may fail to channel water away, resulting in leaks.
- Weather conditions, such as freeze-thaw cycles, can harm flashing and brickwork, increasing the risk of leaks.
- Regular maintenance and inspections are crucial for spotting and resolving potential leak issues around the chimney.
Understanding Flashing and Its Role in Roof Leaks
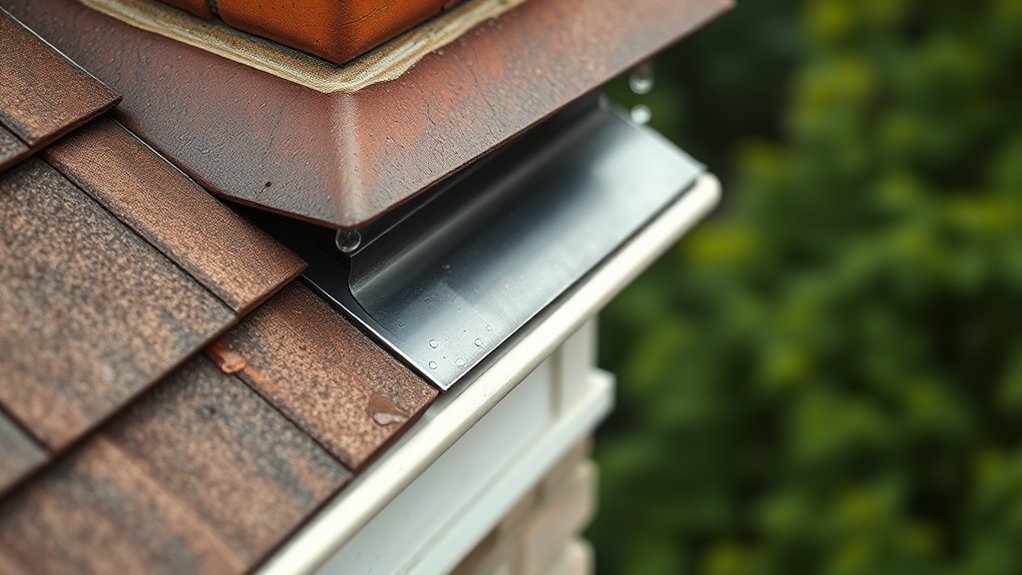
Flashing is a vital barrier against water ingress around chimneys, crucial for maintaining your roof’s integrity. Proper installation is essential for preventing leaks; if it’s not laid correctly, water can seep behind it, causing serious damage. Ensure that the flashing is tucked under the shingles with an L-shaped bend at the chimney to form a waterproof seal. Pay attention to how it overlaps with the shingles and the counter flashing. Even gaps smaller than a penny can turn into persistent leaks over time. Regularly check your flashing for signs of rust or loosening due to weather, as these issues can compromise its effectiveness and lead to further problems with your roof. Flashing problems are the most common cause of leaks around chimneys. The malleability of lead allows for precise shaping around intricate architectural details, ensuring a better seal against water infiltration.
Common Types of Flashing and Their Functions

When safeguarding your roof from leaks, it’s crucial to understand the different types of flashing. Each type has a specific role in directing water away from vulnerable spots, particularly around chimneys.
Here are the common types of flashing you might encounter:
- Step Flashing: These are interlocking L-shaped pieces that create a layer to shed water effectively. Step flashing is essential for preventing water seepage at critical junctions and helps maintain the integrity of the chimney system.
- Counter Flashing: This covers the top edges of step flashing to stop water from penetrating.
- Saddle (Cricket) Flashing: This type diverts water around the chimney, preventing it from pooling.
- Base Flashing: This seals the junction where vertical walls meet the roof, directing water downwards.
- Vent Pipe Flashing: This seals around roof penetrations, allowing for movement while keeping a watertight seal.
Proper installation of flashing and selecting durable materials are key to effectively preventing leaks.
Causes of Flashing Failure Around Chimneys
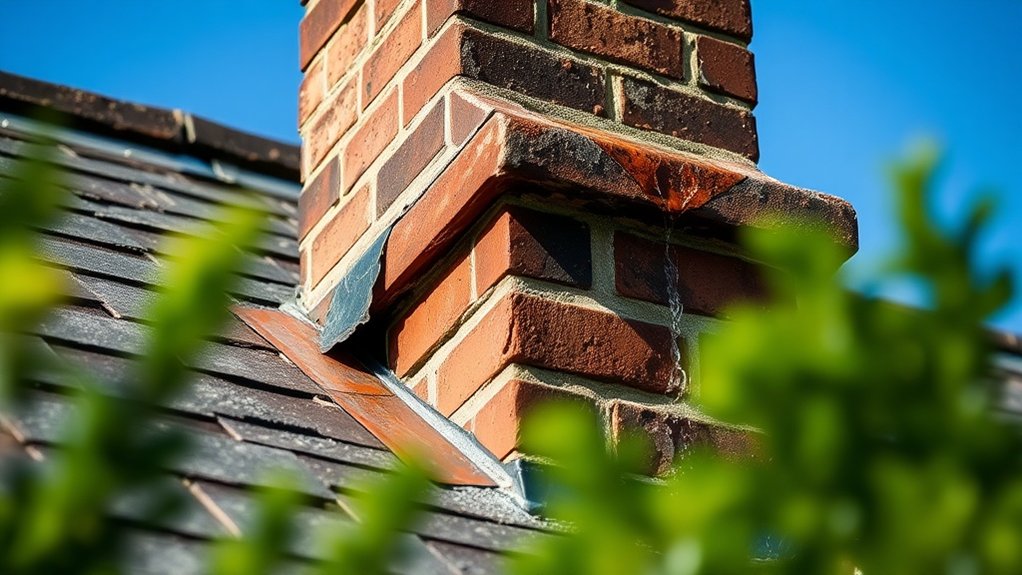
Understanding the various types of flashing is crucial for spotting potential leak issues around chimneys. A common problem is improper installation, which often results from inadequate overlapping or poor integration with roofing shingles. Using the wrong materials, such as flimsy aluminum or ineffective sealants instead of robust step and counter-flashing, can lead to quicker failures. Environmental factors like freeze-thaw cycles and strong winds further deteriorate flashing over time. Additionally, failing to carry out regular maintenance can allow small gaps or rust to escalate into significant problems. It’s essential to pay special attention to corners and joints, as poor workmanship in these areas significantly heightens the risk of water penetration. Employing appropriate installation techniques and high-quality materials is vital for ensuring long-lasting protection; proper flashing consists of two layers that work together to prevent leaks. Regular inspections of flashing can help identify signs of damage before they lead to costly repairs.
Signs of Masonry-Related Chimney Leaks
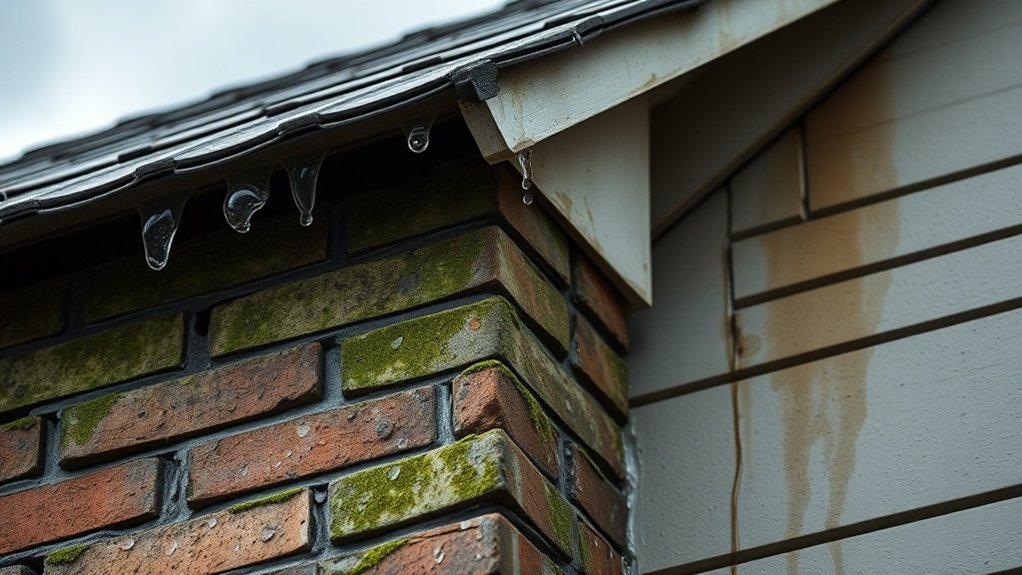
Recognising the signs of chimney leaks related to masonry is crucial for maintaining your home’s safety and structure. By being alert, you can prevent further damage and ensure a healthy living environment.
Here are the key indicators to look out for:
- Water stains or damp patches on interior surfaces near the chimney.
- Musty smells and increased humidity indoors.
- Crumbling mortar joints or cracked bricks in the chimney.
- Rust and corrosion on metal elements such as dampers and flashing.
- Dripping sounds or visible water in the chimney flue.
By following masonry inspection tips and effective moisture control methods, you can identify and tackle these issues promptly.
Acting now can prevent costly repairs later and improve the overall air quality in your home.
The Importance of a Properly Sealed Chimney Crown
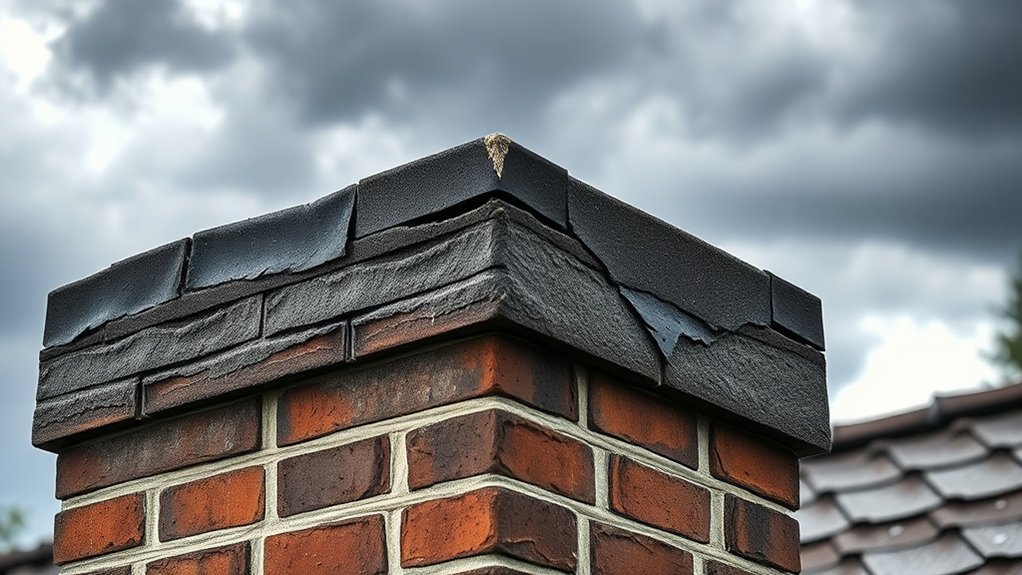
The need for a properly sealed chimney crown is crucial to prevent masonry-related leaks. This essential component acts as a waterproof barrier, keeping rain, snow, and ice from damaging your chimney.
Regular maintenance of the crown is vital; applying waterproof coatings not only stops leaks but also prolongs the life of your chimney by shielding it from the elements.
A well-sealed crown reduces moisture intrusion, which can lead to mould and structural issues. It also works hand in hand with your flashing system, preventing leaks that could affect your roofing and the interiors of your home.
Investing in crown sealing is a smart, cost-effective choice that protects your home’s integrity, enhances safety, and helps maintain good air quality by preventing harmful fungal growth.
Make the chimney crown a priority for lasting protection.
Identifying Issues With Your Chimney Cap

Your chimney cap is crucial for protecting against water ingress and debris accumulation.
To spot potential issues, regularly check for visible damage such as rust, cracks, or loose fittings that could hinder its performance.
Tackling these problems swiftly can help you avoid expensive leaks and further damage to your roof and chimney.
Cap Damage Detection
When inspecting your chimney cap, it’s vital to look for signs of damage that could lead to leaks and other problems.
Regular checks and maintenance can save you from expensive repairs.
Keep an eye out for:
- Visible rust or corrosion that shows the metal is degrading.
- Bent or torn mesh screens that could let in debris.
- Loose or missing caps that leave your chimney vulnerable to water.
- Cracks or chips on the cap’s surface that may compromise waterproofing.
- Rust stains on bricks that could indicate potential leaks.
Importance of Chimney Caps
Chimney caps are vital for protecting your chimney system, acting as the first barrier against moisture, debris, and animal intrusion. Regular inspection and maintenance of your chimney cap are crucial. Here are some key benefits and maintenance tips to consider:
| Benefit | Description | Impact on Chimney |
|---|---|---|
| Water Damage Prevention | Stops moisture from entering, reducing internal erosion | Prolongs chimney lifespan |
| Animal Intrusion Protection | Prevents wildlife nesting and the hazards that come with it | Enhances safety |
| Draft Regulation | Improves airflow and minimises downdrafts | Boosts heating efficiency |
| Fire Safety | Functions as a spark arrestor, lowering fire risks | Ensures compliance with safety standards |
Properly maintaining your chimney cap is essential for keeping your home safe and secure.
Structural Problems Contributing to Water Ingress
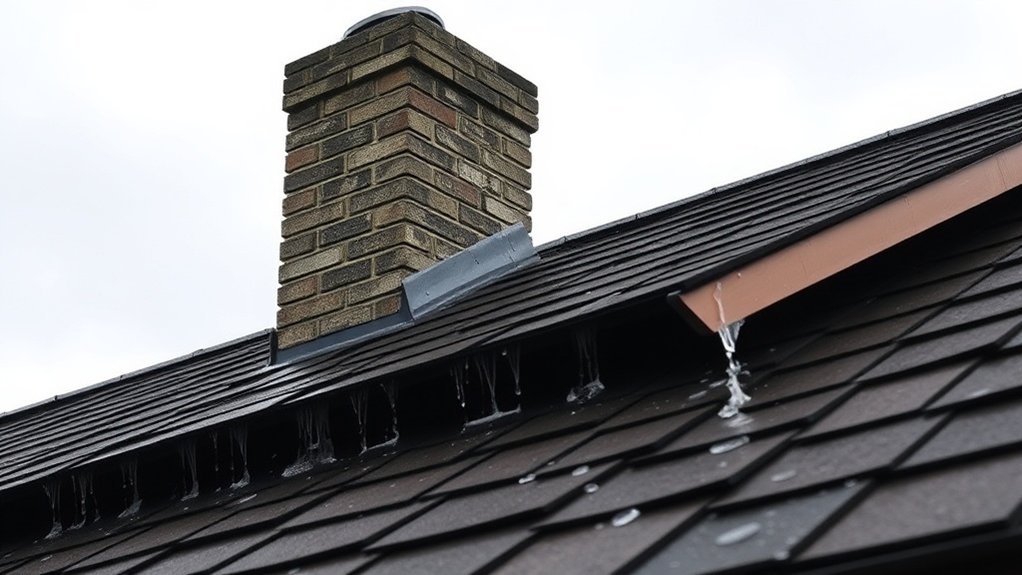
Rotted wood and damaged roofing materials can seriously undermine your chimney’s integrity, resulting in water ingress.
When structural elements deteriorate, they allow moisture to penetrate your home. Regular inspections and prompt repairs are vital to ensuring a watertight seal around your chimney.
For instance, if you notice missing or cracked tiles on your roof, it’s crucial to address these issues quickly to prevent further damage.
Rotted Wood Issues
When water seeps around a chimney, it can cause serious structural issues, mainly due to rotted wood. Wood decay happens when moisture gets in, weakening the structure and raising repair costs.
- Damaged or missing flashing allows water entry.
- Poor ventilation traps humidity, speeding up decay.
- Direct contact between wood and masonry lacks moisture barriers.
- Older wood is more susceptible to rot.
- Look out for soft textures, discolouration, and musty smells.
It’s crucial to tackle these problems swiftly. Weakened framing can threaten stability, potentially leading to sagging floors or even structural collapse.
Regular inspections and installing moisture barriers can significantly reduce these risks and safeguard your home’s integrity.
Damaged Roofing Materials
Water ingress around a chimney is often caused by damaged roofing materials, leading to serious structural issues. Rusted, cracked, or improperly fitted flashing creates gaps for water to enter, compromising moisture barriers and allowing damp to reach the roof decking and attic.
Additionally, cracked or worn chimney masonry can let rainwater in, exacerbating the problem. Missing or faulty chimney caps and crowns fail to shield your chimney from rain and debris, leading to moisture accumulation.
Asphalt shingles and tiles close to chimneys can also deteriorate due to heat and moisture exposure. Regular roofing inspections are vital to spot and resolve these issues, ensuring your roof remains watertight and structurally sound.
Roofing Material Defects and Their Impact on Leaks
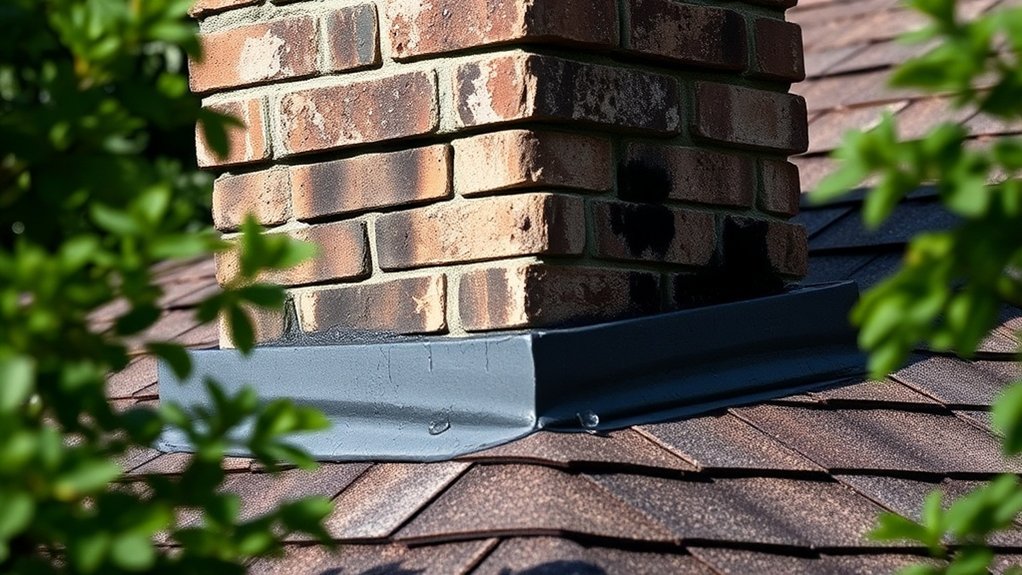
Defects in roofing materials are a major cause of leaks around chimneys, so it’s crucial for homeowners to understand their impact.
Being aware of these issues can help you maintain your roof effectively and prolong its lifespan.
- Corroded or poorly installed flashing can lead to water leaks.
- As materials age, they become more vulnerable and require more frequent maintenance.
- Cracked tiles and worn flashings provide easy access for moisture.
- Substandard repairs, such as using tar, often lead to persistent leaks.
- Temperature fluctuations can cause gaps in flashing joints due to movement.
The Role of Condensation in Interior Chimney Moisture

Many homeowners may not realise the crucial impact of condensation on chimney moisture. When warm, humid air from your home rises and meets the cold walls of the chimney, particularly above the roofline, it can lead to condensation if temperatures dip below the dew point.
This is especially common in the colder months. The excess moisture can seep into the bricks and mortar, weakening the chimney’s structure and causing damp patches. Poor insulation can worsen the problem, creating cold spots that encourage more condensation.
To combat this, consider improving your chimney insulation and ensuring proper ventilation.
Additionally, managing indoor humidity levels can further reduce condensation, helping to protect your chimney’s integrity over time.
Environmental Factors Affecting Chimney Integrity
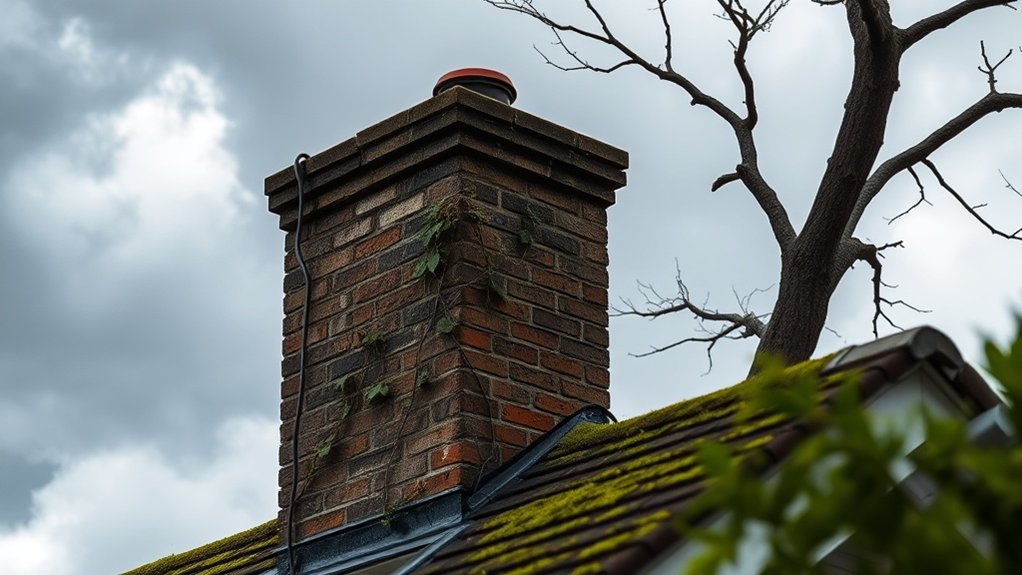
Chimney integrity is significantly affected by various environmental factors that can lead to deterioration over time.
Recognising these factors is crucial for maintaining your chimney’s structural soundness and preventing leaks.
- Freeze-thaw cycles can cause cracks as masonry erodes.
- Acid rain speeds up decay, particularly in urban areas.
- Wind-driven rain may penetrate brick and mortar, increasing the risk of water damage.
- UV exposure weakens protective coatings, making them less effective.
- Biological growth, such as moss and algae, holds moisture, further compromising the chimney.
Understanding these issues is key to ensuring your chimney remains safe and functional.
Seasonal Maintenance Practices for Chimneys in Westcliff

To ensure your chimney stays safe and functional throughout the year, it’s essential to follow a seasonal maintenance routine.
Schedule a professional chimney inspection at least once a year, preferably before the heating season begins. After significant storms, carry out a visual check, focusing on the chimney flashing and seals.
Each season, inspect the chimney cap and crown for any cracks.
Annual cleaning and creosote removal are crucial; aim to do this after every 75 fires or once a year, using a CSIA-certified professional for safety.
Keep a record of all inspections to track any changes. Regularly check for rust, gaps in the flashing, and the overall structural integrity of the chimney to prevent leaks and ensure optimal performance, protecting your home and loved ones.
When to Seek Professional Help for Chimney Repairs
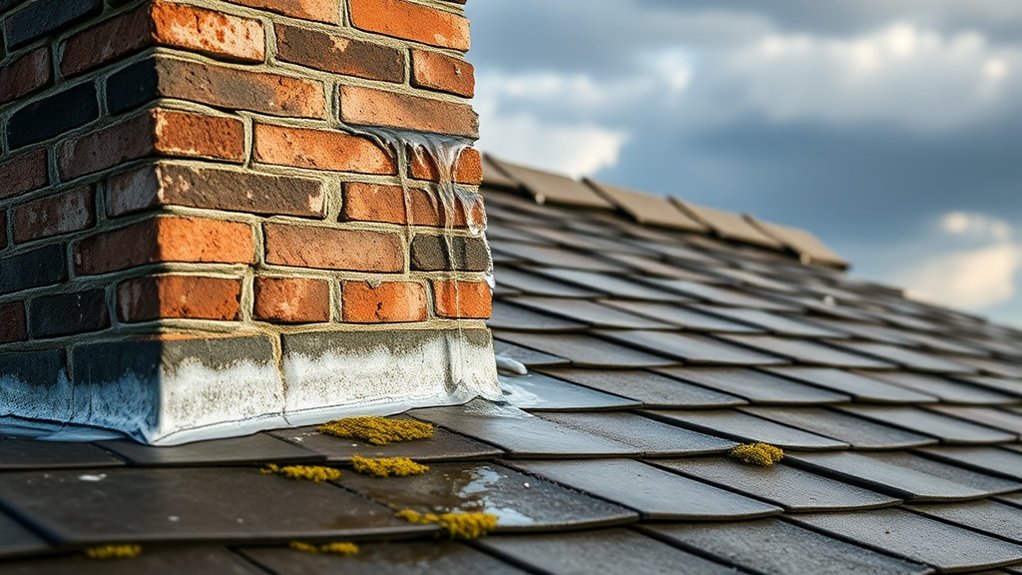
When you notice signs of damage or deterioration in your chimney, it’s essential to seek professional help right away. Delaying repairs can lead to higher costs and safety risks.
Here are some key signs that require immediate attention:
- Cracked, crumbling, or spalling bricks should be assessed by a professional.
- Water stains or white powdery marks (efflorescence) may indicate water leakage.
- Difficulty lighting fires or excessive smoke could point to internal problems.
- Visible damage to mortar joints can threaten the stability of your chimney.
- A leaning or misaligned chimney stack needs urgent structural evaluation.
A thorough inspection by qualified professionals ensures compliance with safety regulations and uncovers any hidden issues.
Tackling these problems early can save you from extensive damage and costly repairs down the line. Don’t wait—getting professional help can prevent more serious complications.
Frequently Asked Questions
How Long Does Chimney Flashing Typically Last Before Needing Replacement?
Chimney flashing usually lasts between 15 to 30 years, depending on the material used and the quality of the installation. To maximise its lifespan, carry out regular inspections and address any damage promptly. For instance, if you notice water stains on your ceiling, it could indicate a problem with the flashing that needs urgent attention to avoid costly repairs later on.
Can I Repair Chimney Leaks Myself, or Should I Hire a Professional?
You can handle minor chimney leaks yourself if you have some experience, but serious problems should be left to the professionals. Avoid risking further damage; it’s essential to know your limits to keep your home safe and sound. For instance, if you spot small cracks or loose flashing, a DIY fix might suffice. However, if you notice significant water damage or structural issues, it’s best to call in an expert.
What Are the Costs Associated With Repairing Chimney Leaks in Westcliff?
Repair costs for chimney leaks in Westcliff generally range from £200 to over £2,500, depending on the severity of the issue and the materials required. Addressing leaks promptly can help you avoid more significant expenses down the line. For instance, a minor repair might just involve replacing a few bricks, while a more severe leak could necessitate a complete chimney rebuild. Investing in preventive measures now can save you money and hassle in the future.
How Often Should I Inspect My Chimney for Potential Leaks?
You should inspect your chimney at least once a year for potential leaks. Regular maintenance and leak prevention not only ensure safety but also help spot issues early on, protecting your home from expensive water damage and structural problems. For instance, a small leak can lead to damp patches on your walls, which may require costly repairs if not addressed promptly.
Are There Specific Materials Recommended for Chimney Cap Installation?
Choosing chimney cap materials is similar to selecting protective gear for your home. Stainless steel and copper provide excellent durability, whereas galvanised steel and aluminium can be more cost-effective options. Ensuring proper installation is crucial for longevity and safeguarding against potential leaks.
Conclusion
Your chimney might seem like a charming feature of your home, but if not properly maintained, it can be a major cause of roof leaks. Understanding the role of flashing and masonry, as well as the importance of regular maintenance, can help you avoid these annoying leaks. A bit of proactive care can save you from the unwelcome sound of dripping water in your living room. Remember, in Westcliff, prevention is key.


