
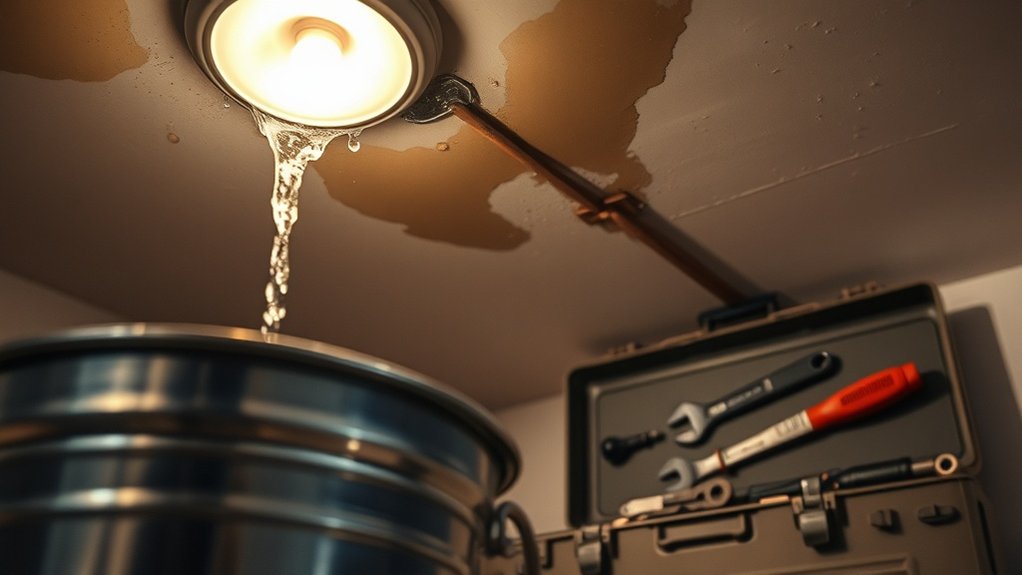
How to Handle a Roof Leak Emergency in Chelmsford
In a roof leak emergency, it’s crucial to act quickly to prevent extensive damage. Start by locating the leak—check both your loft and the exterior of the roof. Use a tarpaulin to provide temporary protection, and take photos of any damage for your insurance claim. Ensure safety by switching off electricity and steering clear of any wet areas.
Engage a qualified contractor with positive reviews, and obtain several quotes before making a decision. Regularly inspect your roof and gutters to avoid future problems. For more essential steps on managing roof leak emergencies, stay informed.
Key Takeaways
- Check the roof for any visible damage and look for damp insulation or mould in the loft to pinpoint the leak’s source.
- Use heavy-duty tarpaulins to temporarily cover the area, ensuring they extend beyond the leak and are securely fastened to prevent being blown away by the wind.
- Switch off the power at the circuit breaker and steer clear of any wet electrical fixtures to ensure safety while carrying out repairs.
- Engage a licensed and insured roofing contractor who has experience with emergency repairs, and get several quotes for comparison.
- Arrange regular inspections and maintenance to identify potential leaks early and prolong the life of your roof.
Understanding the Urgency of Roof Leak Emergencies

When a roof leak occurs, it’s vital to respond promptly as the situation can worsen quickly. Homeowners must be vigilant; water ingress can compromise structural integrity within hours, risking partial or complete collapse. Emergency repairs are often more costly, sometimes reaching up to twice the price of regular repairs, making prompt action even more critical. Urgent repairs typically incur higher fees due to emergency premiums, making timely intervention essential.
Being prepared for emergencies is your best line of defence. Multiple leak points or pooling water indicate increasing damage that requires immediate attention. Additionally, flooding near electrical outlets poses serious fire risks, demanding urgent action. Delays in repairs can also lead to mould growth and significant interior damage, potentially costing you thousands.
Identifying the Source of the Leak

To identify the source of a roof leak, begin by examining your loft for damp insulation or signs of mould. Then, inspect the roof’s exterior for cracked or missing tiles, as well as any visible damage that could let water in. Utilizing thermal imaging can also help detect entrapped moisture that may lead to leaks. Regular visual inspections can help identify early signs of damage and inform your repair strategy.
Inspect Attic Spaces
Before entering the attic to check for leaks, ensure the area is safe and clear of obstructions.
Bring a torch to light up dark corners, and wear protective gear such as gloves and a mask to guard against insulation and mould exposure. Regular inspections help maintain roof strength and reliability, making it easier to identify potential leaks before they become emergencies. Additionally, conducting regular inspections can prevent damage by catching issues early on.
Begin your inspection by looking at the insulation for any signs of dampness or discolouration, and listen for musty odours, which suggest hidden moisture. Keep an eye out for water stains on rafters or ceiling joists, and take note of any warped wood or rusted nails, as these indicate prolonged moisture exposure.
Don’t overlook the attic ventilation; proper airflow is vital to prevent future leaks. Record your findings to highlight areas that need attention, and trace any water trails to effectively locate the source.
Check Exterior Roof Signs
After inspecting the attic spaces, the next step is to check for exterior roof signs that could indicate the source of a leak. Look for signs of shingle damage, such as curled, cracked, or missing tiles, which can expose the underlayment. Also, inspect the integrity of the flashing around chimneys and vents for any signs of rust or gaps.
| Sign Type | Action Required |
|---|---|
| Curled or Missing Tiles | Replace damaged tiles |
| Rusty or Damaged Flashing | Repair or replace flashing |
| Water Stains on Eaves | Investigate the source of water |
| Sagging Roof Decking | Consult a professional immediately |
Identifying these signs quickly can help prevent further water damage and expensive repairs. Always prioritise thorough inspections during your assessment.
Implementing Temporary Containment Measures

In the event of a roof leak emergency, it’s crucial to implement temporary containment measures swiftly to limit damage and avoid complications.
Follow these steps:
- Identify the Leak Source: Use a torch to pinpoint the leak, focusing on typical trouble spots such as skylights and vents.
- Select Appropriate Materials: Opt for heavy-duty tarpaulins for external coverage and roofing tape for smaller leaks.
- Apply Exterior Containment: Drape the affected area with a tarpaulin, extending at least 1 metre beyond the leak, and secure it firmly to prevent it from being blown away.
Ensuring Safety During a Roof Leak
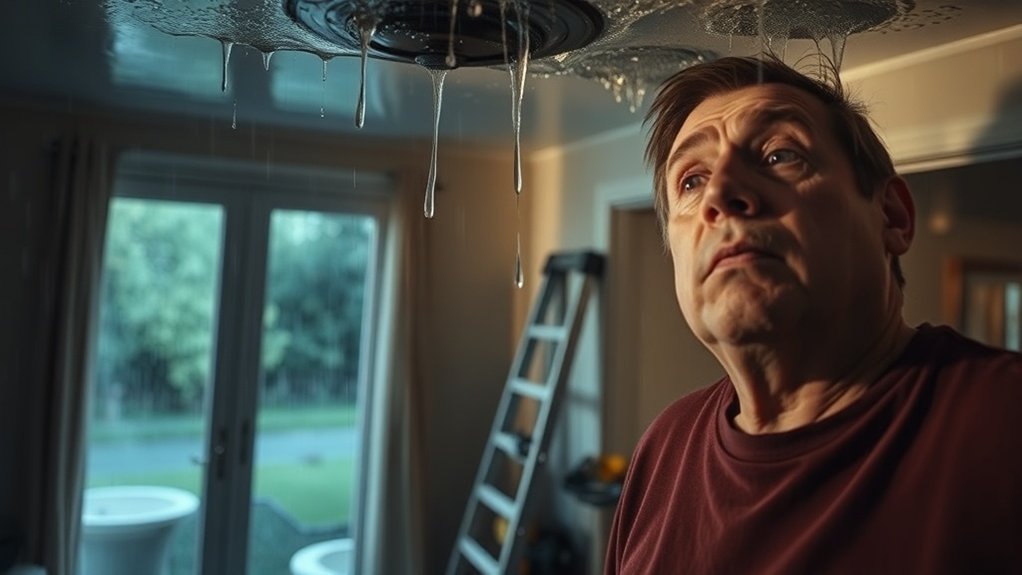
Implementing temporary containment measures is just the first step in managing a roof leak emergency; your safety comes first. Always prioritise electrical safety by switching off the power in affected areas, as water near electrical outlets can be extremely dangerous. Wear personal protective equipment (PPE) such as gloves and sturdy footwear when moving through damp areas.
| Safety Tip | Description |
|---|---|
| Turn Off Power | Switch off the power at the circuit breaker to avoid electric shocks. |
| Avoid Wet Electrical Areas | Keep away from wet fixtures to reduce the risk of electrocution. |
| Evacuate if Unsafe | Leave immediately if you notice any signs of structural instability. |
Keep children and pets away from the leak area, and document any damage for insurance purposes. Your safety and that of others is paramount during these emergencies.
Choosing the Right Professional Repair Services
Choosing the right professional repair service for a roof leak is crucial, as the quality of the work can significantly affect your roof’s lifespan and your home’s safety.
Here are three important factors to consider:
- Contractor Qualifications: Ensure your contractor is licensed, insured, and accredited by reputable roofing associations.
- Experience and Expertise: Opt for professionals with a strong background in emergency roof repairs, especially those who understand local weather conditions.
- Service Guarantees: Confirm that they offer written guarantees on their workmanship and provide warranties from manufacturers on the materials used.
Recognizing Common Causes of Roof Leaks
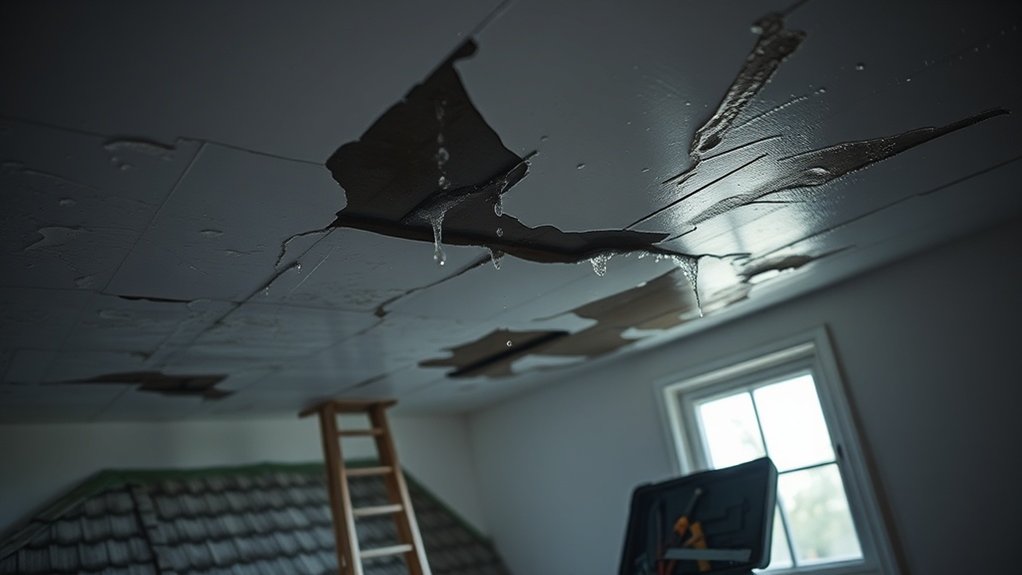
Understanding the common causes of roof leaks is vital for effective repairs and maintaining your home’s structure.
One major issue is shingle deterioration due to age, which results in cracks and the loss of granules. Additionally, broken or missing shingles can create direct pathways for water, particularly after heavy rain.
Flashing failure, especially around chimneys and vents, is another common problem, as poorly sealed or cracked flashing can’t adequately protect against leaks.
Clogged gutters can exacerbate the situation by causing water to back up and seep beneath the shingles.
Lastly, problems with roof penetrations, such as damaged vent boots, can let water into your home.
Recognising these causes enables you to tackle leaks promptly and efficiently.
Preventative Maintenance to Avoid Future Emergencies
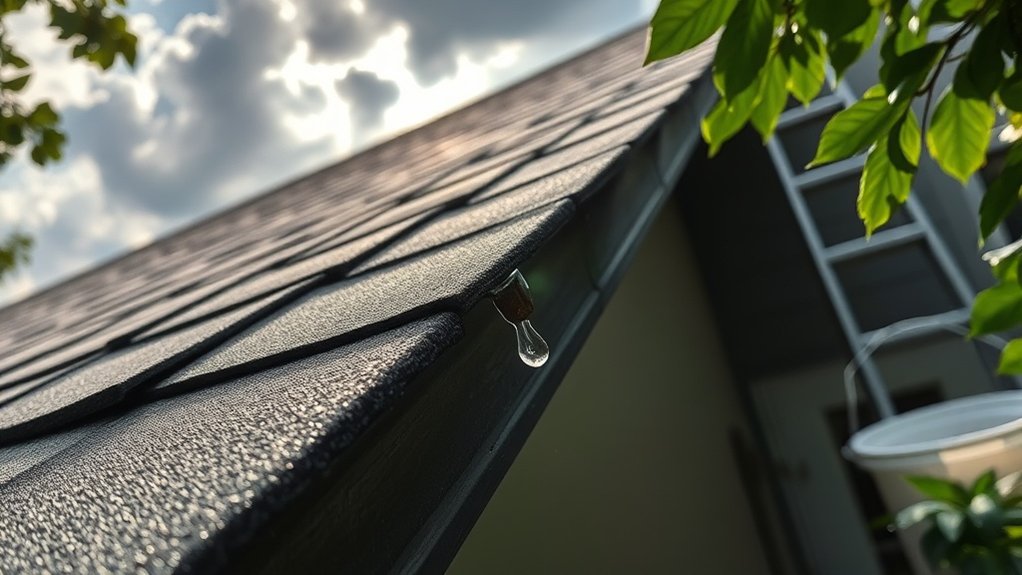
To avoid future roof leak emergencies, establish a regular inspection schedule and maintain your gutters consistently.
Aim to inspect your roof at least twice a year and after any severe weather. This helps identify potential issues before they become serious.
Additionally, ensuring your gutters are free from debris allows for proper drainage and protects the integrity of your roof.
For instance, clearing leaves and moss can prevent water from pooling, reducing the risk of leaks.
Regular Roof Inspections
Regular roof inspections are vital for maintaining your roofing system and avoiding costly emergencies. By scheduling these inspections, you can reap several benefits:
- Identify Issues Early: Spot minor problems before they develop into major repairs.
- Extend Roof Lifespan: Regular checks can significantly prolong the life of your roof.
- Cost Savings: Preventive maintenance can save you thousands in future repairs.
Aim for inspections twice a year, ideally in spring and autumn, to address seasonal wear and tear. If your roof is older or has overhanging trees, consider increasing the frequency.
Each inspection should focus on loose materials, signs of leaks, and the overall structural integrity. By prioritising regular inspections, you’re protecting both your home and your future.
Gutter Maintenance Practices
Maintaining your gutters is crucial for preventing water damage to your home. Aim to clean them at least twice a year, ideally in spring and autumn, to clear out debris and avoid blockages. If your home is surrounded by trees, consider cleaning them every three months.
Installing gutter guards can help reduce cleaning frequency by blocking up to 85% of debris, but it’s still important to inspect and clean them 2-4 times a year to prevent fine debris from building up.
During maintenance, check for rust, loose fittings, and sagging sections. Seal any small leaks promptly and address repairs as needed. Keeping your gutters in good condition will significantly reduce the risk of leaks and expensive repairs.
Frequently Asked Questions
How Can I Tell if My Roof Leak Is Severe?
To assess if your roof leak is severe, watch for clear signs such as sagging ceilings, extensive water stains, or mould growth. You can also use basic leak detection methods to evaluate the damage. Prioritise repairs to ensure safety and prevent further issues.
What Are the Costs Associated With Emergency Roof Repairs?
Emergency roof repair costs generally range from £200 to £2,500, depending on the extent of the damage and the type of roofing material. Knowing these costs can help you budget effectively and prepare for any unexpected expenses that may arise. For instance, a small leak might only set you back a couple of hundred pounds, while significant storm damage could lead to much higher costs. Being informed will ensure you’re ready for any situation.
How Quickly Can I Expect Repairs to Be Completed?
If a severe leak occurs during a storm, repairs are typically completed within 1-2 weeks following the emergency response. This timeframe may vary based on the availability of materials and any weather conditions that could affect the repair process.
Do I Need to File an Insurance Claim for Roof Leaks?
You should file an insurance claim for roof leaks if the damage is due to events covered by your policy. Check your insurance documents to understand your coverage. For example, if a storm caused the leak, you may be eligible to claim. Make sure to follow the claims process carefully to ensure your submission is timely and accurate.
Can I Prevent Roof Leaks With DIY Solutions?
Yes, you can prevent roof leaks with DIY solutions. Regular inspections and proactive maintenance, such as sealing gaps and applying waterproof barriers, can significantly improve your roof’s durability and lower the chances of leaks. For instance, checking for cracked tiles or worn-out flashing can save you from costly repairs later on.
Conclusion
In a roof leak emergency, it’s crucial to act quickly and effectively. Start by locating the source of the leak. Once identified, use temporary measures like buckets to catch dripping water and tarpaulins to cover the affected area. Always prioritise safety—if the leak is severe, avoid going onto the roof and consider using a ladder with caution. Think of it as putting a stopgap in a leaking bucket until help arrives. By addressing the immediate problem, you not only reduce damage but also protect your home from future leaks.