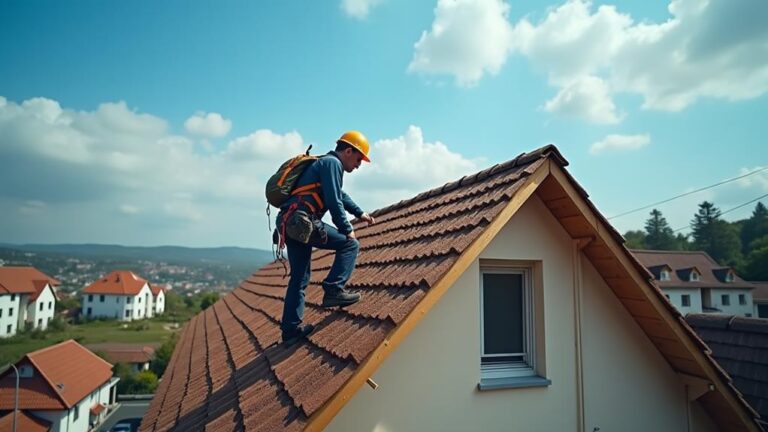

Expert Guide on How to Fit Fascia Boards Perfectly
To fit fascia boards perfectly:
- Measure accurately and choose quality materials.
- Remove old boards carefully, checking rafters for rot.
- Cut new boards 5 cm taller than rafter ends.
- Fix boards with exterior-grade nails, placing them 2.5-5 cm from the top edge and 7.5-10 cm lower.
- Fill gaps with sealant, then prime and paint for weather protection.
- Install drip edges above the fascia.
For best results, inspect twice yearly and keep gutters clean.
Like a well-fitted suit, properly installed fascia boards protect your home whilst looking smart. Regular upkeep is key to longevity.
Key Takeaways
Measure and cut fascia boards 5cm taller than rafter ends for proper coverage.
Remove old fascia carefully, checking rafters for rot or damage before fitting new boards.
Use outdoor-grade fixings to secure new fascia, placing nails strategically for best stability.
Fill gaps and nail holes with sealant or wood filler to keep moisture out.
Prime and paint with outdoor-suitable products for weather protection. Fit drip edges to divert water effectively.
Understanding Fascia Board Basics
Fascia boards are crucial components at the edge of your roof. These vertical boards support your gutters and give your home’s exterior a polished look. Before installing fascia, it’s essential to understand the basics.
UPVC fascias are particularly durable and stylish, making them ideal for homes and businesses in Wickford, Essex and beyond. Fascia boards help direct rainwater away from your roof and foundation, preventing water damage and rot.
You’ll find fascia boards in various materials, including wood, vinyl, aluminium, composite and fibre cement. Choose based on durability, maintenance needs and budget. Composite fascia boards, for example, offer a good balance of durability and cost-effectiveness.
Proper installation technique is vital. Ensure a secure fit to maintain water flow and prevent leaks. Pay attention to the fascia’s alignment with your roofline and its connection to the rafters.
Pick a style and finish that suits your home’s architectural design.
Tools and Materials Needed

Tools and Materials for Fitting Fascia Boards
You’ll need these tools: hammer, circular saw, tape measure, utility knife, pry bar, and spirit level. Don’t forget safety gear: gloves, goggles, and dust masks.
Choose pressure-treated wood or composite materials for your fascia boards to ensure longevity. Use exterior-grade nails or wood screws for secure fastening.
| Tool/Material | Purpose | Safety Tip |
|---|---|---|
| Circular Saw | Cutting | Wear goggles |
| Hammer | Nailing | Use gloves |
| Ladder | Access | Check stability |
| Fascia Boards | Main material | Watch for splinters |
| Nails/Screws | Fastening | Don’t overdrive |
A sturdy ladder or scaffold is crucial for safe access to high areas. Always prioritise safety when using tools and handling materials. Check your equipment before starting to avoid delays and risks.
Measuring for Proper Fit

Measuring for a Proper Fit
Get your tools and materials ready, then focus on accurate measurements for your fascia boards. Precise measuring is crucial for a proper fit. Use a tape measure to determine the roof edge length, ensuring consistency by measuring from both ends. Secure the tape measure to the rafter with duct tape for stability.
UPVC solutions are durable and stylish, making them an excellent choice for fascia boards in Wickford, Essex. These high-quality materials resist rot and warping, ensuring long-lasting performance.
When measuring for fascia boards, remember:
- Cut boards 5 cm taller than rafter ends
- Measure each section requiring fascia
- Record measurements for replacement areas
- Choose 2.5 cm thick outdoor-treated boards
- Select 20 or 25 cm high boards to match rafters
For ideal installation, pick fascia boards that are 2.5 cm thick and 20 or 25 cm high, matching the rafter size. This ensures proper coverage and a seamless fit.
As you measure, note the dimensions for each section, including areas needing replacement. Don’t forget to account for the extra 5 cm in height when cutting your boards. This overhang provides essential coverage and protection for the rafter ends.
Following these guidelines will ensure your fascia boards fit perfectly, enhancing both the functionality and appearance of your roof’s edge.
Removing Old Fascia Boards

Before starting, ensure you’re wearing proper safety gear, including gloves and eye protection.
Begin by removing gutters and drainpipes. Lift roof tiles to access fixings securing the old fascia board. Score corners with a craft knife, then carefully pry the board away.
As you work, inspect the underlying rafters for any damage.
Safety Precautions
Safety Precautions for Removing Old Fascia Boards
When removing old fascia boards, safety is paramount. Always don protective goggles and gloves to shield your eyes and hands from debris. Use a sturdy ladder on level ground for stability. Before starting, check for electrical wires or plumbing to prevent accidents.
Key safety steps:
- Wear proper PPE
- Set ladder on stable ground
- Look out for potential hazards
- Handle pry bar and hammer carefully
- Have a mate assist you
Use a pry bar and hammer cautiously to remove the fascia without damaging surrounding structures. This method ensures a clean removal and protects adjacent components.
It’s crucial to have a helper steady the ladder and support the fascia boards during removal. This extra pair of hands significantly reduces the risk of falls and boosts overall safety.
Step-by-Step Removal Process
The step-by-step removal process for old fascia boards starts with a thorough check and measurement. Inspect for damage and measure the length to ensure you’re ready for replacement.
Next, remove gutters and downspouts for clear access to the fascia board. Use a sturdy ladder for safety. For buildings over two storeys or with complex guttering, consider using scaffolding.
Lift the roof tiles at the top of the fascia to expose fixings. Score the corners with a utility knife for easier removal.
Using a hammer, pry bar, or electric screwdriver, carefully remove the nails or screws holding the fascia in place. Take care not to damage the roof structure.
Remove the old fascia board methodically. If it’s stuck, use a circular saw to cut it into smaller sections.
After removal, check the roof rafters for rot or damage. This crucial step ensures you’re not hiding potential issues that could worsen over time.
Preparing the Roof Edge
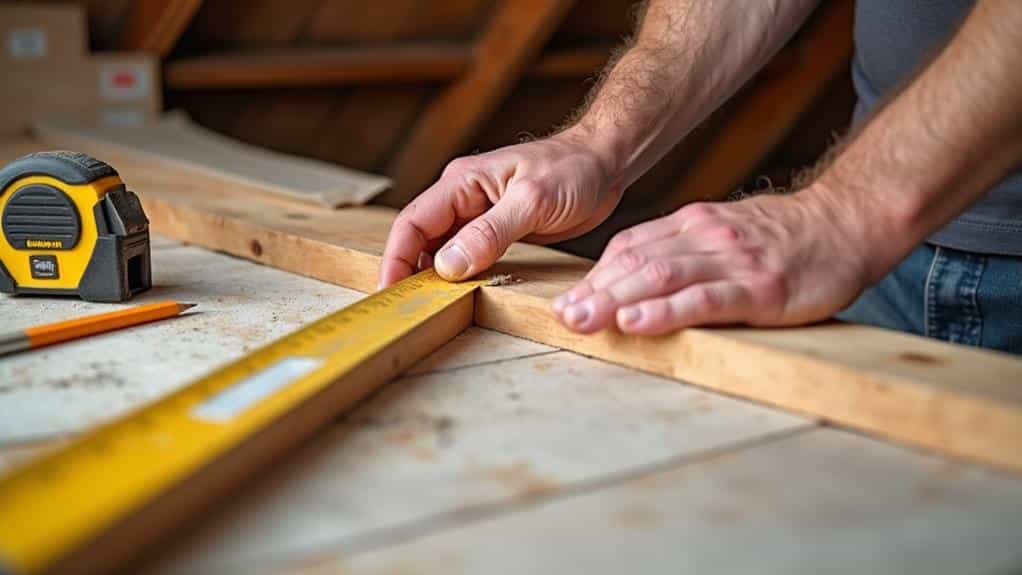
Preparing the Roof Edge for New Fascia
Before fitting new fascia boards, thoroughly prepare the roof edge. Check for rot or damage in the rafters and sort any issues straightaway. Remove gutters, downspouts, and drip edges for clear access. Regular roof checks can spot problems early, saving you a packet in the long run.
Precise measurements are crucial. Use a tape measure for the roof edge length, including corners and angles needing mitre cuts. Clear away debris, old paint, and loose bits for a clean surface.
Checklist for roof edge prep:
- Check and fix damaged rafters
- Take off gutters and downspouts
- Measure roof edge accurately
- Clear debris and loose materials
- Ensure rafters are plumb and level
Double-check that rafters are plumb and level – this affects the alignment and stability of your new fascia boards. Proper preparation sets you up for a top-notch fascia installation, improving both the function and look of your roof.
Cutting Fascia Boards to Size

Now you’ve prepped the roof edge, it’s time to cut your fascia boards to size. Set up your circular saw, adjusting its depth to just exceed the board width for clean, precise cuts.
Proper fascia installation is crucial for protecting your home from the elements and improving its looks.
Mark cutting lines clearly with a pencil to ensure accuracy and avoid costly mistakes. Place boards on sturdy sawhorses for stability and safety.
Always wear safety goggles when using power tools to protect your eyes from debris. This is non-negotiable.
For corner pieces, miter the ends at 45-degree angles for a seamless fit. Only do this for corners.
Keep a steady hand and follow your marked lines precisely. The quality of your cuts directly affects the fascia’s appearance and function.
Installing New Fascia Boards

After cutting your fascia boards to size, secure them to the rafter ends.
Position the boards 5 cm taller than the rafter ends and use exterior-grade fixings.
Place nails 2.5-5 cm from the top edge and 7.5-10 cm lower for stability.
Once installed, seal any gaps or nail holes with wood filler or sealant to protect against damp and ensure a smooth finish.
This method works well for most British homes, whether you’re dealing with a Victorian terrace or a modern semi-detached.
Measuring and Cutting Boards
To fit new fascia boards, start with precise measurements and cuts. Measure the roof edge length thoroughly, covering all sections needing fascia boards. Choose boards 50mm taller than the rafter ends and 25mm thick for easier fitting. UPVC options are durable and stylish, resisting rot and warping for years.
Set up a cutting station with saw horses for stability. Mark cutting lines clearly and use a circular saw for accuracy. Mitre corner pieces at 45-degree angles for neat joints. Always wear safety goggles and keep hands away from the saw.
Quick checklist for measuring and cutting fascia boards:
- Measure roof edge length accurately
- Select boards 50mm taller than rafter ends
- Use 25mm thick boards for easier fitting
- Set up stable cutting station with saw horses
- Mitre corner pieces at 45-degree angles
Attaching Fascia Securely
Secure Fascia Board Attachment
Proper fascia board installation is crucial. Position boards against rafter ends, ensuring they’re level and aligned. Use exterior-grade fixings, placing them 2-5 cm from the top edge for stability. Start at the ends, driving 1-2 additional nails into each rafter for extra security.
Quick guide for attaching fascia boards:
| Step | Action | Key Point |
|---|---|---|
| 1 | Position | Ensure level alignment |
| 2 | Secure Ends | Use exterior-grade fixings |
| 3 | Fasten to Rafters | 2-5 cm from top edge |
| 4 | Additional Support | 1-2 extra nails per rafter |
After initial attachment, check for gaps or misalignments. Make adjustments to maintain integrity. If you’re planning to fit gutters, ensure the fascia boards are securely fastened beforehand.
Sealing and Finishing Touches
The final steps in fascia board installation involve sealing and finishing for top-notch protection and looks. Seal gaps and nail holes with body filler putty or caulk using a putty knife. Scrape off excess for a clean finish and to prevent water getting in.
Double-check all seams are sealed and inspect your work thoroughly. It’s wise to check your fascia boards twice a year to spot any issues early on, keeping them in tip-top shape.
Next, apply outdoor primer and paint to the fascia boards. This guards against the elements and makes them look smart. For extra moisture protection, fit drip edges over the fascia boards to guide water away from the building.
Remember:
- Use putty or caulk for sealing
- Apply outdoor primer and paint
- Fit drip edges to divert water
- Ensure all seams are sealed
- Give everything a thorough once-over
Securing Boards With Fasteners

Once you’ve prepared your fascia boards, secure them properly with the right fasteners. Choose exterior-grade carpentry nails or wood screws for durability and moisture resistance.
When attaching fascia boards to rafters, place fasteners 2-5 cm from the top edge and 7-10 cm lower for balance. Proper installation is crucial, as fascia boards help prevent leaks and maintain your roof’s structural integrity.
For extra stability, drive 1-2 more fasteners into each rafter. Ensure the fascia board is level and aligned before securing. Attach board ends directly to rafters for easier installation and added security.
Maintain a consistent fastener pattern, driving nails or screws at a slight upward angle for better hold. Countersink screws slightly to prevent splitting and achieve a smooth finish.
After installation, check your work regularly for instability or gaps. Reinforce any problem areas with additional fasteners to maintain structural integrity. This proactive approach will keep your fascia boards secure and functional for years.
Sealing and Weatherproofing
Once your fascia boards are secure, focus on sealing and weatherproofing to prevent rot and boost weather resistance. Fill gaps and nail holes with body filler putty or caulk to stop water infiltration.
UPVC solutions offer top-notch durability and style, protecting against harsh weather and resisting rot and warping.
Fit a drip edge over the fascia boards to direct rainwater away from the roof edge, reducing rot risks. Use low modulus neutral cure silicone for joints between boards, as it’s flexible and weather-resistant.
For long-lasting protection:
- Check and maintain seals regularly
- Fix any wear or damage promptly
- Use exterior-grade primer and paint for wooden fascias
- Apply paint in thin, even coats
- Allow proper drying time between coats
Painting and Finishing Touches

Most fascia board installations need a final painting and finishing stage for optimal protection and looks.
For wooden fascia boards, sand the surface thoroughly and apply an exterior-grade primer. This step improves paint adhesion and adds a moisture barrier.
Choose an exterior paint made for wood surfaces to ensure durability and resistance to peeling and fading. Apply at least two coats, allowing proper drying time between each for a smooth finish.
For composite or vinyl fascia boards, use paint designed specifically for these materials. Always check the weather before painting, avoiding damp or rainy days as they can affect drying and curing.
When painting, use even strokes and maintain a wet edge to avoid lap marks. Pay close attention to edges and joints for full coverage.
Once dry, check for missed spots or flaws, touching up as needed for a professional look.
Maintenance and Inspection Tips
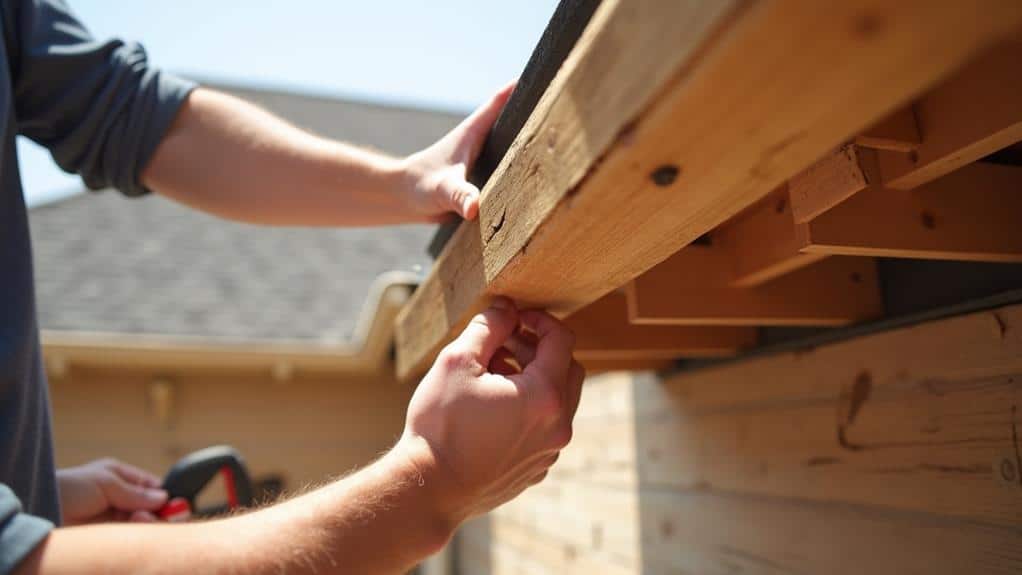
After installing and finishing your fascia boards, focus on long-term care. Implement a regular maintenance routine to ensure their longevity and protection.
Inspect twice yearly, looking for rot, cracks, or peeling paint that might signal underlying problems. Clean gutters and downspouts regularly to prevent water overflow, which can damage fascia boards. Check for damage after storms.
Ensure proper loft ventilation to reduce excessive moisture that can deteriorate fascia boards. Consider installing over-fascia ventilators if needed.
Quickly address any pest infestations to maintain board integrity and avoid costly repairs. Apply protective coatings or paint to wooden fascia boards every few years to enhance durability and prevent moisture seepage.
Key maintenance and inspection tips for roof fascia boards:
- Inspect twice yearly for damage signs
- Clean gutters and downspouts often
- Maintain proper loft ventilation
- Address pest infestations promptly
- Apply protective coatings or paint periodically
Frequently Asked Questions
How Far Apart Should Fascia Fixings Be Spaced?
Space fascia fixings 600mm apart for typical installations. Adjust spacing based on fascia material and load requirements. For heavier loads, reduce spacing to 400mm. Use proper tools to avoid common fitting errors. Always check local building regulations, as they may vary across the UK. When in doubt, consult a professional roofer for guidance on your specific project.
How Far Apart Should Fascia Be Nailed?
Space your fascia nails 30-40 centimetres apart, like evenly spaced street lamps. Use galvanised or stainless nails suitable for your fascia board material. Drive them 2.5-5 centimetres from the top edge, ensuring they hit rafters for a proper installation. This method provides a secure fit and helps prevent warping or damage over time.
How Are Fascia Boards Attached?
Attach fascia boards using exterior-grade nails or screws. Opt for rot-resistant materials. Secure to rafter ends, spacing fasteners 7-10 cm apart. Level and align before fixing. Mitre corners for a neat finish. Regular inspection and maintenance ensure longevity. In the UK, cedar and treated pine are popular choices for fascia boards, as they withstand our damp climate well.
How Much Should Fascia Overlap?
Aim for 2.5-5 cm of overlap when fitting fascia boards. Use sturdy materials and ensure proper alignment. Apply sealant at joints to prevent water ingress. Regular upkeep is crucial to avoid rot and damage. Staggered overlaps improve stability and look smarter along your roof’s edge. Remember, a well-installed fascia protects your home and enhances its kerb appeal.
Conclusion
Right, you’ve got the hang of fitting fascia boards like a pro. Precision is key here. Don’t cut corners on materials or proper sealing. Check your work regularly to ensure it lasts. As we say in the UK, “Measure twice, cut once” – spot on for fascia installation. With these skills, your home’s exterior will stay smart and weatherproof for years. Remember, a well-fitted fascia is as crucial as a good cuppa on a rainy day – it keeps everything shipshape.