

How to Temporarily Patch a Roof During Emergencies
In a roof emergency, first assess the damage for holes or cracks. Use heavy-duty tarpaulins, ensuring they extend beyond the affected area, and secure them firmly. For small leaks, roofing tape or cement will do the trick, while larger gaps may require patches secured with nails. Before starting any repairs, check for structural weaknesses and make sure to wear appropriate safety gear. For guidance on effective long-term solutions and materials, further information is available to assist you.
Key Takeaways
- Quickly assess the damage, focusing on areas with visible leaks or serious structural issues.
- Use heavy-duty waterproof tarpaulins or plastic sheeting, ensuring they extend well beyond the damaged section for effective coverage.
- Secure the tarpaulin with nails or strong tape, making sure it is firmly fastened to prevent it from being dislodged by the wind.
- Apply roofing cement or tape over small holes and seams to improve the seal against water ingress.
- Regularly inspect temporary patches for wear and address any problems promptly to avoid further damage.
Initial Damage Assessment

When assessing roof damage after an emergency, it’s essential to carry out a thorough initial appraisal to identify critical issues.
Begin with a visual inspection for sagging or uneven rooflines, as these can indicate structural risks. Look for visible holes, punctures, or cracks in the roofing material. After storms, check for missing, torn, or curled shingles. Be on the lookout for large debris impacts and signs of water ingress, such as stains on interior ceilings. Regular inspections for water stains can help detect issues early.
Prioritise identifying immediate safety risks, like potential collapse or electrical hazards from leaks. Roof failure can lead to immediate and long-term consequences, making prompt assessment crucial to prevent further damage.
Identifying Breach Points
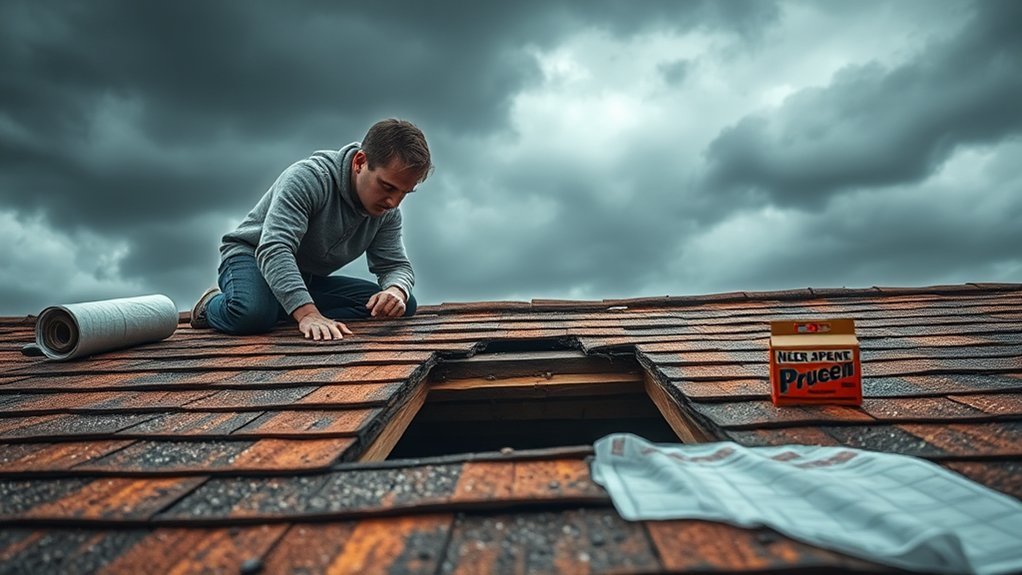
How can you effectively identify breach points in your roof after an emergency? Start with a visual inspection, looking for damaged tiles, corroded flashing, and water stains in the loft. Use thermal imaging to find moisture trapped beneath the roofing materials, exposing vulnerabilities. Regular roof maintenance is crucial for early leak detection, as it helps in identifying small issues before they escalate into major problems. Additionally, understanding the importance of proper gutter maintenance can prevent water backup that may contribute to roof leaks.
| Method | Purpose |
|---|---|
| Visual Inspection | Spot visible damage and leaks |
| Thermal Imaging | Detect hidden moisture issues |
| Controlled Water Spray Testing | Identify specific breach locations |
Common weak points include valleys, roof edges, and areas around penetrations. Conducting a thorough breach assessment ensures you address leaks swiftly, preventing further damage and ensuring safety for everyone involved.
Temporary Covering Techniques

In a roofing emergency, it’s crucial to use heavy-duty waterproof tarps or plastic sheeting for effective temporary coverage. Make sure the material extends well beyond the damaged areas and take weather conditions into account to prevent leaks. Secure the edges properly to ensure your temporary fix holds until permanent repairs can be carried out. For example, if a storm is approaching, act quickly to cover the affected area and minimise water damage. Regular maintenance can help identify common roof issues that may need urgent attention, allowing you to spot the best location to place your temporary cover for maximum effectiveness.
Heavy-Duty Waterproof Tarps
Heavy-duty waterproof tarps are vital for emergency roof coverage, offering immediate protection from water damage and the elements.
Their robust construction, typically weighing around 10 oz per square yard and with thicknesses between 10 and 20 mil, ensures they can withstand harsh weather. Made from high-quality polyethylene, these tarps are completely waterproof and maintain their strength even in freezing conditions, while also resisting mildew.
The reinforced corners and corrosion-resistant grommets provide added stability and secure fastening.
Available in large sizes, these tarps can effectively cover significant roof areas, blocking harmful UV rays and minimising sun damage.
Using proper installation techniques will ensure they perform reliably during storms or other emergencies involving water intrusion.
Plastic Sheeting Application
In emergencies, using plastic sheeting for a temporary roof cover is crucial to prevent further damage. Choose opaque, 6-10 mil string-reinforced polyethylene for durability and to manage condensation. For added puncture resistance, go for fibre-reinforced plastic sheets.
Begin by accurately measuring the damaged area, allowing for sufficient overlap to avoid leaks. When fitting the sheeting, tuck the edges under existing roof tiles, directing water away from the repair. Secure the sheeting with corrosion-resistant nails, steering clear of high-stress points. Seal any penetrations with specialised sticky tape and ensure generous overlaps at the edges.
After installation, regularly check the sheeting, particularly after adverse weather, to ensure it remains secure. Keep in mind, this temporary fix can last for several weeks to months, depending on the quality of materials used and the weather conditions.
Weather Considerations for Covers
When considering weather conditions for temporary roof covers, it’s essential to understand how they affect protection against the elements.
Here are some key points for choosing cover materials:
- Rain: Ensure proper sealing to prevent leaks and water ingress.
- Snow and Ice: Regularly remove snow build-up to keep the cover secure and safe.
- High Winds: Use reliable anchorage methods to stop covers from being blown away.
- UV Exposure: Opt for UV-resistant materials to prolong the cover’s life in sunny conditions.
Sealing Roof Leaks

To effectively seal roof leaks, start by identifying the source of the leak, which may be hidden beneath shingles or near roof junctions like vents and chimneys.
Clear away debris and inspect the area thoroughly. Once it’s clean and dry, apply roofing cement generously over the affected area to ensure a strong bond.
For small leaks, roofing tape can be effective; simply press it firmly onto a clean surface for a waterproof seal.
If the leak is larger, consider using a temporary tarp secured with boards. Always keep emergency supplies handy for quick access.
Keep in mind that these methods are temporary solutions; professional repairs are necessary for a long-lasting fix.
Structural Repairs for Openings

When assessing structural openings, first determine the extent of the damage.
Begin by applying temporary patches to stop any water from entering and to safeguard your interior.
Finally, ensure the openings are sealed properly to maintain stability until permanent repairs can be carried out.
Identify Damage Severity
Assessing the severity of roof damage is crucial, particularly when it comes to structural repairs.
Recognising different types of damage and their severity indicators will guide your response. Here are some key steps to evaluate the damage:
- Look for Sagging Rooflines: Noticeable dips can indicate serious structural problems.
- Check for Water Damage: Look for ceiling stains or signs of water ingress, which may signal potential structural risks.
- Examine Junctions: Inspect the connections between walls and the roof for any separations, as these can be critical signs of structural failure.
- Assess Load-Bearing Elements: Test rafters and trusses for deflection under weight to ensure they’re still structurally sound.
Install Temporary Patches
When installing temporary patches on your roof, it’s crucial to create a strong barrier against the weather.
Begin by clearing away any debris and ensuring the damaged area is dry for better patch adherence. For larger gaps, use robust tarps or heavy-duty plastic sheeting, securing them with nails or screws and washers to prevent them from being blown away by the wind.
For smaller holes, roofing tape or cement can effectively seal the edges.
Make sure to overlap patches to improve waterproofing, and consider replacing any missing shingles for a longer-lasting repair.
It’s essential to regularly check your patches to ensure they remain effective and address any wear or damage swiftly.
Always prioritise safety during this process to protect both yourself and your home.
Seal Openings Effectively
Openings in your roof can cause serious damage if not dealt with quickly. Here’s how to seal them effectively:
- Clean and Prepare: Remove any debris, dry the area, and check for all openings.
- Assess the Damage: Look at the size and location of the openings to select the right sealants and materials.
- Seal Small Openings: For cracks, use waterproof roofing tape or roofing cement. For larger gaps, apply mesh reinforcement.
- Secure Large Openings: Cover these with robust tarpaulins, ensuring they extend beyond the damaged area, and secure them with nails and strong tape.
Documenting Damage for Insurance

How can you effectively document damage for your insurance claim? Start by taking clear photos and videos of the damage from different angles.
For each affected area, write detailed descriptions, noting the location and severity of the damage. Consider getting a professional inspection report to bolster your claim.
If your claim is storm-related, gather weather records as evidence. Keep a chronological log of the incident, including timestamps and geotags on your images.
Save receipts for any emergency repairs and keep a record of your communications with your insurer. Thorough documentation strengthens your case and improves your chances of a successful claim.
Safety Measures During Repairs
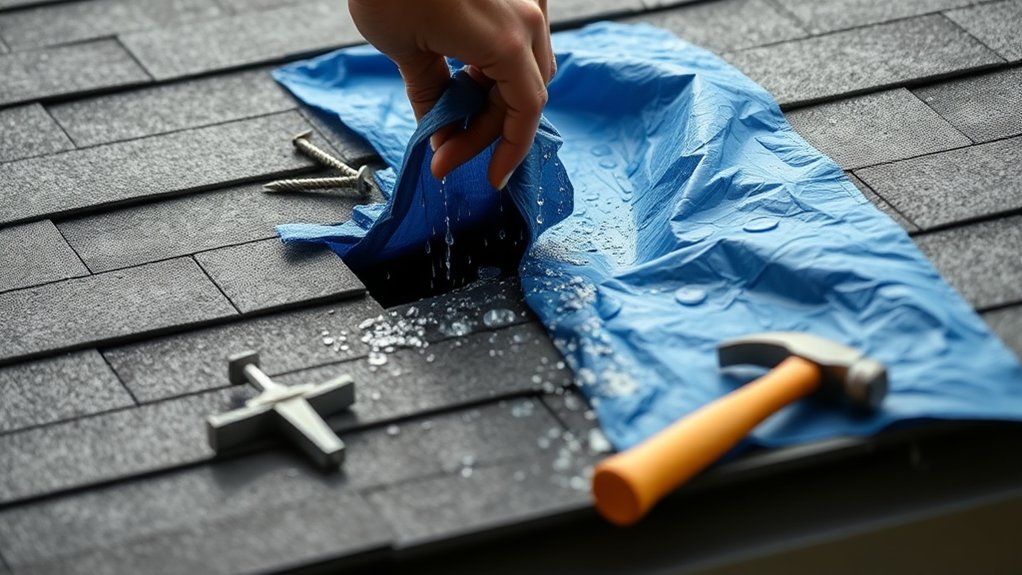
Once you’ve documented the damage for your insurance claim, it’s crucial to prioritise safety during repairs.
Start with a thorough risk assessment to identify any hazards that could pose a danger. Here are some key safety measures to consider:
- Assess Immediate Hazards: Check for structural instability and exposed electrical wires.
- Use Protective Gear: Make sure you wear gloves, hard hats, and sturdy footwear.
- Implement Fall Safety: Use harnesses when necessary, and avoid climbing onto the roof unless absolutely essential.
- Establish Evacuation Procedures: Ensure that everyone knows how to respond in the event of severe damage.
Materials Needed for Emergency Patching

When patching a roof in an emergency, it’s essential to have the right supplies for a swift and effective repair.
You’ll need heavy-duty tarpaulins, roofing adhesive, and nails to secure any damaged areas.
Don’t forget your safety gear, including a fall protection harness and non-slip footwear, to ensure your safety while you work.
Having these materials ready can be crucial in preventing further damage and achieving a successful repair.
Essential Repair Supplies
In an emergency roof situation, having the right repair supplies is crucial. Here’s a list of essential items you’ll need:
- Roofing Cement: Effectively seals gaps and cracks.
- Tarp: Provides immediate protection against water ingress.
- Roofing Nails: Secures temporary patches, such as tarps or shingles.
- Synthetic Roof Underlayment: Ideal for more extensive repairs.
These materials and tools will help you manage leaks and protect your home.
Make sure to gather these items before an emergency strikes, as being prepared is vital for effective roof patching.
With these supplies at the ready, you can better support your community during crises and prevent further damage to homes.
Safety Gear Requirements
Having the right repair supplies is only part of the equation for safely patching a roof during emergencies; appropriate safety gear is equally important to protect you and your team.
Start with essential equipment such as hard hats and protective clothing to guard against falling debris. Use goggles for eye protection and earplugs to shield against loud noise.
Ensure everyone wears work gloves and non-slip footwear for stability on slippery surfaces. Implement fall protection gear, including harnesses and guardrails, to prevent accidents.
Keep emergency response equipment like a first aid kit and communication devices on hand for immediate assistance. Regularly check all gear to ensure it meets UK safety standards, promoting a safe working environment.
Weather Considerations for Temporary Covers
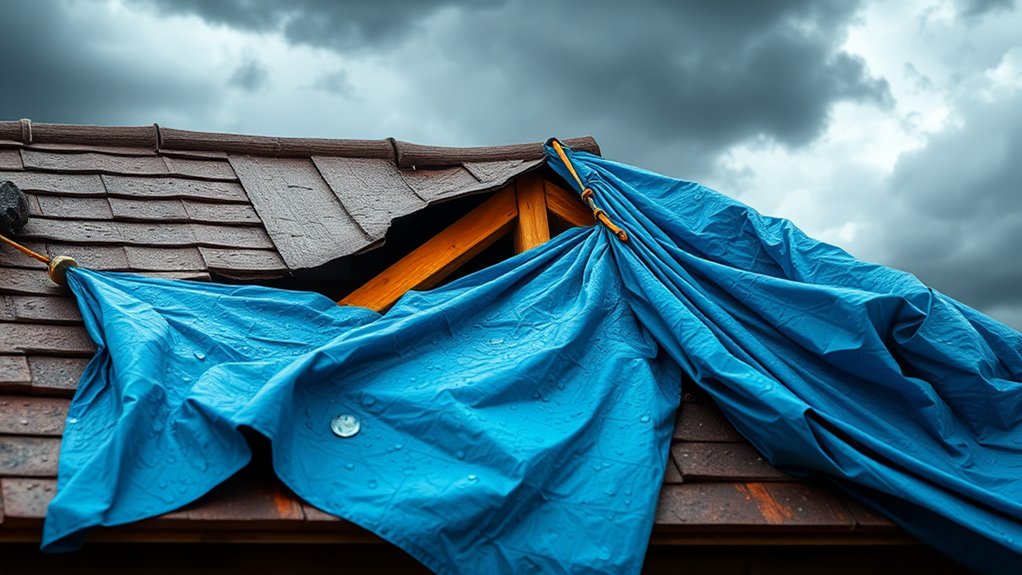
Understanding the weather’s impact is crucial for effectively applying temporary roof covers during emergencies. Here are some key weather considerations to ensure the durability of your cover:
- Rain and Snow: Use waterproof heavy-duty tarpaulins to prevent leaks and support snow loads.
- Wind Resistance: Secure covers with nails or ropes to stable points; loose ends can be easily dislodged by strong winds.
- Sunlight Exposure: Choose UV-resistant materials to avoid degradation from intense sunlight, particularly in warmer regions.
- Temperature Fluctuations: Consider expansion and contraction; ensure attachments are tight to maintain integrity against changing weather conditions.
Coordination With Professional Contractors

When a roof emergency arises, effective coordination with professional contractors is crucial for swift repairs. Choose contractors who specialise in emergency roof repair and ensure they provide 24/7 services for a quick response.
Check their licensing, insurance, and references to guarantee reliability. Before any work begins, document all damage with photographs, as this will support any insurance claims. Keep organised records of all communications with contractors, contracts, and estimates.
Work with contractors to establish necessary temporary protective measures to ensure safety and prevent further damage.
Maintain regular communication with all parties, including contractors and insurers, to keep everyone updated on progress and any new developments. Good communication with contractors will streamline your emergency response and facilitate a smoother repair process.
Long-Term Repair Planning
Effective long-term repair planning is essential for maintaining your roof’s integrity following an emergency. By adopting proactive measures, you can ensure lasting sustainability. Here are some straightforward steps:
- Set a routine inspection schedule—aim for twice a year, in spring and autumn, to identify potential issues early.
- Tailor maintenance tasks according to the roofing material, addressing specific vulnerabilities like rust on metal roofs or damage to tiles.
- Include seasonal preparation tasks, such as clearing gutters and checking seals, particularly before winter weather sets in.
- Allocate a specific budget for maintenance and repairs to avoid financial strain and ensure timely action.
Frequently Asked Questions
How Long Can Temporary Patches Last Before Needing Permanent Repairs?
Temporary patch lifespan generally varies from 2 to 10 years, depending largely on weather conditions. For instance, a patch on a roof may last longer in milder climates compared to those exposed to heavy rain or snow. Regular inspections and maintenance can help prolong the life of these patches, whereas neglect can lead to quicker deterioration, often resulting in failure within just a few years.
Can I Use Regular Tape for Securing Temporary Covers?
You can use duct tape for temporary fixes, but it may lose its stickiness in wet weather. It’s better to use roofing tape, as it offers superior adhesion and durability in challenging conditions.
What Should I Do if I Encounter Electrical Wiring While Repairing?
If you come across electrical wiring while making repairs, your safety is the top priority. Stop what you’re doing immediately and assess the situation. Avoid touching any wiring. Clear the area of anyone who doesn’t need to be there, and make a note of any hazards you see. It’s best to call in a qualified electrician to handle the wiring safely before you continue with your repairs.
Is It Safe to Work on a Wet Roof During Repairs?
Working on wet roofs is hazardous due to the risk of slipping and hidden damage. It’s essential to take safety precautions, such as wearing grip-enhanced boots and using fall protection gear, to reduce these risks and protect yourself and others. For example, if you’re repairing a roof after rain, ensure it’s thoroughly dried and consider delaying the work if conditions are unsafe. Safety should always come first.
How Do I Choose the Right Materials for Temporary Repairs?
To choose the right materials for temporary roofing repairs, start by checking your emergency supplies. Use heavy-duty tarpaulins, roofing cement, or sealants that provide waterproof protection and work well with your current roofing. For instance, if you have a leak, a tarp can quickly cover the damaged area until a permanent fix is made.
Conclusion
In an emergency, quick action can prevent minor issues from becoming major problems. Start by assessing the damage, sealing any leaks, and applying temporary covers to protect your home from the weather. Think of your roof as a shield against rain and wind while you arrange for professional repairs. A well-done temporary patch not only protects your home but also gives you valuable time to organise a permanent fix.